Girls pattern bread
Overview
I came up with this idea yesterday afternoon and started working on it immediately. I wanted to make two plates of bread with different patterns, but unexpectedly the dough fermented quickly when the temperature was high, and it took time to shape the bread. I could only make one plate, and rounded the rest into meal bags. Completely overestimated my abilities. I have always had waist-length hair since I was a girl, but I was clumsy and could only braid one braid. If I braided two left-hand braids, they would be braided backwards. I think some people have the same feelings about braids as I do!
Tags
Ingredients
Steps
-
Put all the ingredients except salt and butter into a large bowl and mix well with chopsticks, cover with a plastic bag and place in the refrigerator for 20-30 minutes.

-
Put it into a bread machine and mix until smooth, add butter and salt and continue mixing (use the salt-then-oil method)

-
Cut a small piece of the mixed dough to pull out a thin film that is not easy to break.

-
Divide 1/3 of the dough into cocoa powder and knead evenly. Cover the original and cocoa dough with a plastic bag for secondary fermentation.

-
Roll 60 grams of fermented dough into a round shape on all sides with a rolling pin (try to make it as round and smooth as possible)

-
grams of cocoa-flavored dough is divided into 3 parts and rolled into strips (if you want a long one, let it rest while rolling)

-
Braid into three strands.

-
Knead the leftover material with many braids into a ball and roll it into a long piece. Use scissors to cut it casually a few times to create bangs.

-
Arrange it in the baking pan as shown in the picture.

-
Arrange it in the baking pan as shown in the picture.

-
This one originally wanted to have a full oval face (compared to the two round faces, the chin is finally a bit smaller)

-
Arrange it in the baking pan as shown in the picture.

-
Cover with plastic wrap and allow for secondary fermentation.

-
After fermentation, I brushed some egg wash on the face with the two braids, but left the other two braids unbrushed (I wanted to bake them better)

-
Heat up and down at 170℃ for 18-20 minutes, cover with tin foil after coloring (temperature and time are for reference only)

-
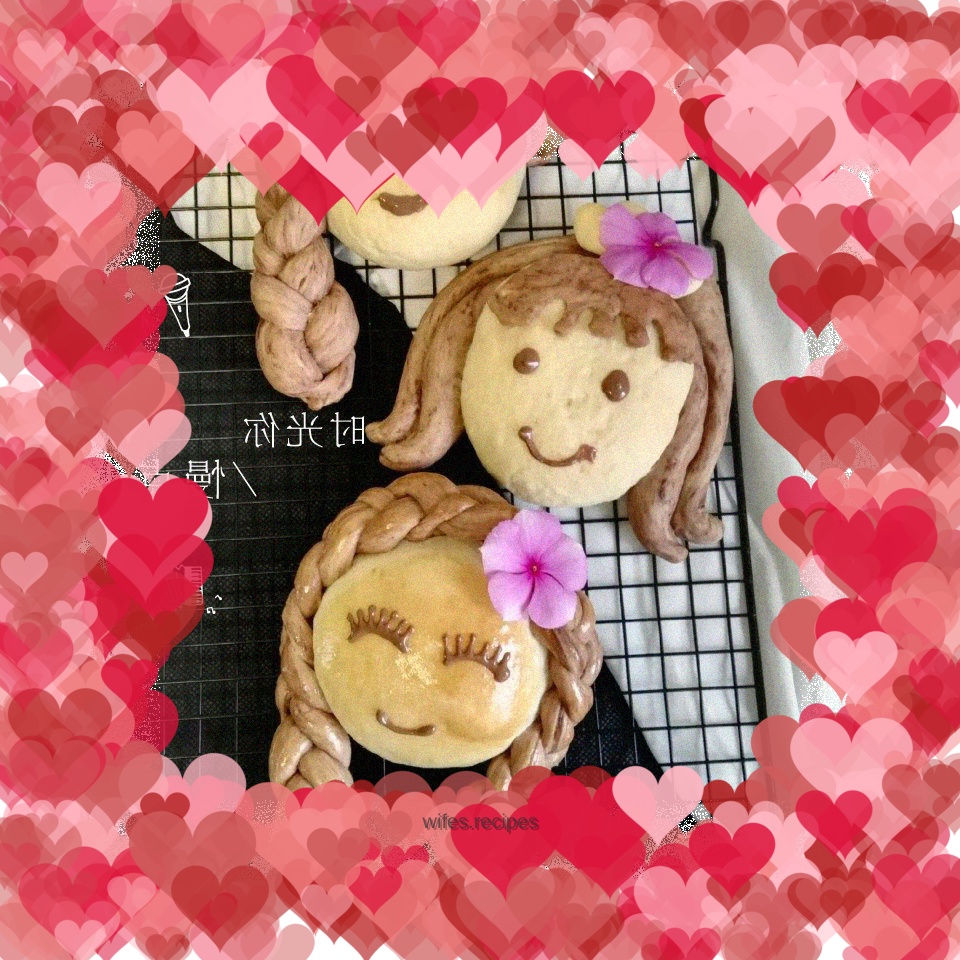
Girls with braids ~ Maybe some people have a feeling for braids in their hearts!

-
The dough must be kneaded smoothly, otherwise the face will not be smooth or smooth.

-
Melt the chocolate in a piping bag in advance and cut small openings in the piping bag to decorate with your favorite emoticons.

-
The name of the recipe is hard to name, girl pattern bread?

-
Baby bread?

-
Sisters ~

-
Children will definitely like this kind of bread.
