Six-inch basic chiffon cake
Overview
The cake that has failed the most since I started baking is this chiffon. I also went through more than seven crazy moments before I could make a decent cake
Tags
Ingredients
Steps
-
Separate the egg whites and egg yolks. The bowl containing the egg whites must be oil-free and water-free, otherwise the egg whites will not be able to be whipped

-
Sift the low-gluten flour into a clean basin

-
Before making, preheat the oven to 160 degrees

-
First use a hand whisk to break up the egg yolks and beat them evenly

-
Add oil and beat using your familiar technique until no oil is visible at all

-
Slowly add milk and mix evenly. After mixing, the egg yolk paste will become thinner

-
Add the sifted low-gluten flour, mix evenly with a hand mixer, just make circles, but be lighter and slower, and stop mixing until the dry flour and gnocchi are no longer visible. If there is no gluten, friends who are really worried about gluten can use a spatula, but I think it will be faster to mix with a manual egg beater

-
Now we are going to beat the egg whites. The sugar should be added in three times. Use an electric egg beater to beat until there are many big bubbles. This is the first time to add the sugar

-
Continue beating until the egg whites begin to turn white and double in size. When lines appear but disappear immediately, add the second sugar

-
Continue whipping until the egg whites have lines that do not disappear. The meringue is now very delicate. When you lift the whisk and you can see the small curved hook, add the last sugar.

-
After adding the last sugar, continue beating until there is a short and small sharp hook when you lift the whisk, so that the meringue is ready

-
We use a spatula to scoop a few spoonfuls of meringue into the egg yolk paste

-
Use the stirring technique to mix the meringue and egg yolk paste (use a random knife. For those of you who don’t know what stir-frying is, let me explain it to you. It means cutting in from the wall of the basin, picking up the bottom, and then folding the bottom back to the top. For those who don’t understand, just draw the letter J

-
Pour the mixed stuff back into the remaining meringue, and continue to mix by stirring

-
The mixed batter does not have much fluidity. You can observe if the cake batter drips, lines will appear and then slowly disappear

-
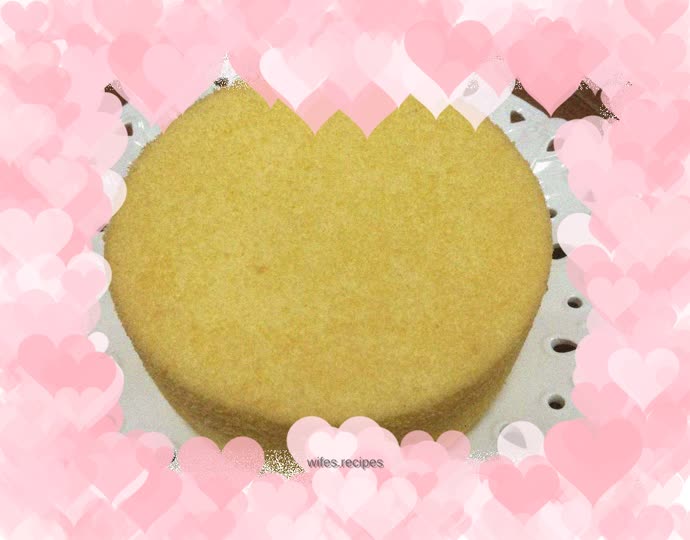
Slowly pour the mixed batter about 15 cm away from the mold, smooth it slightly with a knife, and gently drop it 20 cm away from the countertop to knock out the big bubbles. If there are some small bubbles, use a toothpick to score the cake batter, and then put it into the middle layer of the oven and bake it at 160 degrees for 40-45 minutes. The cake has a necessary process during baking: it slowly rises, reaches the highest point and then collapses a little. The skin of the baked cake is golden brown and non-sticky.

-
Gently smash the baked cake, then turn it upside down on the baking rack and let it cool completely before unmoulding
