Teething finger cake
Overview
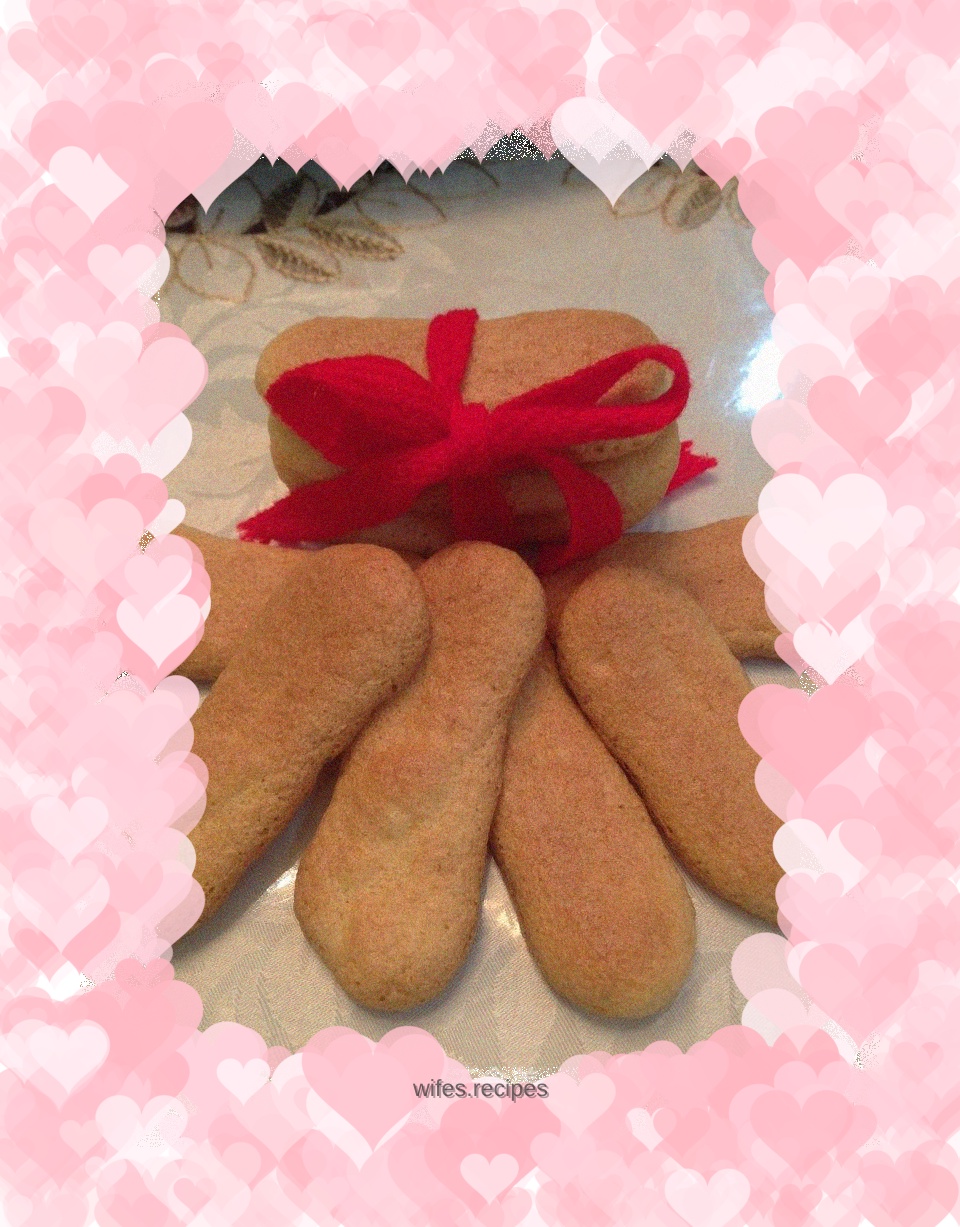
My daughter is over seven months old and has two small teeth. She will chew on whatever she gets, so I thought of this oil-free biscuit to help her grind her teeth. It’s more of a dry and crisp cake than a biscuit. Without further ado, let’s get to the point.
Tags
Ingredients
Steps
-
Separate the egg whites and egg yolks, and place the egg whites in an oil-free basin.

-
Add a few drops of white vinegar to the egg whites and beat until fish-eye bubbles appear, then add one-third of the sugar.

-
When the egg whites are beaten to a moist peak, add another third of the sugar.

-
Beat quickly until it reaches dry peaks and then add the remaining sugar. Beat the egg whites until they become dry and foamy

-
Beat the egg yolks until light in color and thick.

-
Add a quarter of the beaten egg whites to the egg yolks and mix using a cutting and stirring motion.

-
Pour the mixed egg yolk paste into the beaten egg whites.

-
Use the cutting and mixing method to cut and mix the egg yolk batter evenly.

-
Sift the cake flour and add the egg paste in three batches. Remember, each batch of cake flour must be fully mixed with the egg paste before adding the next batch of cake flour. Mixed batter.

-
Line a baking sheet with parchment paper and use a piping bag to pipe finger cake shapes onto the parchment paper.

-
The upper heat is 180 degrees and the lower heat is 150 degrees for 30 minutes. The specific time depends on the temperature setting of your oven. Turn off the heat and remove from the oven when the surface is colored.
