Peach blossom cake
Overview
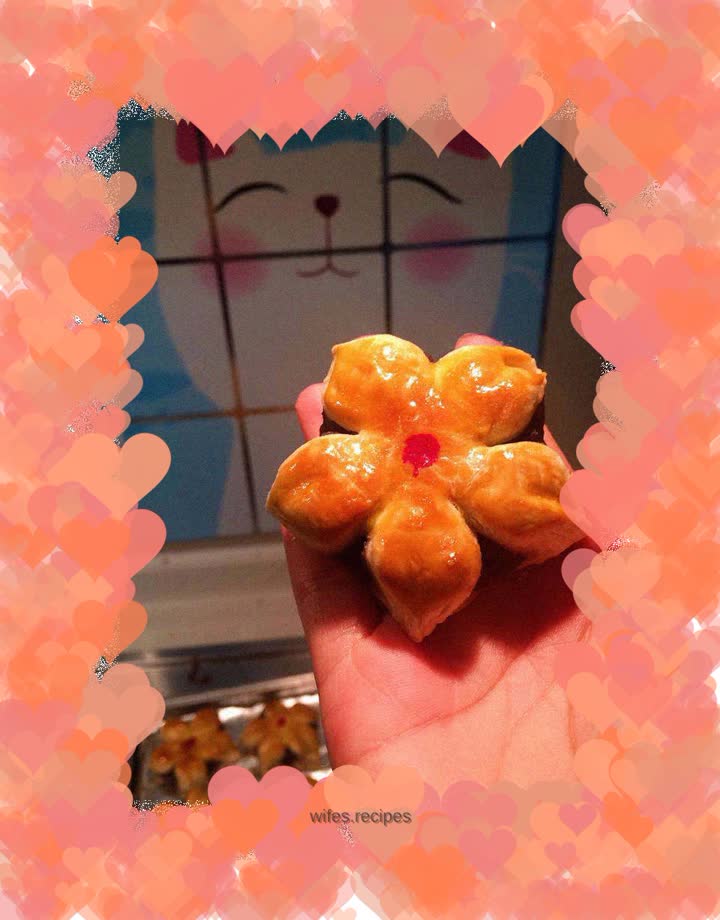
The TV series "Three Lives Three Worlds: Ten Miles of Peach Blossom" became very popular a while ago, so I also made peach blossom cakes. I brought it to my friends and they all said it was delicious. I’ll add the recipe today for your reference. When the peach blossoms are in full bloom, it’s great to have a plate of peach blossom cakes, eat delicious food, and enjoy the beautiful scenery.
Tags
Ingredients
Steps
-
Mix the water, oil and pastry noodles separately. Tips: I weighed the ingredients for water-oil noodles and puff pastry noodles separately by grams, and then put them in a plastic bag and mixed them. It's non-sticky, convenient and evenly blended.

-
Divide the mixed water-oil noodles, pastry noodles and red bean paste into 20 portions according to weight. Because it is slow to make, remember to cover the divided dumplings with plastic wrap and hold them one by one to prevent the later ones from being done and the front ones from drying out. Weight of a single portion of dough and bean paste dough: 20g water-oil noodles, 15g pastry noodles, 15g red bean paste

-
Take out a piece of water-oil dough and roll it into a round shape

-
Take out a piece of pastry dough and place it on the water-oil dough sheet

-
Wrap the pastry dough in water-oil dough.

-
Place the rolling pin in the middle. Roll it up and down into pieces as shown in the picture. Be sure to roll it from the middle upwards and downwards, do not roll it back and forth, otherwise the skin will peel.

-
Roll up the long piece rolled out in the previous step as shown

-
Place the rolled roll upright, put the rolling pin in the middle, as shown in the picture, roll it up, roll it down, and roll it out

-
Roll up as shown

-
Press the middle position and pinch the two sides together toward the middle.

-
Pinch the other side together as shown in the picture and seal

-
Press flat and roll into a round piece as shown

-
Put a portion of bean paste dumpling

-
Fold the skin inward, wrap the bean paste inside, close the mouth, then turn it over, with the unsealed side facing up. Press in the middle with your finger.

-
As shown in the picture, use a knife to cut out five equal parts, and then cut off a short cut in the middle of each part.

-
If the depression in the middle is not obvious, you can press it again with your fingers. Then, pinch the two cuts together as shown in the picture to create the shape of the petals.

-
Dip a chopstick into red food coloring and put a small red dot in the middle.

-
Since it is slow to make, remember to cover the finished plum blossom cake with plastic wrap to prevent the previous ones from drying out when the later ones are done.

-
Separate the yolks from the eggs and beat the yolks.

-
Brush each surface evenly with egg yolk

-
Preheat the oven, put the baking pan in, 230 degrees, heat up and down, 20 minutes.

-
After baking, take out

-
You can see the layers layer by layer, crispy and delicious.

-
Beautiful and delicious
