Dorayaki
Overview
How to cook Dorayaki at home
Tags
Ingredients
Steps
-
Finished product

-
Large collection of materials

-
Beat the eggs, add sugar in three batches, stir well each time, then add condensed milk and water, stir continuously until there are a lot of white bubbles and the volume becomes larger.

-
It looks like adding sugar and milk

-
There are bubbles at the end of the beat

-
Sift the flour and yeast powder and put them into the egg mixture just now

-
Sift yeast powder

-
Then use a stirring spoon to stir until there are no lumps. This stirring must be from bottom to top, and must not be stirred in circles. Let sit for half an hour to ferment.

-
The final appearance is that it drips continuously when scooped up, neither thick nor thin.

-
Use a large spoon to scoop a spoonful and slowly place it in the middle of the pot, letting it spread out in a circle. Make sure not to add any oil during this process and it will not stick.

-
The sad thing about not having a mold is that you have to do it one by one, with low heat the whole time. Wait until a lot of bubbles come out on the first side before flipping, about two or three minutes, and half a minute on the second side.

-
Put red bean paste on the pancake.

-
The more you do it, the more experienced you become

-
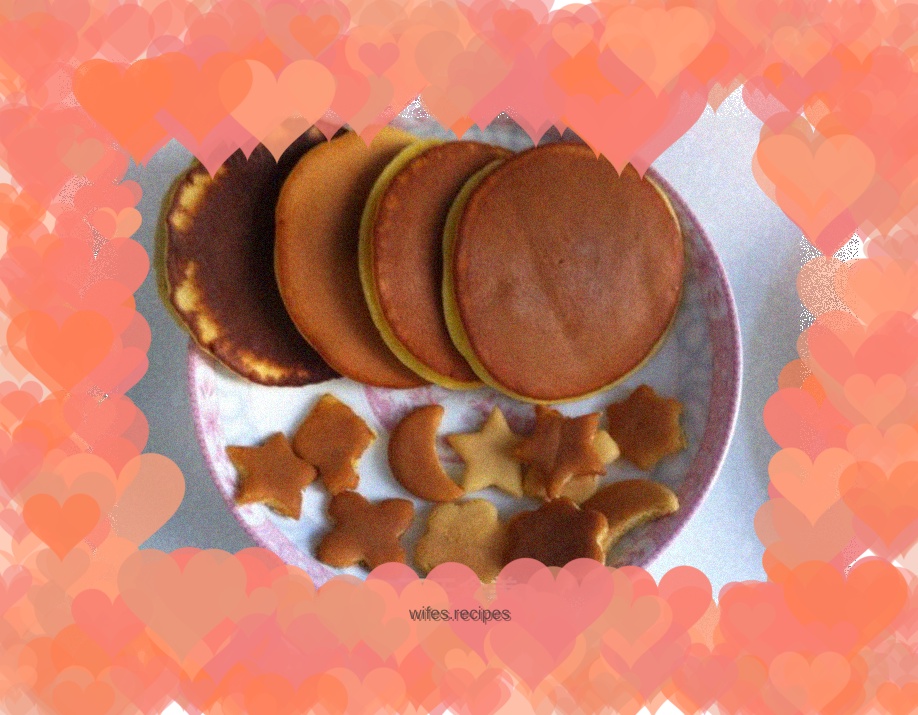
I used the remaining materials to make some stars and moons using molds, which were very popular with children.

-
Eat it while it’s hot

-
Complete
