Pork floss buns
Overview
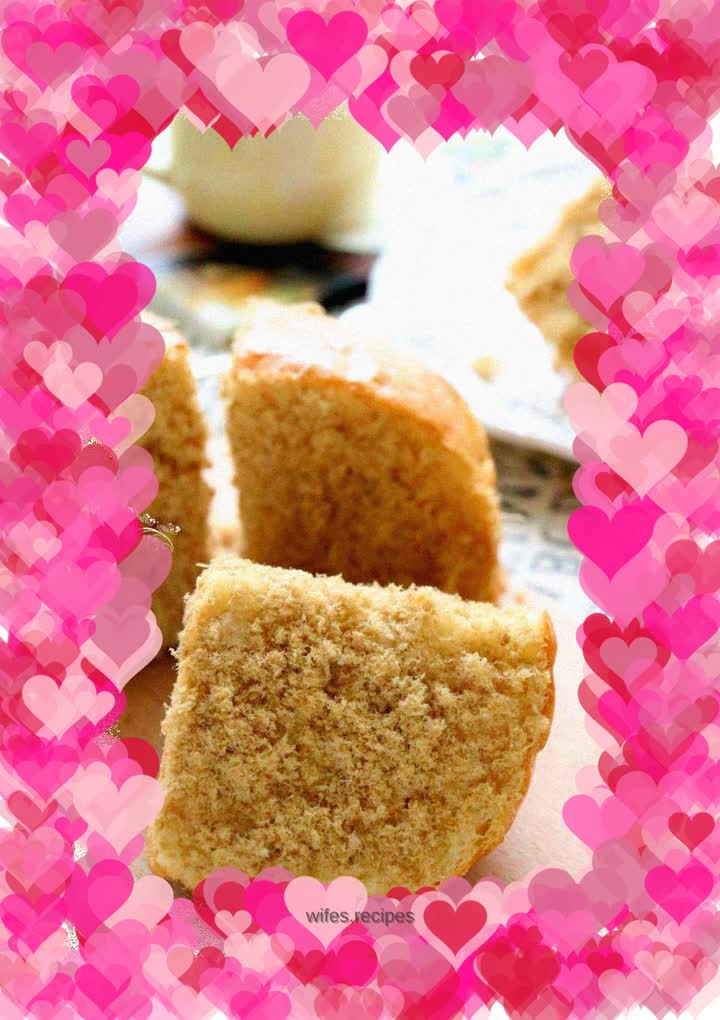
The process of making your own bread is a process that takes time, but it is worth the effort. I’ve been making more bread lately, and the basic recipes can actually be slowly evolved and extended. Thinking of the cheese bread that was once popular for a while, today's bread is an extension of it, replacing the filling with meat floss. The bread produced in this way is salty and has a different flavor. The amount of the original recipe was six inches, so I doubled it and made two more, but it was not enough to eat. Do you want some bread covered with meat floss?
Tags
Ingredients
Steps
-
The normal kneading procedure is to use liquid first and then powder, make holes on top and put yeast (except butter) and knead evenly

-
Add softened butter (butter should be softened, not melted)

-
Knead out the film

-
Let the dough ferment until it doubles in size (it will not bounce back when you poke a hole with your finger)

-
Knead evenly, divide the dough into two pieces, cover with plastic wrap and let rest for 15 minutes

-
Roll into a ball and place into a 6-inch mold (the mold is brushed with oil)

-
Place it in the oven for secondary fermentation (a pot of hot water at the bottom of the oven) to ferment until it doubles in size, and brush the surface with egg wash

-
Preheat the oven to 170 degrees for about 25 minutes, take it out of the oven and let it warm

-
Cut into four pieces with a cross knife, cut twice in the middle, spread with salad dressing, and fill with floss

-
Apply the same salad dressing on the outside, roll the meat floss in a circle, and everything is done
