【Flower Basket Cake】---- Share a beautiful cake decoration
Overview
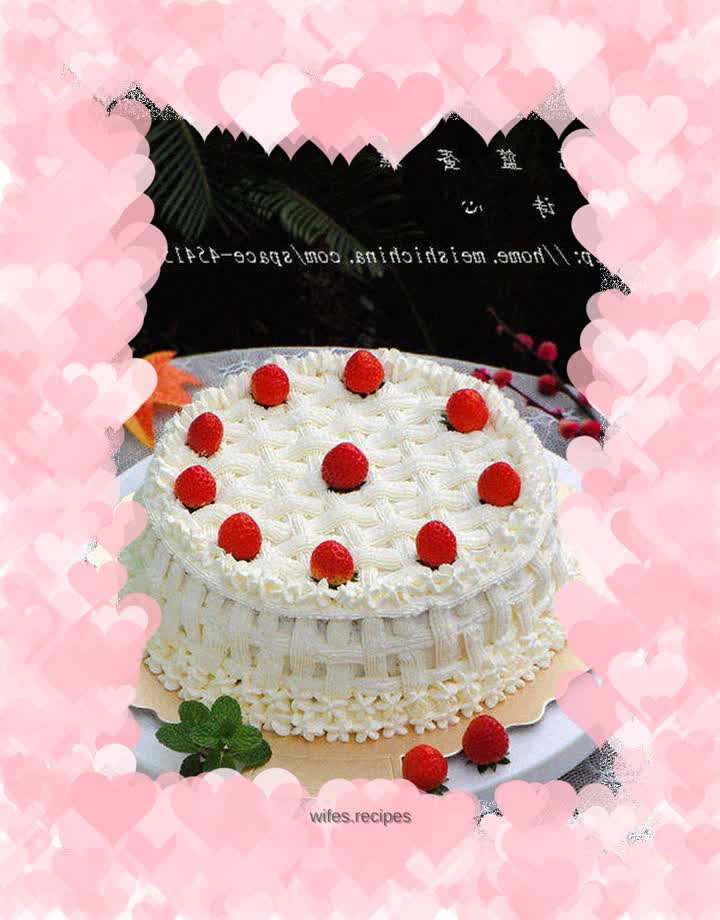
01.12 is my birthday, and I have been receiving blessings from friends one after another a few days before my birthday. My heart is very warm and touched. In addition to having a good meal with my family that day, I also made myself a birthday cake. This was the first time I made a cake for myself with my own hands. The cake has a basket-shaped decoration on the outside. I like it very much, but it’s a pity that it’s not perfect. The steps for decorating flowers are recorded in detail and shared with everyone.
Tags
Ingredients
Steps
-
After the cake is baked, take it out and place it upside down on a baking sheet to cool, then you are ready to make it.

-
Decorate with whipped cream and strawberries.

-
Cake filling ingredients: pudding cubes, almond cubes.

-
Put the whipped cream in the refrigerator for 12 hours before taking it out, pour it into a clean container without oil and water, and add 20 grams of sugar.

-
Beat until stiff peaks form and set aside.

-
Cut the cake in half. (I usually cut this before whipping the cream)

-
Place the bottom piece of cake on the mat and spread a layer of buttercream on it.

-
Spread pudding and almonds evenly.

-
Spread another layer of cream to cover the pudding and almonds.

-
Cover with the top slice of cake and spread butter all over the surface and sides.

-
Put the remaining whipping cream into a piping bag fitted with a piping nozzle. The piping nozzle used is a tooth-shaped one. Starting from the edge, stretch a long strip.

-
Draw three small strips evenly across and spaced apart as shown in the picture.

-
Then pull the second long strip parallel to the first one.

-
As shown in the picture, based on step 12, draw four small strips at intervals.

-
As shown in the picture, continue to pull up the third long strip.

-
As shown in the picture, follow the short strips in the first row and extend them backward. Pull out two more small strips at both ends. In fact, it is framed horizontally and vertically, and it should be easy to understand by looking at the picture.

-
Frame this surface in turn.

-
Then frame the edges in the same way.

-
First, decorate a circle of florets on the edge of the surface, and then choose whether to decorate the florets on the bottom edge of the cake densely or loosely according to the amount of remaining cream. I had more florets left, so I framed 2 layers of florets on the bottom.

-
Just garnish with strawberry cream at the end.
