Finally successful chiffon cake
Overview
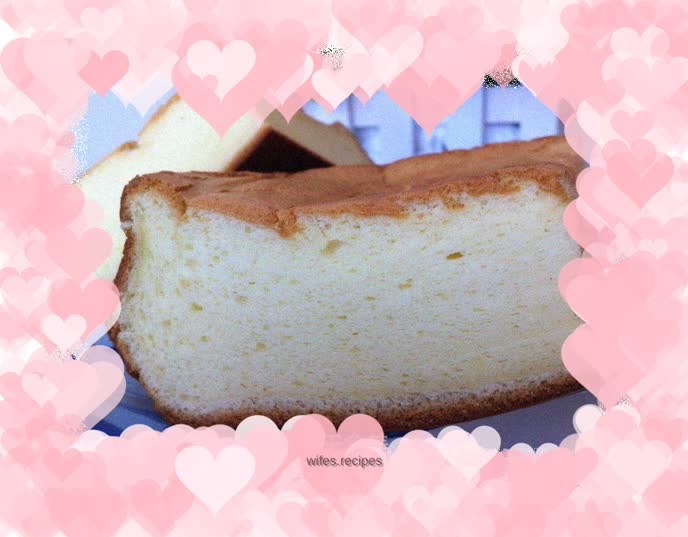
I have used a bread machine to make chiffon cake several times before, but the finished product shrunk too much. Although it did not affect the taste, I couldn't post the recipe because the appearance was really unsightly. Later, I made it once in an exchanged oven. Due to lack of experience, I didn't know the temperature well, and there was no mold, so I poured the cake batter directly into the baking pan. As a result, the baked cake was not only a bit mushy on the surface, but also had no height and was as thin as a pancake. It drove me crazy. It really is a crazy cake. Should I just give up like this? I checked out Miyou's recipes online, and after repeated comparisons, I considered that I was a novice after all and couldn't use too much, so I chose this recipe that didn't use a lot of eggs, just to try it again. If there is no cake mold, I use the inner pot of the rice cooker at home as the mold. I dare not leave the oven for a step during the entire baking process. I check the changes of the cake at any time, just to worry about something going wrong. All the hard work paid off, and this time it was finally done! Although the surface of the baked cake is a little cracked and slightly shrunk, for me this is the first step towards success!
Tags
Ingredients
Steps
-
Ingredients collection map (except corn oil)

-
Beat the egg yolks in a clean container with a hand mixer and beat evenly

-
Pour in the yogurt and mix well

-
Pour in corn oil and mix well

-
Sift in the low-gluten flour that has been sifted twice in advance

-
Stir the egg yolk paste evenly and it’s done

-
Squeeze a few drops of lemon juice into the egg whites, add half the sugar and beat with an electric mixer

-
When the fish has bubbles, add the other half of the sugar and continue to beat

-
Beat the egg whites until they are in a stiff foamy state. When you lift the whisk, the egg whites can form upright small triangles.

-
Pour 1/3 of the egg white into the egg yolk paste and mix well

-
Then pour it back into the remaining egg whites

-
Cut and stir to make a smooth and smooth cake batter.

-
Pour the cake batter into the rice cooker pot

-
Just

-
Preheat the oven to 130 degrees for 10 minutes, then put the container in the oven. The time is set for 55 minutes

-
After 45 minutes, the color on the surface was already very good. I was worried about poor coloring on the bottom, so I turned off the upper heating tube

-
After baking, it looks pretty good but a little cracked (what’s the reason?)

-
Place upside down on a grill rack to cool
