Homemade Liangpi
Overview
In the summer, you can eat homemade cold skin with confidence. It is really delicious with homemade spicy pepper
Tags
Ingredients
Steps
-
I washed my gluten at night and forgot to take pictures! Let me explain a little bit: Add flour to water and a little salt, knead it into a dough for 30 minutes, pour in water and start washing the gluten, knead, knead, and squeeze it as you like. When the water becomes turbid, pour it into another clean basin (you need to use a strainer) Oh) Wash it again with water...Wash it repeatedly until the water becomes clear. Put the washed water in the refrigerator for 4 to 5 hours. I (keep it overnight, haha!) add a little yeast powder to the gluten and put it in the refrigerator. Picture 1 is just taken out of the refrigerator.

-
Pour off the top layer of yellow water and stir well

-
I don’t have a plate of steamed cold skin at home, so I use local materials, haha! I used a biscuit box and brushed it with oil

-
Pour the batter and shake evenly

-
For a pot that is not that big, use a stainless steel basin instead

-
Fire, 4 to 5 minutes, become transparent and bubble

-
Take it out and put it in a basin of cold water. Take out the cold skin and apply oil on it. You can also apply oil first and then take it out

-
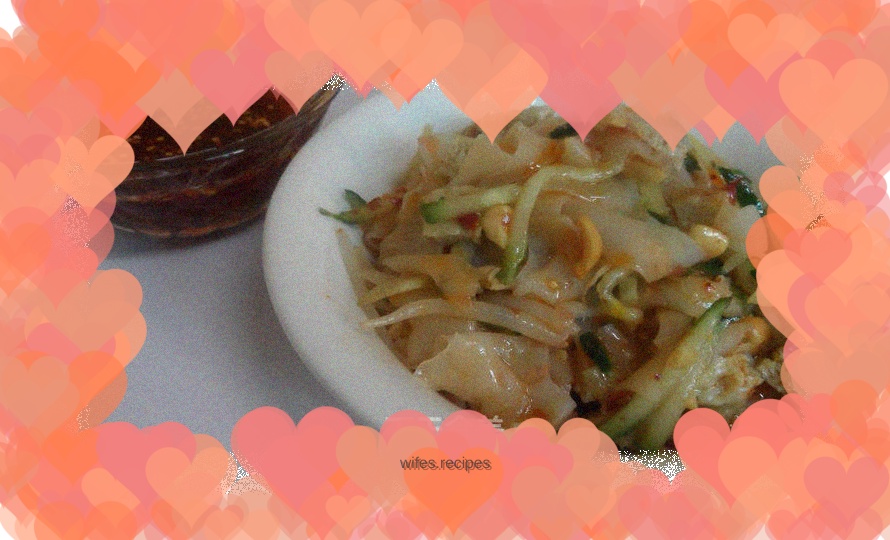
Look at the finished product

-
Shred the cold skin, dice the gluten, blanch the mung bean sprouts, chop the peanuts and mix them with cucumber shreds, light soy sauce, vinegar, spice water, ginger and garlic water (I dissolved salt, MSG, and chicken essence into the ginger and garlic water) and homemade spicy oil. The flavor you make yourself is absolutely delicious
