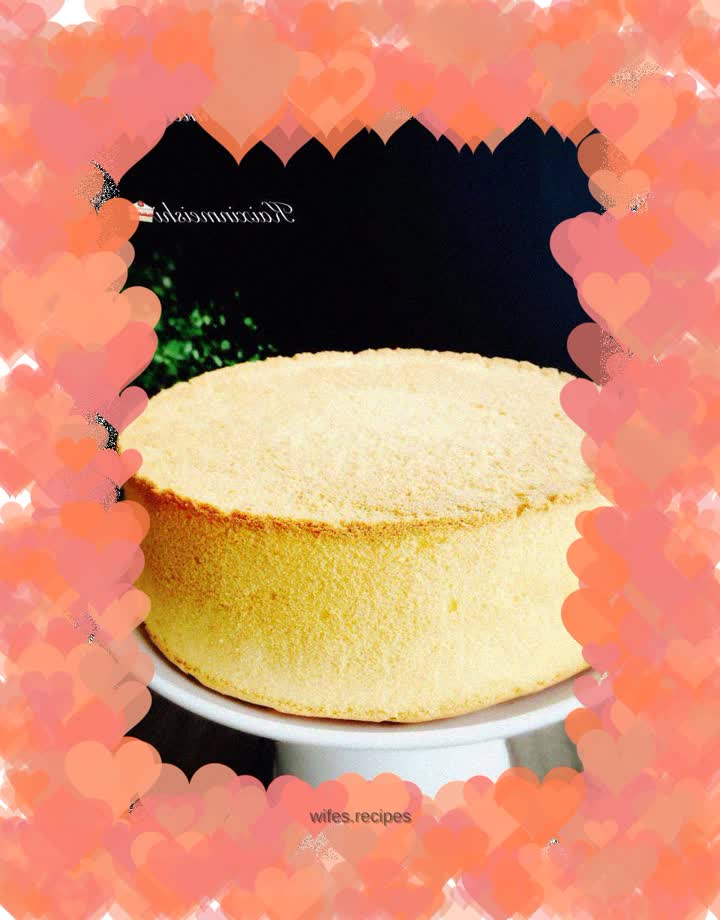
8 inch chiffon cake
Overview
8-inch chiffon cake!
Tags
Ingredients
Steps
-
Prepare everything and separate the egg yolks and egg whites. You can use an egg separator or crack the eggs into a clean basin without water or oil. Use a spoon to gently remove the egg yolks. Be sure not to break the egg yolks, otherwise it will affect the beating of the egg whites (one of the reasons for failure). Add 40 grams of milk to the egg yolks and beat with a manual egg beater.

-
Add 40 grams of corn oil and mix thoroughly, then pour in 30 grams of white sugar and mix thoroughly. If there is no corn oil, you can use salad oil, but be sure not to use peanut oil and olive oil (the second reason for failure: once there was no corn oil at home, so I used peanut oil to save trouble. The result was that I couldn’t swallow it and threw it away😭) because the smell of these two oils is too strong and will affect the aroma of the cake

-
Sift in starch and low-gluten flour

-
Use a spatula to draw the letter Z and mix well. Be sure not to stir in circles to prevent gluten from being produced in the flour and affecting the fluffiness of the cake. Fold into a fine, particle-free batter and set aside.

-
Add a few drops of lemon juice or white vinegar to the egg whites (do not omit it, because the lemon juice and white vinegar are used to stabilize the beaten egg whites and prevent them from defoaming)

-
Turn the mixer to medium-high and beat until foamy, add 20 grams of sugar and continue beating.

-
Beat until thick, add 20 grams of sugar and continue beating.

-
After beating for a while, add the remaining white sugar and continue beating with the egg beater on low setting. The low setting is to prevent the egg white from being beaten, and the second is to tidy up the egg white paste to make it more delicate and smooth.

-
Check the state of the egg whites frequently. If you lift the egg beater and a small hook appears, this is a neutral foaming state. This state is suitable for making cake rolls. If you make a chiffon cake in this state, it will collapse, so you have to continue beating.

-
When you lift the egg beater and there are sharp and straight corners, it means dry foaming. In this state, you can stop the egg beater.

-
Here’s another picture of beaten egg whites. The surface of the chiffon cake baked in this state will crack and the texture will be hard.

-
Take one-third of the egg white paste and egg yolk paste and mix it evenly from the bottom up with a spatula similar to stir-frying. (You can preheat the oven in advance at this time. The upper and lower tubes of my oven are preheated to 150 degrees)

-
Stir in the mixed egg yolk paste.

-
Pour the mixed egg yolk paste into the remaining egg white paste and continue to use stir-frying techniques. Stir evenly from the bottom up. Be sure to use quick and gentle techniques, and do not beat in a rough manner countless times to avoid defoaming of the egg paste. The time should be controlled for about 1 minute.

-
The mixed cake batter is fine and light. Pour the cake batter downwards into the 8-inch chiffon cake mold from a slightly higher position (the higher position is to eliminate the large bubbles in the cake batter and make the egg batter more delicate)

-
After all the egg batter is poured into the mold, hold the edge of the mold with both hands and gently shake it on the chopping board a few times to shake out the big air bubbles inside and make the surface of the egg batter smooth (because my second child is sleeping, I didn’t dare to shake it, so the uneven surface looks ugly🙈)

-
Put it into the preheated oven at 150 degrees for 50 minutes (this picture was taken after 20 minutes, the time and temperature are for reference only, after all, the oven brands and models are different)

-
During the baking process, you must pay attention to 1. Never open the oven door, because the egg batter expands rapidly after being heated. At this time, if it suddenly cools down, it will immediately collapse and shrink. 2. Never lower the temperature. The reason is the same as above. If it is a new oven and you don’t know its temperament well, it is recommended to lower the temperature slightly and observe it for 10-20 minutes. If the expansion is too low, you can increase the temperature and continue to observe. The above two points are all my personal experiences😭 will be released soon!

-
Take it out immediately after taking it out of the oven, and shake it with the bottom down on the chopping board or a clean floor a few times. This is to shake out the heat inside and prevent the cake from shrinking due to moisture! Then turn it upside down or put it on the grill grid as shown. Be sure to turn it upside down and let it cool. This process takes at least 2 hours. I usually bake it at night and then unmold it in the morning, so don't be impatient. Food has to wait!

-
I demoulded with my bare hands, so it looks very clean and beautiful. Newbies can use a plastic demoulding scraper to demould. Taobao only costs a few yuan, which is very easy to use and will not damage the mold. Be sure not to use metal to demould, otherwise it will scratch the mold.

-
Finished product picture (photo on mobile phone)

-
Finished product pictures

-
Here’s another picture of beaten egg whites
