Homemade Liangpi
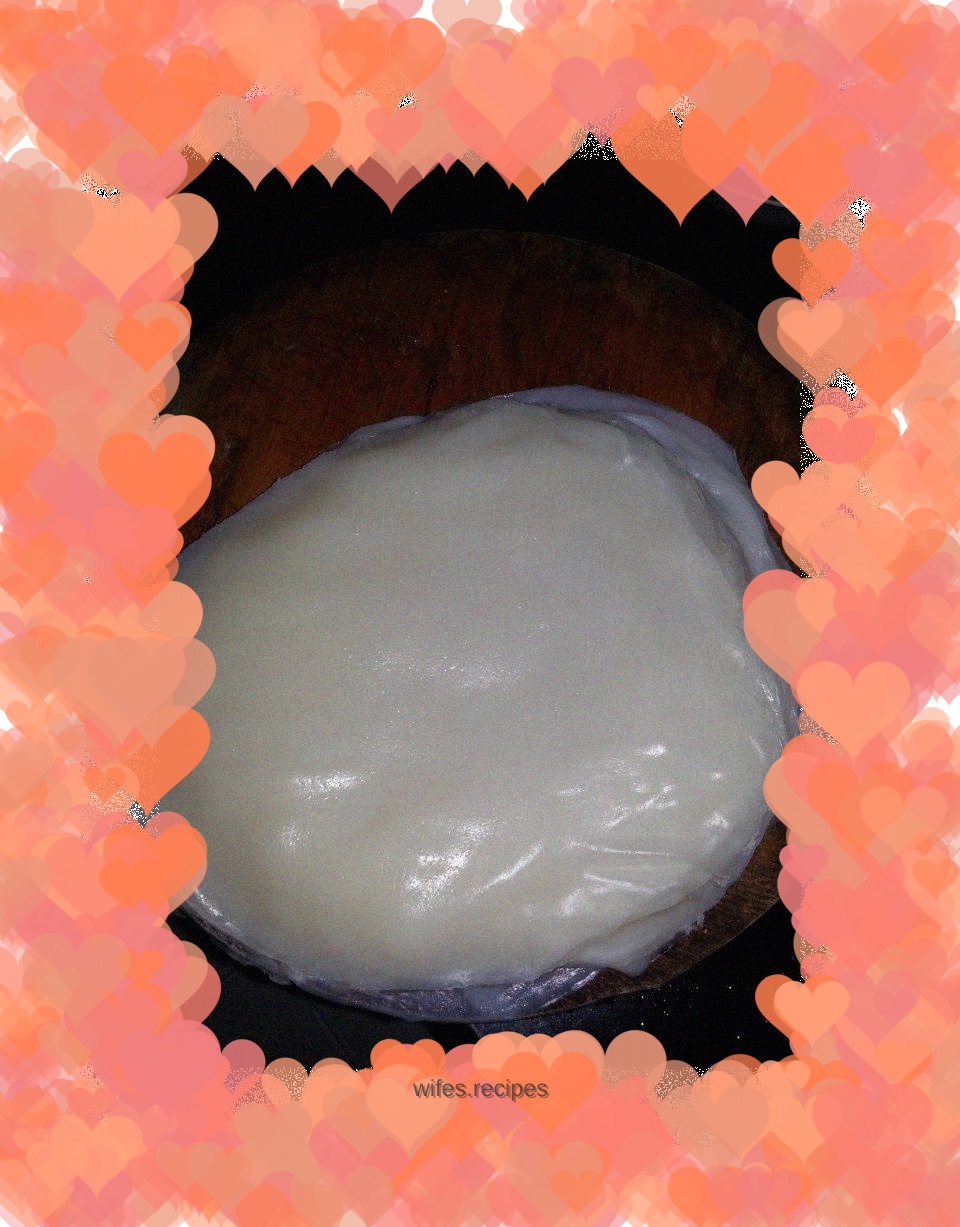
Overview
I haven’t posted a recipe for a long time. To put it bluntly, I’m lazy. As the weather got hotter, I suddenly wanted to eat cold skin, so I tried making it myself. Unexpectedly, it turned out to be OK, because the first time I made it was a few years ago and I didn’t succeed
Tags
Ingredients
Steps
-
Add some salt and water to the flour and knead it until it is smooth. I kneaded it for ten minutes (because the longer the dough is kneaded, the stronger the dough will be)

-
Cover the kneaded dough with a piece of emery cloth and let it rest for an hour (you can also use plastic wrap)

-
Once you wake up, start washing your face. (Put in less water at a time.) Washing your face is like washing clothes.

-
After washing the noodles, use a piece of emery cloth to drain out the coarse ones (you can also use a very fine mesh spoon) and then wash the noodles repeatedly. I washed them four times. Don’t put too much water each time

-
At the end of the wash, that’s all you need. Just rinse it with water and you don’t need to wash it anymore

-
Washed noodles and facial essence, I rinsed the facial essence with tap water for a while, and then left them overnight

-
When I woke up the next morning, the noodles I washed were precipitated like this. I poured out the yellow water

-
After pouring away the yellow water, stir the remaining flour evenly

-
Then take out the steaming grid of the steamer and clean it. Pour a little oil into it and spread it evenly on the bottom (you need two steaming grids, so you can use them interchangeably). After applying the oil, put it in and take out the steamed cold skin

-
Then scoop two spoons of the mixed flour water into the steamer grid (you can use more spoons if you want the cold skin to be thicker). I think two spoons is enough. It’s too thick and not delicious

-
Then put it on the boiling water pot and start steaming, (it’s best to have a pot with a transparent lid, so you can see if the dough is cooked) I can’t see this, I estimate the time myself

-
After steaming for a few minutes, it’s OK if you see big bubbles in the cold skin in the pot. If you can’t see it, just wait for three to four minutes. Remove the steaming grid and replace it with another steaming grid filled with flour water. Repeat this until the flour water is steamed and it’s OK

-
Then you can take the cold skin out of the pot and put it in a basin (put more water in the basin to avoid burning your hands when taking out the cold skin). When taking it out, use a spoon to lift it along the edge, and then lift it up with your hands

-
Put the removed cold skin aside. You can apply some water or oil on the cold skin to prevent it from sticking together when you put down one cold skin

-
All the flour is steamed into cold skin

-
Then tear the flour into pieces and put them on the steamer to steam. At the beginning, it was said that you should knead for a longer time when joining the noodles. The flour that is kneaded for a long time is very strong. After steaming the flour for ten to twenty minutes, you can see that the flour has expanded greatly, but it will deflate as soon as the fire is turned off

-
Put the steamed noodles on a plate, and when it's time to eat, just cut them into small pieces and mix them in the cold skin (this is my favorite)
