Classic Cranberry Cookies - with repurposed cookie cutters
Overview
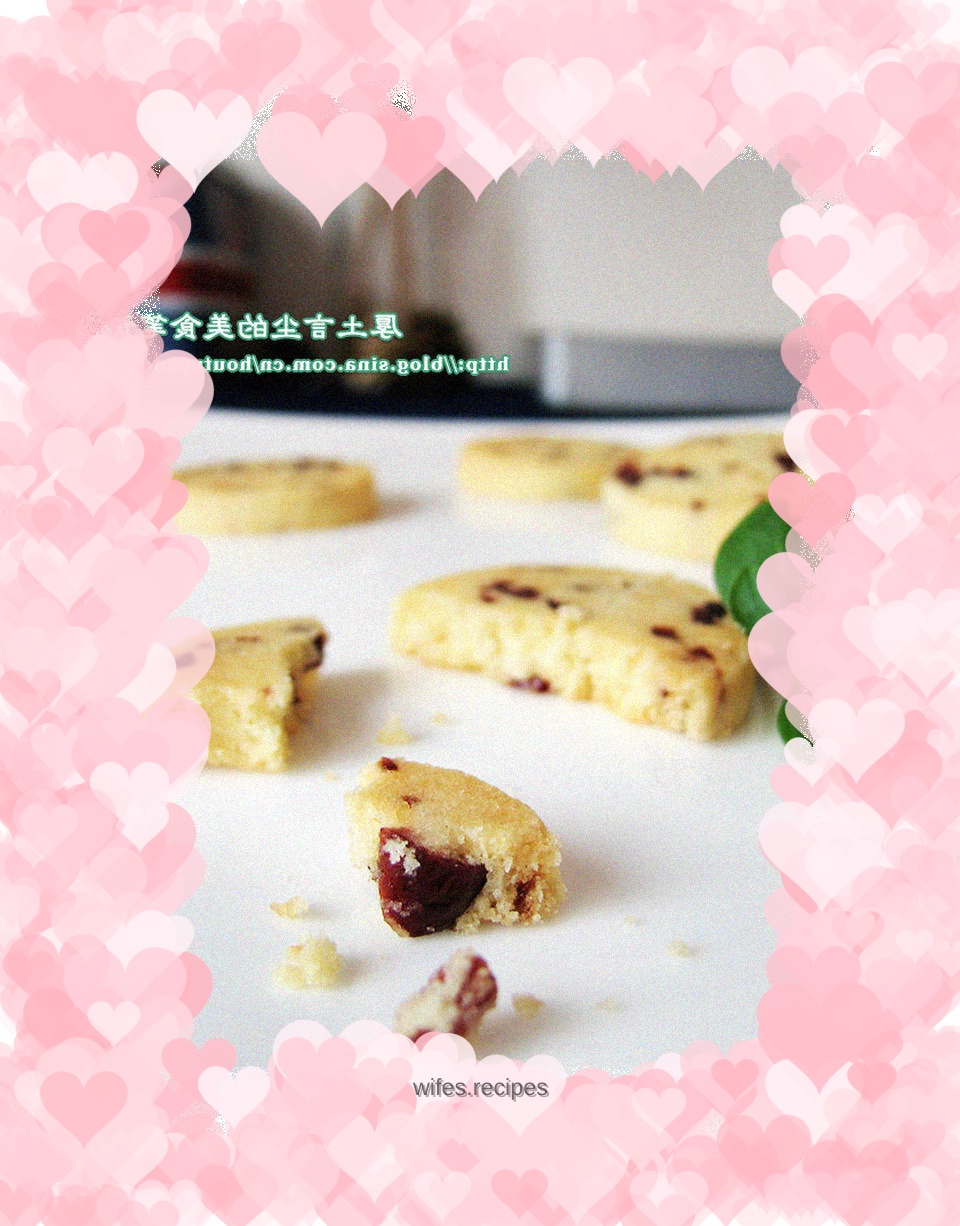
I learned this biscuit from @junzhi’s blog. Thank you teacher Junzhi for bringing such a delicious and easy-to-make recipe! The recipe has been slightly modified to reduce sugar and oil. After many experiments, I found it to be the most delicious. It has just the right amount of sweetness and doesn’t feel greasy.
Tags
Ingredients
Steps
-
After the butter is softened, add powdered sugar and beat evenly. No need to whip, as long as it is slightly white, a little fluffy, and looks very delicate.

-
Add the whole egg mixture and stir evenly until the egg mixture and butter are completely combined.

-
Stir in chopped dried cranberries. The advantage of using chopped dried cranberries here is that when you cut the biscuits at the end, the slices are relatively complete and there won't be a lot of crumbs.

-
Pour in low-gluten flour (you can also use regular flour with 11% protein content). The flour at this time can also be sifted. I have tested it and it is completely fine even if it is not sifted.

-
After pouring in the flour, use a spatula and stir evenly little by little until no dry powder can be seen. Then knead it with your hands a few times, three to five times. Do not knead too much to avoid gluten in the flour and the texture will be hard.

-
Knead the dough, roll it into a long strip, and roll it up with plastic wrap. At this time, you need to use an old-fashioned cookie cutter. Classic cranberry cookies - the old-fashioned cookie cutter comes with it. You can tell at a glance that it is a cylindrical plastic bag paper tube.

-
Roll the biscuit dough with plastic wrap, tighten both ends, and slowly, in a circular motion, stuff it into the paper tube. After stuffing, grab the plastic wrap at both ends with your hands, and twist it hard. You will feel that the dough is fully filled inside, and that's it.

-
Place in the refrigerator for 1 hour. The advantage of using a paper tube is that it maintains its shape and the dough will not deform because there is no flat storage place in the refrigerator. Another advantage is that it can ensure that the final biscuits are uniform in size. Once frozen, it's easy to pour the dough out of the tube.

-
Wear insulated gloves, don't tear off the plastic wrap, just cut with a knife into biscuits of the same thickness.

-
After cutting, tear off the plastic wrap. Because it is not completely cut, the film is connected in some places, so it is easy to tear off.

-
Preheat the oven to 160 degrees, place the biscuits on a plate, and leave some distance between the biscuits, because they will expand when baked, and if they are too crowded, they will stick together. Place in the preheated oven and bake until the surface is golden brown.

-
After baking, take it out and let it cool. Freshly baked biscuits are a bit soft and will become crispy after cooling. If there is still soft center after cooling, it means it is not baked through and you can return it to the oven and bake it for a while longer.
