Homemade strawberry jam
Overview
How to cook Homemade strawberry jam at home
Tags
Ingredients
Steps
-
To wash strawberries, first soak them in clean water for 15 minutes, then rinse them with running water, and then scrub them. It takes more than half an hour in total. Nowadays, strawberries are filled with pesticides, so you must be careful when cleaning them

-
flush

-
After washing, let cool slightly and cut into small pieces. The strawberries I chose are relatively small. Cut them into four quarters with two knives. Don’t cut them too small. If you like the whole fruit, you don’t have to cut them

-
Strawberries are ready

-
Next, for pickling, you should choose a container that is oil-free and water-free. First spread a layer of strawberries like this and cover it to the bottom

-
Next, add a layer of rock sugar. I used large rock sugar so it looks bigger. Small rock sugar from supermarket bags can also be used

-
One layer of strawberries, one layer of rock sugar, cover with a few more layers, not too few. I don’t use a lot of strawberries, so the container I found is relatively small

-
Get the strawberries ready, next the lemon

-
Regardless of whether you use your hands or a tool, just squeeze out clean lemon juice

-
Spread evenly over the freshly prepared strawberries, cover with plastic wrap and refrigerate

-
The refrigeration time is usually about one day, two days at most. I put it in the refrigerator at night and take it out the next morning to make it. If I make it the next day and find that the rock sugar has not melted completely, it doesn’t matter. I left it longer and it all melted. What I just took it out of was the separation of water and meat

-
Pour the milk into the pot and start to simmer over medium-low heat. The heat can be adjusted according to the pot you choose

-
There will be floating residue after boiling. It is recommended to remove the floating residue. Special reminder to prepare the tools to catch the floating residue before cooking. Don’t be like when I used it and couldn’t find it. I can only use a colander instead. The purpose of removing the floating residue is for the texture and the taste will be better

-
After cooking until the soup has a certain viscosity and the pulp is ripe, use a strainer to pick up the pulp and set it aside. Leave the syrup and continue to cook for 5-10 minutes. Control the time according to the amount of syrup. During the cooking process, take out the floating residue as soon as you find it (the pulp will change color due to the long time it takes to remove the floating residue with a colander, so you can remove the pulp after it is cooked)

-
When the syrup becomes darker and thicker, pour the pulp back into the pot and continue cooking for about 10 minutes. The picture shows how it looks after turning off the heat

-
Fill the bottle while it's hot. Prepare a rag and be careful because it's very hot. After filling, turn the bottle upside down and let it sit for an hour. Don't fill it too full. During the inversion period, the gel is in the gel, so don't move it casually. Also, inversion is exhausting and sterilizing, so that a vacuum effect is achieved. If you store it for a long time, you must disinfect and exhaust it well

-
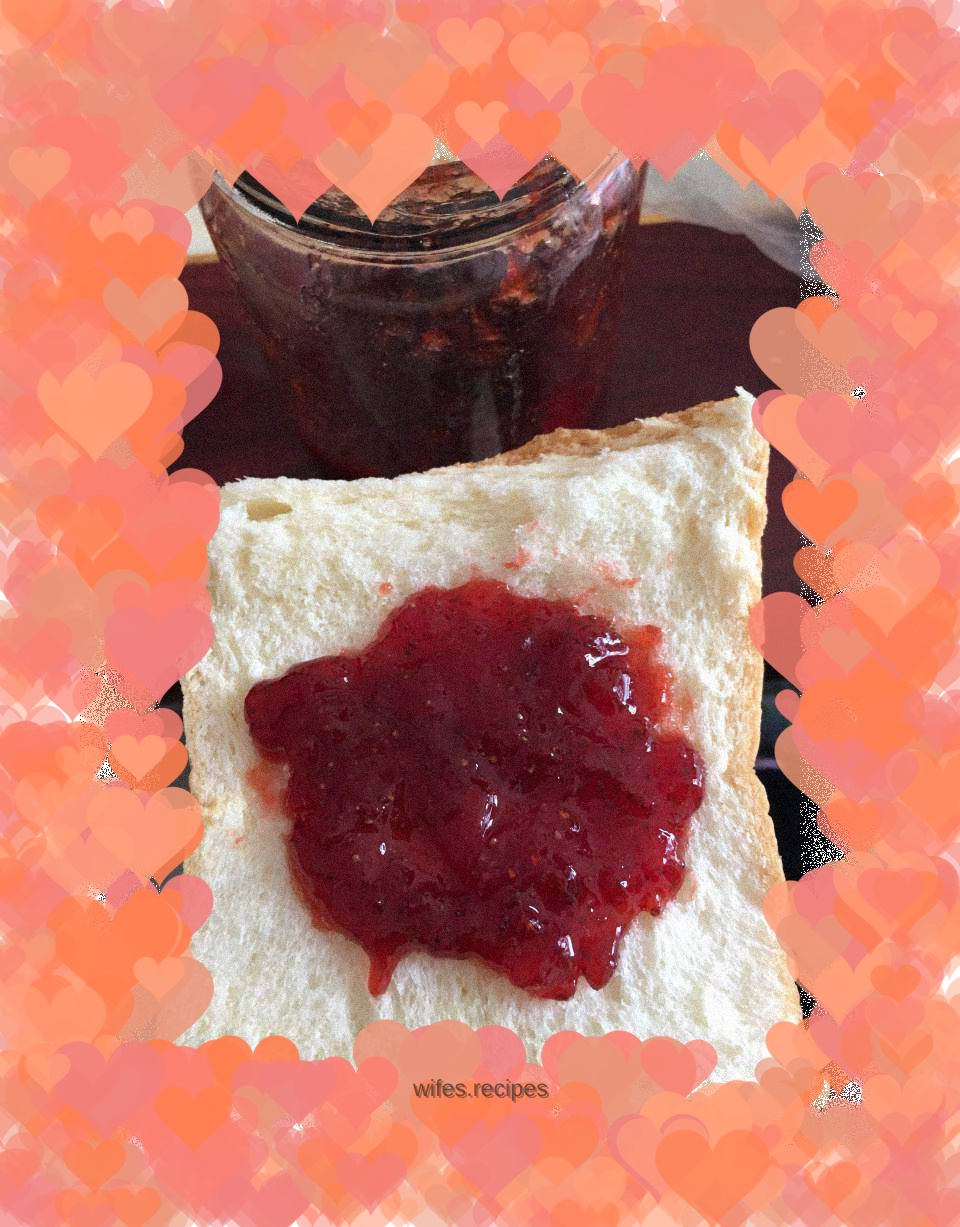
Finished ^ _ ^, the quantity is relatively small, and the bottles prepared are relatively large, so it looks more empty
