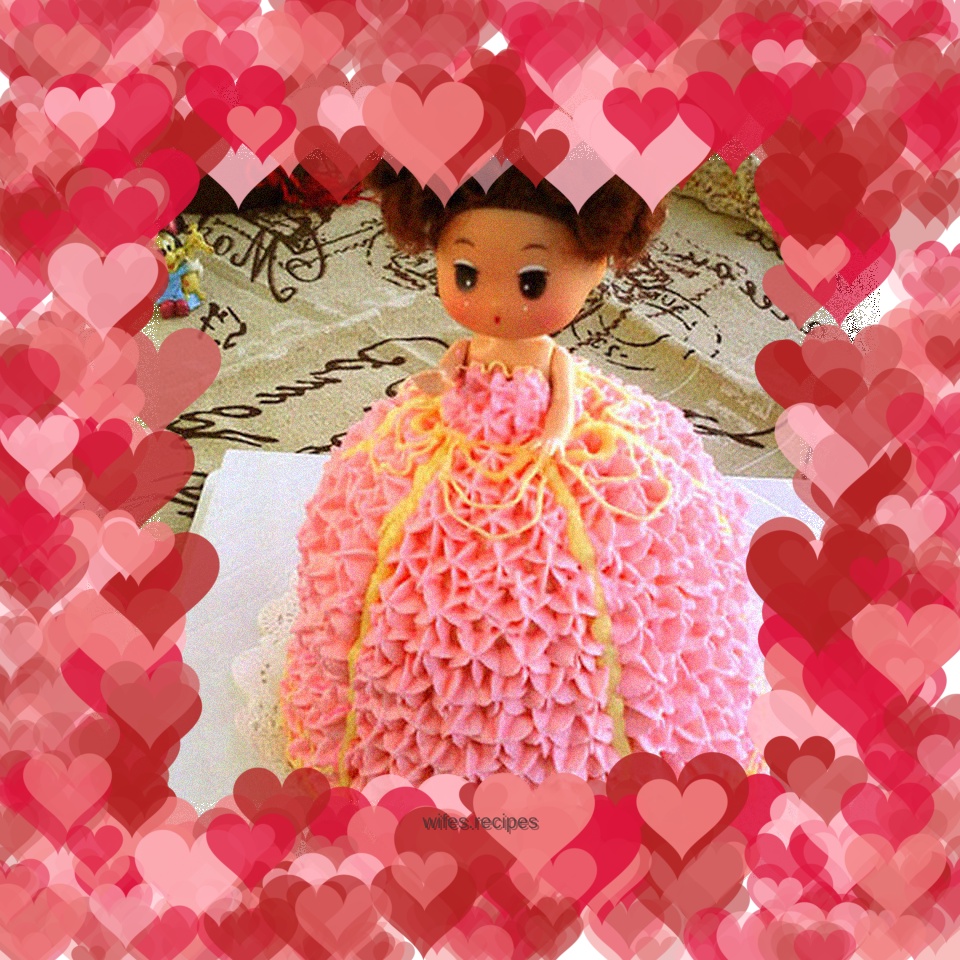
Decorated cake: pink little princess
Overview
I haven’t decorated flowers for a long time, but on my little friend’s birthday, I started to do this again. Little confused, it’s not a tall Barbie, just a 6-inch cake. I have too many ideas about dolls, so I just made a dress with dots. Pink, it is said that little girls like pink. I don’t know when the last little princess was, but I still have some impression of the problems at that time. Make it again and trim the long skirt as carefully as possible to make the curvature of the skirt appear more natural. This curvature seems to be acceptable, but it seems that the skirt could be larger. Maybe a 4.5-inch base would be better? I'm too lazy to use coloring to mix a little bit of yellow cream, it's easy to mix but hard to squeeze. I happen to have basic buttercream, use it as yellow buttercream to add a lace edge to the skirt, and it won't melt easily. Seems pretty good too.
Tags
Ingredients
Steps
-
Materials

-
Wipe the doll clean and wrap it in plastic wrap for later use

-
Cut off the top curved part of the cake

-
Cut out a 4-inch circle

-
Light cream and sugar

-
Beat it into a state that maintains the pattern and is not easy to flow

-
Spread on the cut edge of the cake

-
Roll up

-
Insert the doll into the middle hole

-
Trim the arc of the skirt

-
Place it on the 4-inch cake cut out and trim the upper and lower connecting parts

-
Take off the upper part and smear butter on the surface of the base

-
Place the upper layer

-
Spread butter all over the surface, lightly score the surface with a toothpick, and divide into 6 equal parts lengthwise

-
Pick a little red coloring and put it into the whipped cream

-
Stir evenly to form pink cream

-
Use a star-toothed nozzle to extrude star-shaped patterns on the surface in parts

-
Fill the 6 marked parts separately

-
Squeeze out the bra

-
Put the basic buttercream in a thin piping bag and fill in the marked lines with yellow lines

-
Draw two small arcs at the bottom

-
Curves are also squeezed out at the waist and top of the bra

-
Complete

-
Put into cake box

-
Tie it up with tape and tie it with a bow
