Chocolate Whole Egg Milk Cake
Overview
A simple and easy to make chocolate whole egg milk cake. In addition to chocolate, it can be made in nutty and fruity flavors!
Tags
Ingredients
Steps
-
Materials required. I didn't put the milk in it. I didn't even put the mold inside. This is not according to the amount of ingredients I wrote earlier. That amount is just enough to make the finished product. You can ignore the amount of this ==

-
Stir everything together. Remember, only stir in half the amount written in the ingredients! But use all the eggs! Use them all! Because the back half doesn’t use eggs! Do not add milk and water. Not included Not included! Remember, remember!

-
Put some chocolate beans. The problem is that when you put it in at first and then stir it, it will sink ==

-
Place the existing material into the mold. If you want to kiss it like I did, it is not non-sticky and must be oiled, otherwise it will not come off or it will be incomplete!

-
In the bowl are the ingredients I mixed for the second time. Pour in all the remaining ingredients! Milk, water, all! Remember, there should be no more eggs in this step! There are no eggs in the required ingredients, so compared to the ones in the mold, there is no egg yolk but milky white!

-
Put two and two together. If you want a visual effect, just stir the two gently, so that the two colors are not completely mixed. Before stirring, add a teaspoon of bread baking powder.

-
Preheat oven to 400 degrees Fahrenheit for five minutes. About 200 degrees Celsius.

-
Place in oven. I set it to 250 degrees Fahrenheit. About 175 degrees Celsius. Remember, it’s on the bake setting.

-
This is the effect after 20 minutes. Remember, be sure to poke it with a knife or fork to see if it is completely cooked!

-
Since I stirred the chocolate inside, it all melted into the ground. Slowly slide the knife across the side and take out the cake.

-
Let’s have a sense of achievement ==

-
The effect after incision. Mine is quite long, but quite flat. There is no problem with breakfast for two people~

-
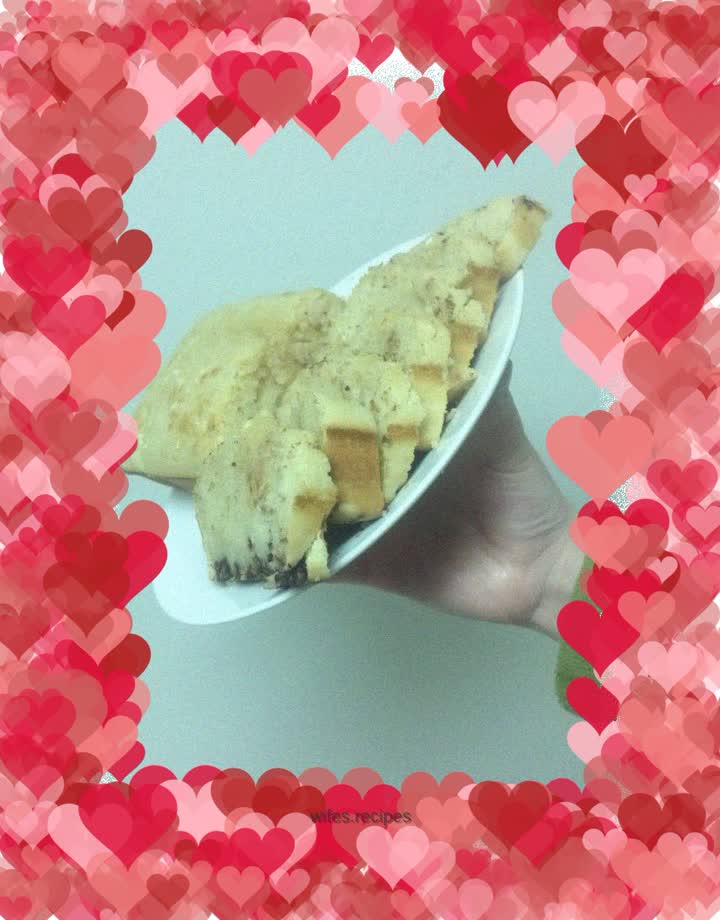
Here’s another picture of the final product!
