car cake
Overview
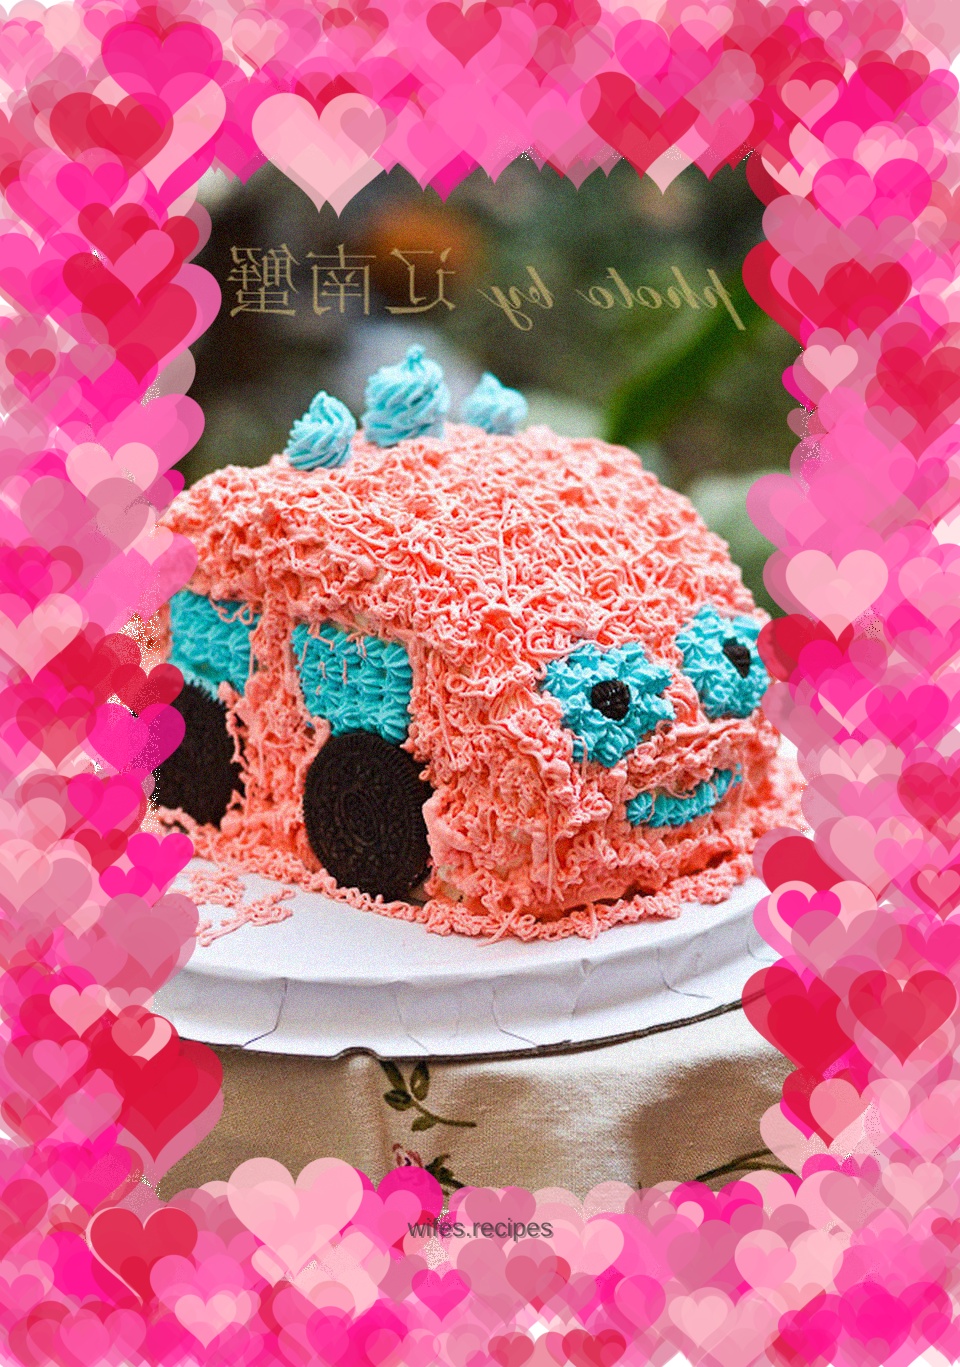
[Car Cake] A cute thing in the eyes of babies. It was my sister’s birthday. After much deliberation, I made this look. I really like it. It meets the needs of children. Once again, I feel deeply that you can only know how to make anything by doing it with your own hands. You can't just stay in your imagination. This car was not built as expected, but the result was pretty good, and it was obvious that it was a car. Ingredients: Eight-inch chiffon, about 400 grams of cream, an appropriate amount of pigment paste, a few pieces of Oreo biscuits, 40 grams of sugar. Method:
Tags
Ingredients
Steps
-
The baked chiffon is completely cool.

-
Unmold and clean the cake residue.

-
Lay the cake flat, measure it with a ruler, divide it into four parts horizontally, and cut off two parts on both sides. Stack the two cut pieces on top of the two middle pieces as shown.

-
Beat the light cream and sugar at low speed.

-
Spread the cream in every crevice,

-
Apply evenly around the outside.

-
Take a small portion of the cream, add the blue coloring paste, and mix evenly.

-
Put it into a piping bag and use a small chrysanthemum nozzle.

-
Squeeze out the eyes, mouth and windows of the car.

-
Attach Oreos to make wheels.

-
Add the remaining cream to the red pigment paste, mix evenly, put it into a flower bag, cut a small opening, and squeeze the car body evenly.

-
Finished cake car.
