Peanut Shaobing
Overview
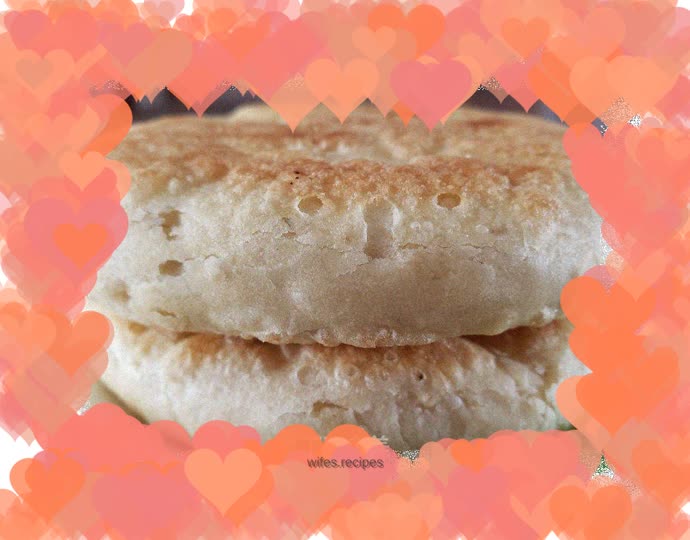
The layers are crispy, and the residue will fall off. It tastes better when cooled. It is golden in color, beautiful in appearance, fragrant but not greasy. It can satisfy your stomach as a staple food or a snack.
Tags
Ingredients
Steps
-
Mix yeast, sugar and warm water into flour, stir into floc, let it rise to double in size, and knead into a smooth dough.

-
Heat a pan, add peanuts, stir-fry over low heat, let cool and then remove the skin.

-
Crush some and set aside.

-
Knead to deflate the dough and roll it into a rectangular shape.

-
Spread crushed peanuts.

-
Sprinkle a little salt, oil and dry noodles, adding more layers to make them sticky.

-
Roll up from one end and pinch at the end.

-
Divide into evenly sized portions.

-
Pinch the two ends together, hold it upright and flatten it, then roll it into a thin round cake.

-
Heat the pan and add the pancake base.

-
Fry over low heat until golden brown on both sides.

-
Finished product picture.

-
Lots of layers and crispy.
