Chiffon Cake
Overview
Before the tutorial begins, let’s popularize the classification of cakes. According to the differences in methods and ingredients, common cakes can generally be divided into the following categories: Chiffon cake, also called chiffon, is called Chiffon in English. The original intention is that the texture of the cake is as light and smooth as chiffon velvet. The key difference in its production principle is that after the egg yolks and whites are separated, only the white part is beaten, using lighter liquid oil (instead of butter). Sponge Cake briefly and comprehensively describes the texture of the cake, which is as soft as a sponge. Compared with chiffon, the biggest feature of its production process is that it uses whole eggs for beating. Although the texture is fluffy, it does not have the silky smooth feeling of Qifeng. The advantage is that it has better supporting capacity than chiffon. Therefore, the sponge cake body is mainly used in multi-layered fondant cakes that appear at wedding banquets and other events. Cotton Cake is similar to Chiffon in that the egg yolk and white are separated. The core difference lies in the use of hot noodles, which creates a fluffy texture by contacting hot oil with flour. Its taste characteristics are like Cotton Candy (not Marshmallow), which melts in the mouth. As for other mousse cakes, cheesecakes, etc., or variations of ice cream, or variations of pie, I don’t want to classify them in this way based on the cake itself. Disclaimer: The following ingredient ratios and methods are referenced from Taiwanese baker Meng Zhaoqing
Tags
Ingredients
Steps
-
If you are tired of reading the text, you can scroll down to the end of the article to watch the full video. First, let’s explain the liquid in the ingredients. If it's easiest, just use milk. If you want orange flavor, use orange juice. Here I use matcha, which many people like. It’s about 3-4 spoons. Remember to brew it with hot water around 80-90 degrees, then let it cool down for later use.

-
Prepare two large plates, with the ones holding the egg whites close to you. Then separate the egg whites and yolks. Knowledge points: 1. Remember to check the egg white basin repeatedly to ensure that there is no oil or water residue. 2. For eggs with a thin yolk skin, it is better to leave a little protein on the yolk than to break the yolk. 3. If it is accidentally broken, remember to fish out the egg yolk liquid from the egg white as soon as possible.

-
Release the egg white plate and now prepare the solution for the egg yolk part. Add about 1/3 of the sugar (40 grams) to the egg yolks and stir immediately. If 1/3 is difficult to figure out, you can divide the sugar into 2 parts, one 40 grams and one 80 grams. (Under the 5-egg version) After the white sugar comes into contact with the egg yolk, stir it up quickly and stir until the sugar particles are no longer visible.

-
To add vegetable oil, you can use the Western-style salad dressing method, that is, pour the oil with one hand and stir with the other hand to let the oil absorb the egg liquid. Regarding the choice of oil, try to choose something that has no flavor, such as sunflower seed oil. Avoid olive oil!

-
Pour in the cooled matcha water and do the same thing. p.s. When making the recipe, I only prepared 60 grams of water, which caused the liquid in the next step to be a bit sticky and the final product to be dry.

-
Add a pinch of salt and half a teaspoon to the low-gluten flour, then sift together and add to the egg mixture. If the sieve you are using is of the same radius as the pot, you can choose to use the "pressing" method to sift the flour, which will not make a mess in the kitchen.

-
Make a "well" with an egg beater and mix the flour and egg slurry evenly. The purpose is to let the flour eat into the egg liquid without leaving particles.

-
At this point you can preheat the oven to 375 degrees Fahrenheit/190 degrees Celsius.

-
Now comes the most important step: beating the egg whites. First, use medium speed to make the egg whites a little foamy (about 10 seconds), and then add a few drops of acidic substances to the egg whites: such as white vinegar/lemon juice/tarta powder. The function of acidic substances is to make the protein more stable and less likely to be beaten.

-
Then turn the machine to high speed and pour in the sugar one at a time.

-
Check the syrup on the side of the bowl below and use a spatula to scrape it back into the egg whites. Beat until dry and foamy, then beat at low speed for a few rounds. Knowledge point: The so-called dry foaming must have a strong and powerful hook when pulling out the egg beater.

-
Then we mix the egg yolk liquid and egg white. It turns out that the denser egg liquid is diluted with a part of the lighter liquid first, and then the two are mixed. The advantage of this is that heavier liquids will not sink to the bottom. Knowledge point: Remember to stir during the whole process, so as to retain the pure air in the egg whites to the greatest extent.

-
Transfer the egg mixture to the mold. If the egg whites are beaten successfully, the egg liquid cannot flow in the mold. At this time, we need to rotate the mold to fill it evenly.

-
Finally, we use a spatula to smooth the surface, and then beat the entire mold to eliminate bubbles in the cake. Note my wording: this is bubbling. If it is not eliminated, there will be large irregular holes in the cake after it is cooked. The air mentioned before is formed by combining air and protein through the whipping process, and is also the main reason why the cake can rise.

-
Place in the oven, lower the temperature to 365 degrees Fahrenheit/180 degrees Celsius, and bake for 35-40 minutes, depending on the thickness of the egg liquid and the degree of burnt aroma you like. Extra: For those who don’t have an oven, you can pour the egg mixture directly into the egg rice cooker (up to half full), and it can be used to bake cakes in the rice cooking mode.

-
Extra: For those who don’t have an oven, you can pour the egg mixture directly into the egg rice cooker (up to half full), and it can be used to bake cakes in the rice cooking mode.

-
After taking it out of the oven, insert a bamboo skewer into the bottom and pull it out. Check whether there is any egg liquid remaining on the bamboo skewer. If not, it means the cake is fully cooked.

-
Let the cake cool in a reversed position to prevent the cake from shrinking and deforming. If you are not taught how to cook this kind of mold, you can find 3 utensils with the same height and find 3 support points on the edge of the mold to cool it.

-
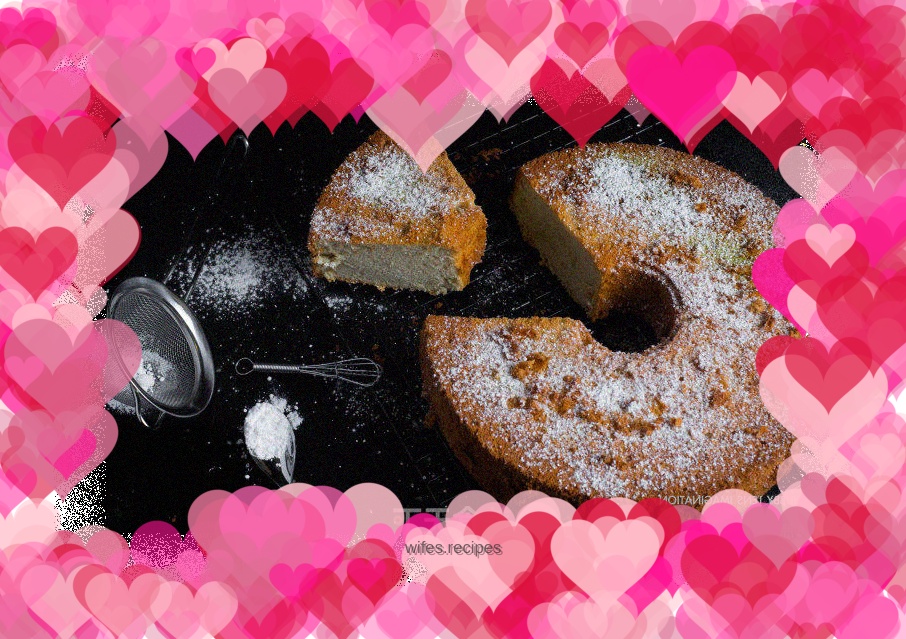
Finally, we can use a scraper to remove the mold. If you have obsessive-compulsive disorder or have special requirements for perfect cake skin, you can also use manual demoulding.
