Swan Lake Fondant Cake
Overview
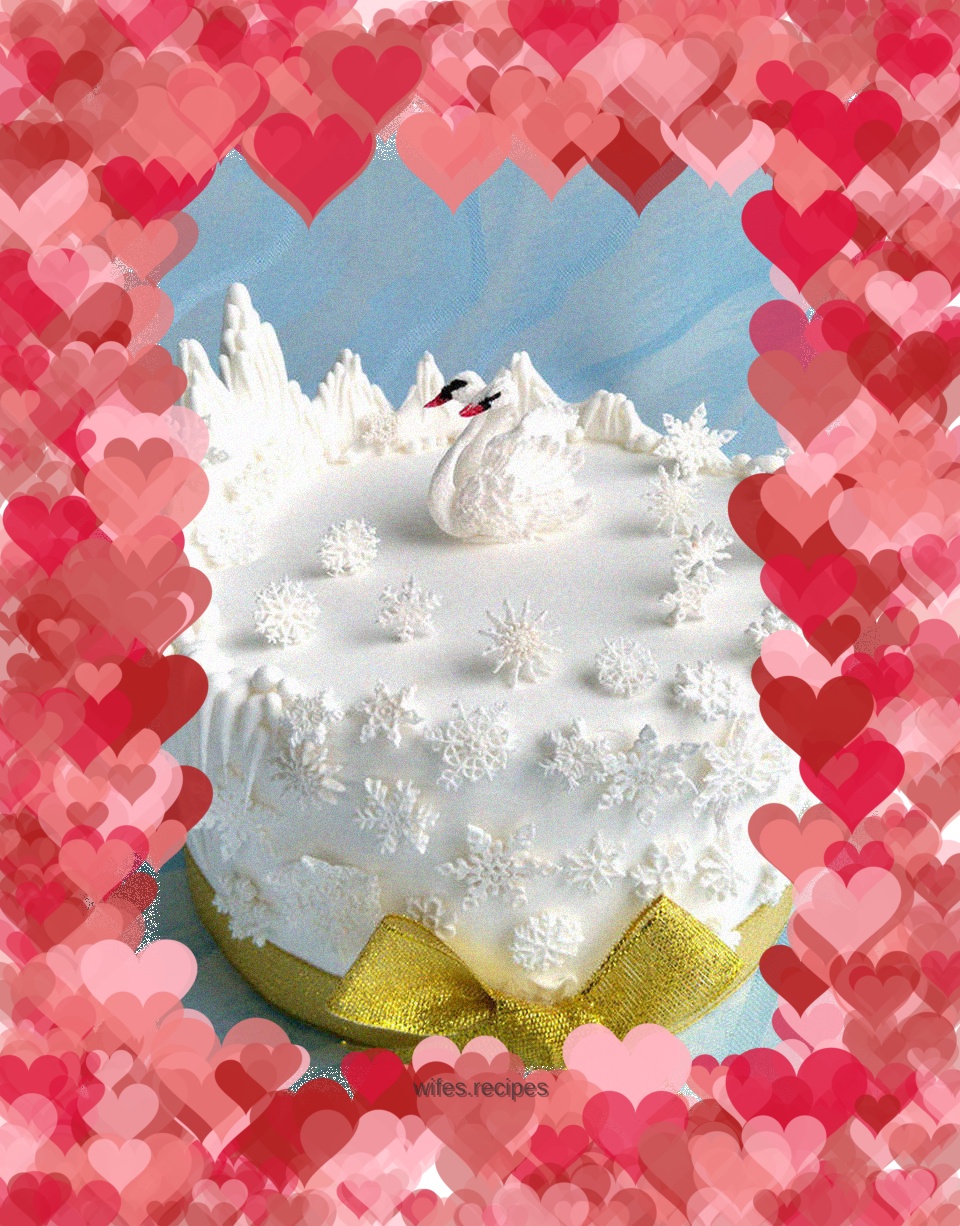
The cake base is a six-inch sponge cake,
Tags
Ingredients
Steps
-
Bake the sponge cake embryo first: Crack the eggs into a mixing bowl, add fine sugar and a few drops of vanilla extract, and beat with an electric egg beater

-
Beat until you lift the whisk, the dripping lines will not disappear quickly, and the lines on the surface of the egg batter are clear

-
Sift in the low flour, use a spatula to turn it up from the bottom and mix well, mix well each time until the dry powder is no longer visible, and then sift in the next time

-
Then slowly pour vegetable oil or melted and cooled butter along the edge of the eggbeater, mix well and pour into a six-inch round mold, shaking it a few times to release large bubbles. The fluidity of cake batter is better than that of chiffon cake, so there is no need to smooth it out

-
Place in the middle rack of the preheated Petrus oven, heat up and down to 150 degrees, and bake for about 40 minutes

-
While the cake is baking, mix an appropriate amount of dry Pez and fondant, press it into the mold, smooth the edges, remove from the mold after drying and set aside

-
Make the swan in the same way. I made two types and found that the white swan works better with the black swan, while the black swan is suitable for another style

-
Demold after completion

-
Use edible coloring pens to draw the beak and eyes

-
Take out the baked cake and let it cool

-
After demoulding, smooth the surface with an appropriate amount of buttercream. The buttercream is to increase the bonding between the cake embryo and the fondant skin, and also to ensure a smoother surface. Personally, you don’t need to use it. The right angle on the top edge can be slightly shaved off

-
Roll out the fondant and spread it on top to wrap the entire cake

-
Overlap the necks of the two swans and glue the bottoms together with fondant melted in a little hot water. In the same way, stick snowflakes on the front

-
Take a piece of fondant dough and add a little dry Pez, shape it into a snow cone with a round end and a pointed end, and stick it to the edge. After adding Pez, it solidifies faster and is easier to shape

-
The stacked effect

-
Use your hands to knead the snow peaks with different heights and cover them with the prepared snow cones

-
The bottom of the snow peak is covered with some "snowballs" and snow cones, similar to the rolling snow

-
After completion, stick some of the snowflakes upright on the surface to create the effect of falling snow
