Hibiscus bean buns--when they bloom in spring
Overview
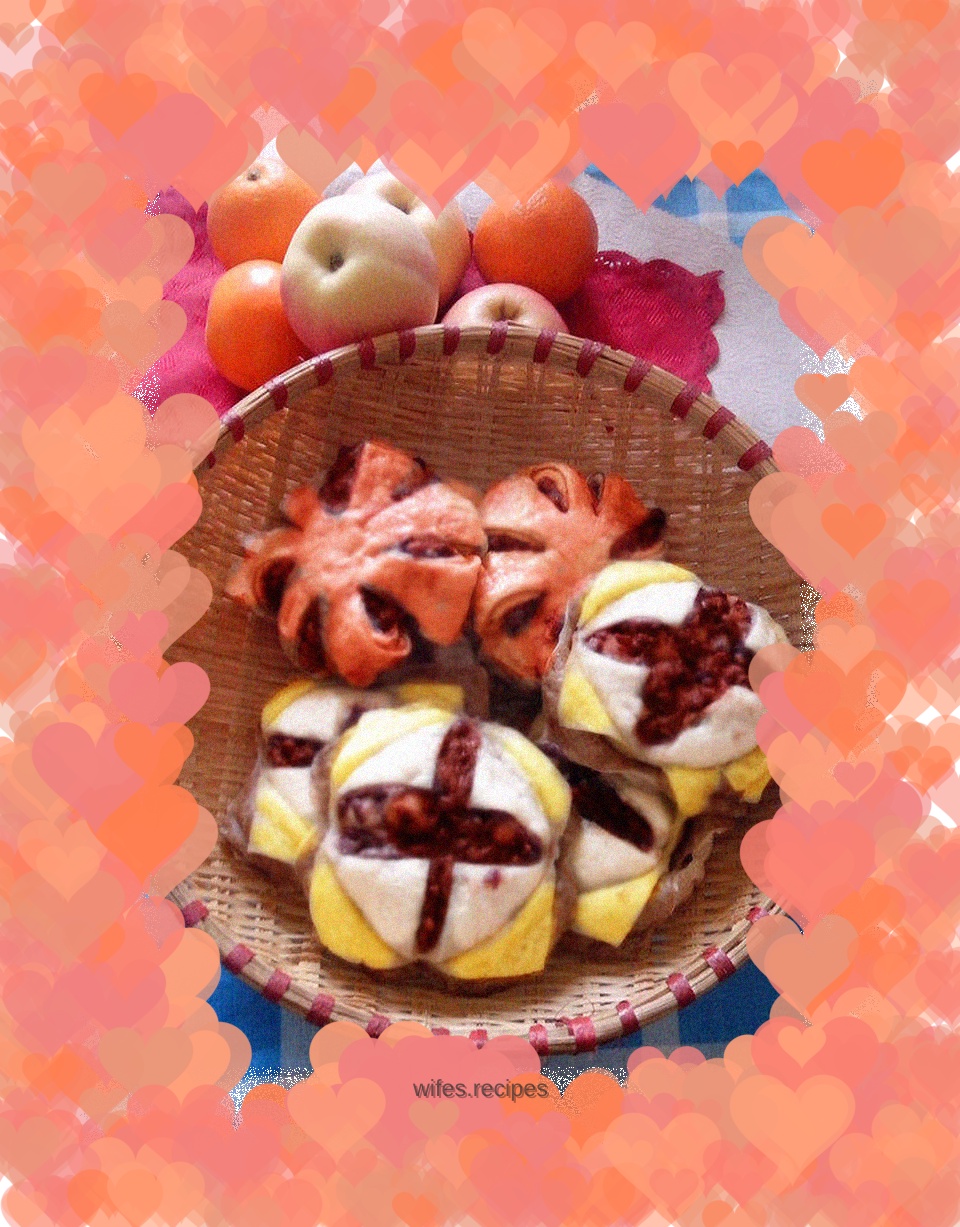
The colorful steamed buns look the most appetizing. The outer shell of the bean bun here is mixed with rosella water. In fact, carrot juice also works well. I like to cook my own bean paste filling, it tastes better than the ones sold outside.
Tags
Ingredients
Steps
-
Soak roselle in boiling water to get a deep color

-
Add 10g of butter and a tablespoon of sugar to the bean paste filling and mix well. The bean paste filling here is best cooked dry

-
Add 400g of flour and appropriate amount of dry yeast and mix well

-
Prepare a cup of warm water, about 40 degrees

-
Add to flour and mix until fluffy

-
Take out a quarter of the noodles, add roselle water and mix well. I forgot to mention before, add some sugar to the roselle water

-
Knead into dough

-
Melt the remaining butter over water

-
Take another quarter of the dough and add butter

-
Knead into dough

-
Heat the water to melt the chocolate. I used boiling water, which melts quickly, but the chocolate sauce needs to be slightly warm before use

-
Make a dough with a quarter of the flour

-
Add the remaining quarter directly to the sugar water and mix into a dough, leave it in a warm place to ferment until doubled in size, then take it out and knead the dough to deflate the air

-
Cut the dough into 8 even pieces

-
Cut dough

-
First take a piece of white flour, flatten it and roll it into a round shape

-
Add appropriate amount of red bean paste

-
Use steamed buns to close the mouth

-
Take another piece of butter dough and roll it into a round dough

-
Use the same method to put the bean paste on the white bread

-
Then there’s the chocolate bark

-
Finally wrap the roselle skin

-
All eight are wrapped

-
Make a cross on the back of the closing area

-
Separate the petals, put them in a steamer and steam them over high heat for twenty minutes
