Eight-inch chiffon cake (novice package will be super detailed)
Overview
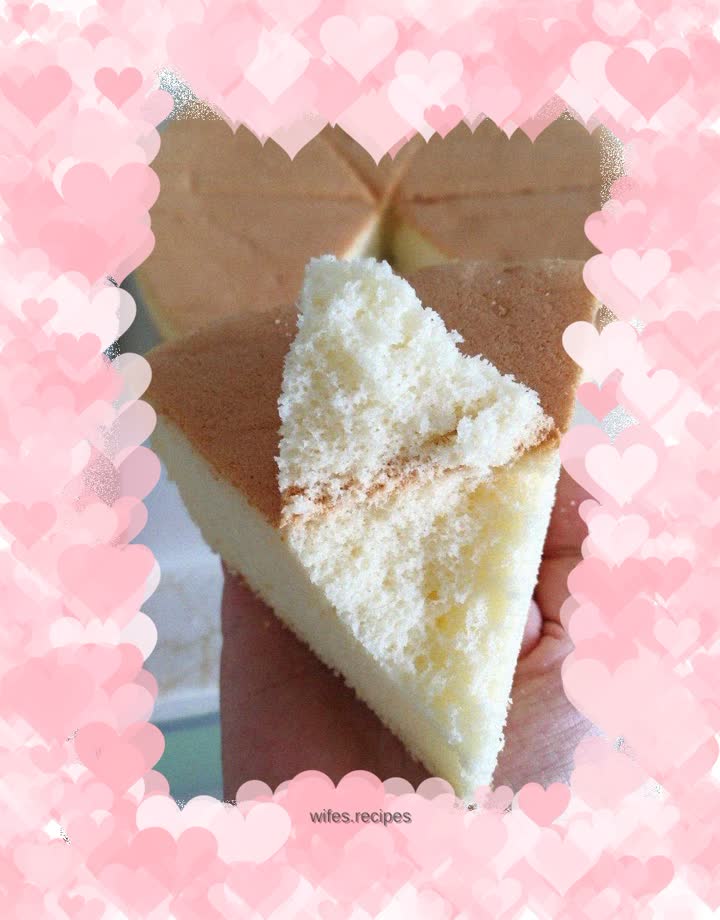
I have made chiffon cake countless times, and it is becoming more and more comfortable. Many novice friends ask me how to make chiffon cake. Today I will write down the steps of chiffon cake in detail. Just follow the steps strictly to ensure that there will be no cracks, no collapse, and a delicate taste
Tags
Ingredients
Steps
-
Prepare the required materials, weigh the flour and sugar in advance, and use ordinary fresh eggs, about 60 grams in size. I have tried using stupid eggs several times, maybe because the yolk is large, but the effect is not as good as ordinary eggs

-
Add 50 grams of corn oil to 60 grams of water and beat until emulsified. Pour in about a quarter of the prepared white sugar and stir evenly. Reserve the remaining three-quarters for beating egg whites

-
Separate the egg whites and egg yolks. Make sure the basin containing the egg whites is water-free and oil-free. Do not break the egg yolks during separation

-
After mixing the egg yolks evenly, sift in the low-gluten flour. Be sure to sift it, otherwise there will be particles easily

-
Quickly mix the flour in horizontal and vertical directions without stirring in circles to avoid gluten formation

-
Add a few drops of white vinegar to the egg whites to remove the fishy smell and make it easier to beat. Beat for about ten seconds until they become foamy. At this time, add sugar for the first time

-
Continue to mix at high speed with the electric whisk until the big bubbles disappear and a fine foam appears. Add sugar for the second time

-
Add sugar for the last time when lines appear and do not disappear quickly

-
After beating, there will be no bending, and the foam will be very dense.

-
Take out one-third of the egg whites, mix them with the egg yolk paste evenly, then pour it back into the large bowl and mix the whole mixture evenly. Remember not to stir in circles

-
Preheat the oven for ten minutes in advance, pour the cake batter into the mold, smash it flatly on the ground a few times to shake out the air bubbles, and place the bottom shelf of the grill

-
In the first half of the process, bake at 130 degrees for half an hour. During the process, the cake will first bulge from the outside and dent in the middle. Then it will slowly bulge completely. When it is close to half an hour, it will be in the picture state. If it bulges too fast or cracks, it means the temperature is too high. You need to adjust the temperature according to your own oven.

-
In the second half of the process, bake at 150 degrees for half an hour. If the coloring is too fast, the upper tube can be lowered by ten degrees. The cake will be the highest at the beginning of the second half of the process, and will flatten back when it is ripe. The picture is the state at the end of five minutes. After baking a few times and mastering the temperament of your oven, it will be easier to operate

-
After turning off the heat, if the cake is flush with the mold, you can invert it immediately. If like me it is slightly higher than the mold, you can let it sit in the oven for a while and wait until it is flat before inverting it. If it falls short of the mold after baking, it means that the egg whites are not whipped properly or the foam is defoamed by over-stirring. You should pay attention to improvement next time

-
After cooling completely, it will be basically flat. If you are not in a hurry, it is best to keep the door closed in the oven and cool slowly

-
The one I made is relatively tender, and there is basically no mushy skin on the bottom. If you like a hotter taste, you can slightly increase the bottom heat in the second half

-
The cake is fluffy and soft, and it doesn’t feel dry when you eat it. It’s a great breakfast for children
