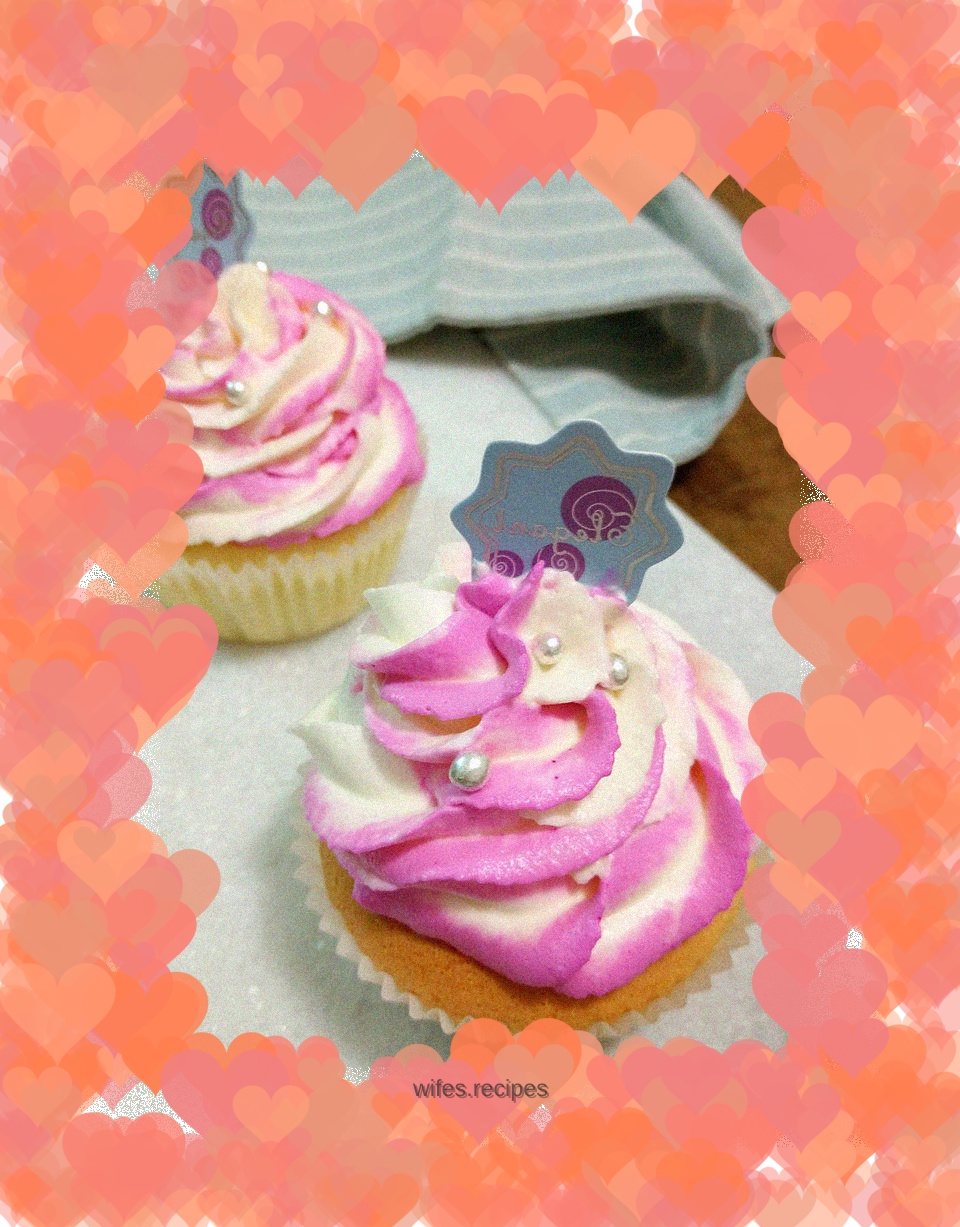
Two-color cream cupcake
Overview
This article mainly shares two methods with you: one is a quick and easy way to make a split egg sponge cake; the other is a simple method to make the decoration of the basic cupcake more colorful. The body of cupcakes can actually be of various types, as long as you like it. Personally, I prefer to use sponge, because it is not easy to shrink and collapse after baking, and it has disadvantages for the decoration at the back. Most sponges are beaten with whole eggs. Newbies may have difficulty beating them in place and affect the finished product. However, using the egg-splitting method can avoid this problem well and the success rate is higher. So if you can't beat whole eggs, it's still worth a try. I actually used two recipes for this recipe, one with only 10 grams of oil added, and one with 10 grams more milk. Of course, the one with milk will be slightly moister, it depends on personal preference.
Tags
Ingredients
Steps
-
After the egg yolk and protein are separated, add a few drops of lemon juice to the egg white and beat into a rough foam.

-
Add sugar one at a time, from low speed to high speed and then to low speed. Finally, reduce the bubbles at low speed and beat until dry foam.

-
Add the egg yolks one by one to the beaten egg whites, beating a few times with a whisk at low speed after each addition.

-
Beaten eggs.

-
Sift in the flour and mix in a J-shape from bottom to top, turning the plate while mixing.

-
Mix into a fine batter.

-
Pour the salad oil along the spatula and mix again. (If you are adding 10 grams more milk, mix the milk and oil evenly in advance and add it at this step.)

-
Use a piping bag to pipe the batter into the mold until it is 8-9 minutes full. You can apply a little more dough on the surface.

-
Put it in an oven preheated to 180 degrees, and turn it to 140-150 degrees and then 160 degrees for about 25 minutes. The color in my first oven was a little light, you can increase the heat in the last few minutes and bake until the surface is colored, there is no cracking on the surface, and there are some spots on the edges. (In the second furnace, I added 10 grams of milk and kept it at 160 degrees for 25 minutes. The surface was a little cracked.) Neither method shrank.

-
You can check that this is without milk. (Because of the light problem, the actual color is lighter. You can also increase the heat and bake in the last few minutes until it takes on color.)

-
Without milk

-
This is with milk added. 160 degrees for 25 minutes, the surface is a little cracked)

-
This is with milk added.

-
Add powdered sugar or caster sugar to the whipping cream.

-
Whip the cream on low speed throughout. When the cream begins to have lines, it will be easy to over-beat it, and the over-beating cream decoration will be rough. At this time, you can pour a little more cream in and beat it a few times to save it.

-
Take a portion of the cream and dip a toothpick in some coloring.

-
Mix in the coloring cream.

-
Fill the piping bag with the nozzle and put it on a cup.

-
Spread 1 or 2 strips of red cream on the edge.

-
Then put white cream in the middle.

-
As shown in the picture, the two-color cream is ready. (This method can be used in other places.)

-
Then just squeeze it up. Squeeze it layer by layer from the outside inward and finally close it, and add some decoration to make it more beautiful.

-
Finished product.

-
Finished product.

-
It is said that this is the correct way to eat a cup cake. Ha~~~
