Two-egg six-inch chiffon cake
Overview
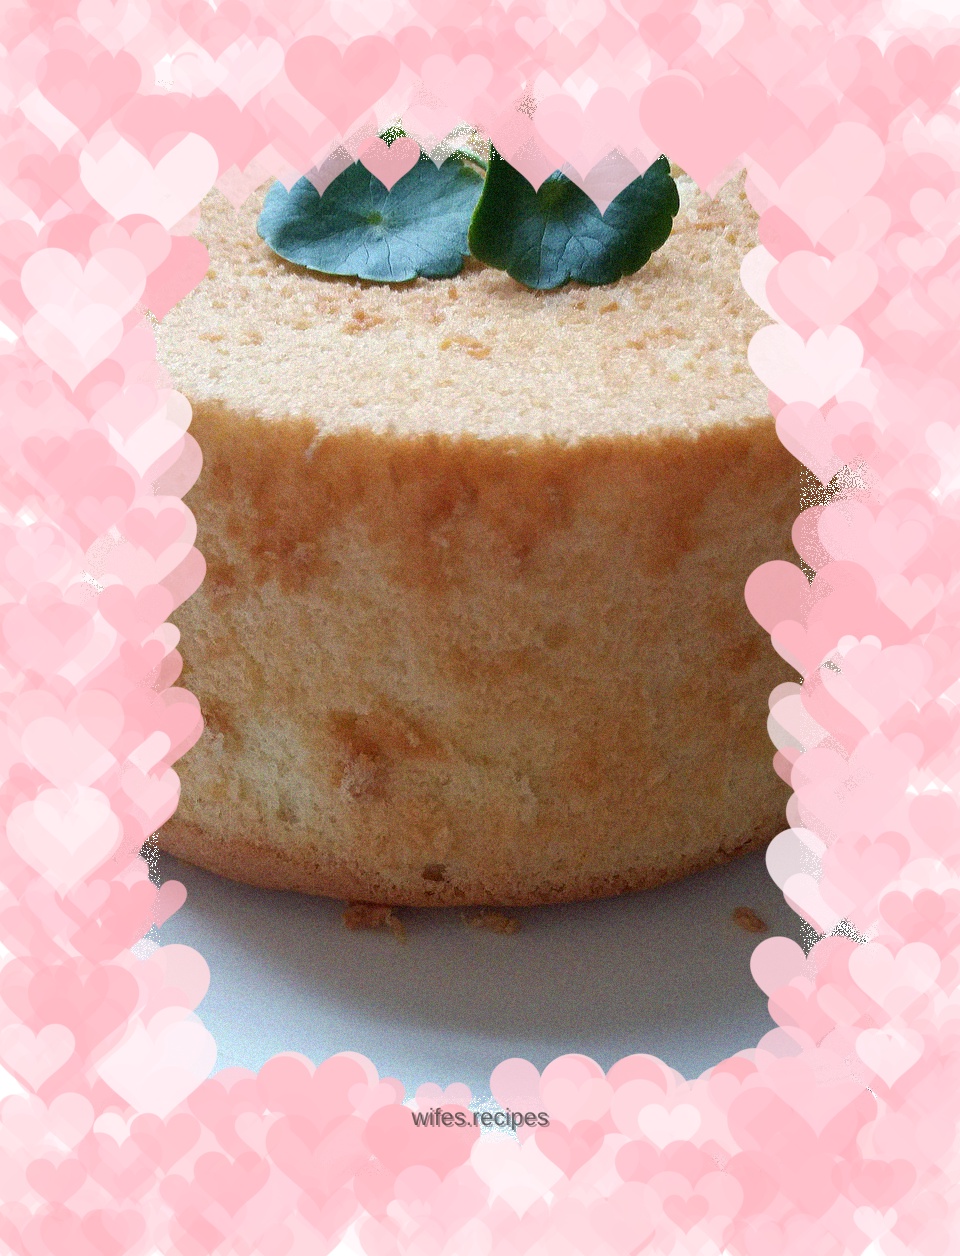
The two-egg six-inch chiffon cake is very suitable for beginners to practice. This recipe has a small amount and is easy to operate. Just follow the recipe step by step and the success rate is 100%. The following points should be noted: 1. When making chiffon cake molds, you must use a positive mold, which will stick. Never use a non-stick mold. Choosing the wrong mold will affect the cake's growth. Of course, if the cake is not tall, it will affect the softness of the cake. 2. The sugar should be put in three times. The first time there will be fish-eye bubbles, the second time the egg whites will become as fine as cotton, and the third time the egg whites will have obvious lines. 3. The egg whites must be beaten to a reasonable level. Lift the egg beater and hold it horizontally until the tip of the egg whites has a small curved hook. If it becomes a small point, it means it has been hard foamed, and the surface of the finished product will crack. 4. When it comes out of the oven, it must be placed upside down on the grill, and it must be allowed to cool before unmoulding. The cake will collapse when removed from the mold (that is, the center of the cake will shrink). The first two pictures on the cover were taken off with a stripping knife, and the last one was taken off with bare hands.
Tags
Ingredients
Steps
-
Add 30 grams of corn oil, 35 grams of milk, and then add 15 grams of white sugar. Mix the three into an emulsified liquid (the sugar needs to be dissolved).

-
Start dividing the eggs (the eggs should be refrigerated eggs taken out of the refrigerator, 65 grams with the skin is best, a gram or two is fine, at least not less than 60 grams), your hands and the egg beater should be clean, and keep them free of water and oil. Be sure not to mix the egg yolk into the egg white (if you mix the eggs, you have to start over).

-
Add 2 egg yolks to the emulsified milk and sugar oil liquid, stir evenly, and set aside. Beat the egg whites first. Beginners can choose a container with a wide mouth and a shallow basin to facilitate stirring.

-
When beating egg whites, the sugar must be divided into three parts evenly. When making big bubbles for the first time, add one part of sugar, which is what everyone calls fish-eye bubbles.

-
Continue beating until the egg whites become as fine as cotton and add the second portion of sugar.

-
Continue to beat, when the egg whites appear obvious lines, add the remaining sugar

-
Lift the egg beater and raise it flat. If a small sharp corner appears on the front end, the whisk is successful. Put the beaten egg whites in the refrigerator and start mixing the cake batter.

-
Sift low-gluten flour into the egg yolk liquid.

-
I like to use egg beaters and mix in a zigzag pattern. The movements should be gentle and the frequency should not be too fast to avoid gluten production. Do not stir in circles. The egg batter becomes smooth and delicate, with no particles.

-
Divide the total amount of egg whites into three portions. Put one-third of the egg whites into the egg batter basin. Hold the basin with your left hand and use the diagonal ")" technique with your right hand (that is, from the 3 o'clock position to the 6 o'clock position) to stir it up and down evenly. At the same time, turn your left hand to the basin body in the opposite direction. Until the protein is no longer visible. Movements are gentle and quick.

-
At the same time, you can preheat the oven to 150 degrees and bake for 60 minutes. Take half of the remaining egg whites and mix well in the same way.

-
Mix the remaining egg whites in the same way (everyone recommends pouring the egg batter into the remaining egg white bowl. I have used both methods. This does not matter. Use whatever is convenient).

-
Pour the egg batter from high into the six-inch live bottom chiffon mold. This can reduce bubbles. Then lift the mold with both hands flat and shake it about 10 centimeters above the ground to force out the bubbles. Bubbles will create large cavities in the cake, and too many bubbles will make the cake texture rough and not delicate.

-
Place the mold into the lower layer and start baking. The oven temperature must be controlled well. After taking it out of the oven, be sure to turn it upside down and let it cool. Do not unmold until you can no longer feel the temperature. Never use heat to remove the mold, otherwise it will definitely collapse and shrink.

-
After cooling, remove from the mold. You can use a demoulding knife or bare hands. When demoulding with bare hands, gently press the edge of the cake body with the palm of your hand and press down at an angle, rotate the mold, when the entire cake body is separated from the frame, push out the bottom of the living mold with force, stand the demoulding bottom up, press the cake body gently, and slowly separate, do not break it hard.
