Recipes tagged "Spiced Olive Oil"
2 recipes found
-

Pizza Focaccia
The natural yeast in the refrigerator has been sleeping for a long time, so I took it out to grow and then replaced the Polish yeast to make this pizza focaccia. Pizza focaccia is much richer in decoration than Naples. I designed three kinds of decorations, which need to be added before the dough is proofed (pre-proofing), those that need to be added before baking and those that need to be added during the baking process (during baking), the latter is usually added in the last few minutes. Some garnishes—such as sun-dried tomatoes, olives, and nuts—need to be wrapped in the dough, which prevents them from burning and falling off. Some ingredients are less fragile and can be placed directly on the dough, such as high-moisture cheeses (such as blue cheese) and meat slices, because they will not fall apart during fermentation. Ingredients that need to be added to the baking are usually cheeses that burn easily, such as shredded cheese. Take a look at the decorating material suggestions listed in the book and try to use whatever you can get your hands on. In fact, I am worried that the chicken breast, which has little oil content, will be roasted into jerky. I still follow the recommendations in the book and put the meat in before baking, hoping that it will not be burnt. Looking at the size, I suddenly thought of a 9-inch pizza pan, which is just right for use. I have been making small portions of bread, so these large molds have almost no use. They have been idle for a long time and rarely come out to see the light of day. The advantage of using a mold is that the finished product has a regular shape and is much rounder than the previous two Neapolitan pizzas. I was shocked when I saw the temperature settings in the book. Preheat the oven to 288°C, and if possible, preheat to 316°C. Calm down and set the oven to the highest temperature of 270 degrees. There should be no problem, right? After baking for 5 minutes, when the dough seemed to be coloring, I took it out and put cheese on it. Hopefully the bread and cheese will be of the same color this time. But no, the cheese was already golden brown and the bread was only light yellow. It turns out that the dough needs to be colored so slowly? The color of the cheese cannot be any darker, and the bread can only be left as it is, looking particularly white against the color of the cheese. . . The skin is quite crispy and can be broken if you don't pay attention.
Baking old man -
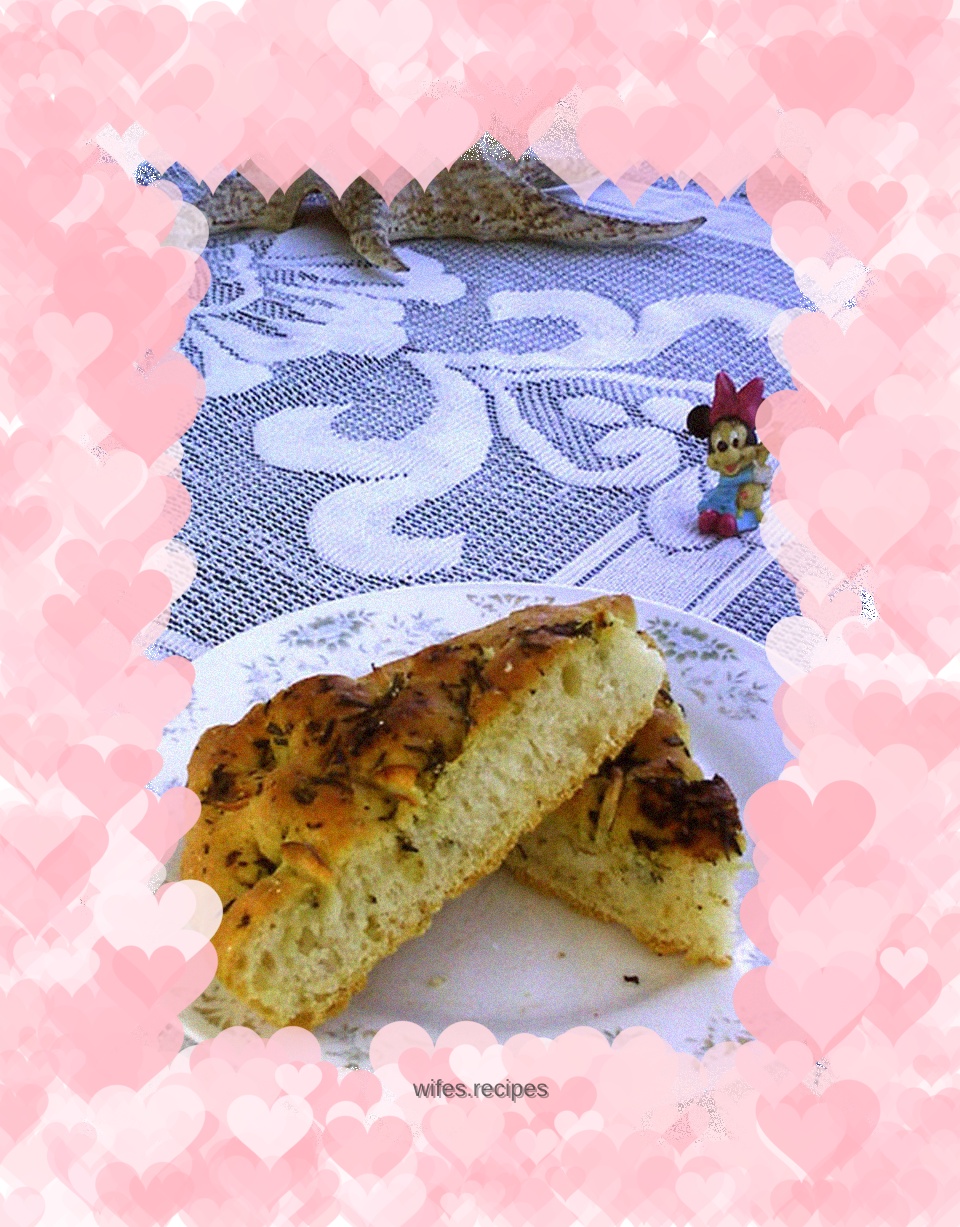
Polish starter focaccia
A starter is a powerful tool for baking good bread. It prolongs the fermentation time, allowing the grain molecules to release more flavor. Polish starter is a moist starter usually made with equal parts water and flour. Contains no salt, only 0.25% fresh yeast added. A moist starter creates far less resistance to dough fermentation. Therefore, yeast can easily convert sugar into carbon dioxide and ethanol. Because of this, a small amount of yeast can go a long way to ensure a long fermentation. When using Polish starter, we usually need to add some yeast at the end of kneading the dough to complete the fermentation, but it does not need to be added every time. Very little yeast. In the starter recipe, 319 grams of flour produces approximately 652 grams of starter, and only 0.9 grams of yeast are used. 567 grams of starter is used in the focaccia. Don't want to make that large amount of bread. 30% is enough to make a focaccia on a 9-inch pie plate. Calculated, the amount of yeast in the starter is only 0.23 grams. Very little. The fermentation time of the starter is very long, 3-4 hours, and it also needs to be kept in the refrigerator overnight, because this allows it to develop a richer flavor. But what if you don’t have time to make focaccia the next day? Fortunately, such a starter can be stored in the refrigerator for up to three days. When enough is enough, take it out at a convenient time within three days, and then officially start the focaccia process after one hour of warming. Fold three times, ferment for 1 hour and then 2 hours, bake until golden brown, any shade, cool for more than 20 minutes, cut into pieces. . . . The decoration and additions on the surface can be done according to convenience at hand, and the flavor of rosemary is the protagonist. . . .
Baking children