Bear Bread
Overview
This is the first time I have made cartoon-shaped bread, and it is also the first time I have made bread that only rises once. The result really did not disappoint me. It is very soft and tastes just as good, eliminating the need to wait for fermentation.
Tags
Ingredients
Steps
-
Put the ingredients except butter into the bread bucket, first the liquid, sugar, salt, then the flour, put the yeast on top, start the dough mixing process for 25 minutes

-
Add butter and continue kneading for 20 minutes until the expansion stage

-
Cover the kneaded noodles with plastic wrap and let rest for 20 minutes

-
Divide the risen dough into 6 pieces of 30 grams and 6 pieces of 18 grams. Arrange the large and small pieces neatly and place them on a baking sheet lined with oil paper. The distance should be wider. You will also need to put the bear’s hands, feet and ears later (I put too much here, it’s a bit crowded, and it’s almost three on a baking sheet)

-
Put it in the oven, put a bowl of hot water on the bottom shelf, and ferment for 60 minutes

-
The fermentation time is just right to make the bear’s hands, feet and ears. Divide the extra dough into 36 pieces of 3 grams each and cover them with plastic wrap

-
Take out the fermented dough and add the bear’s hands, feet and ears (I divided it into two trays to bake, otherwise it will be too crowded)

-
Put it into the preheated oven, 160 degrees, and heat the upper and lower layers for 15 minutes

-
Freshly baked bear bread, let cool

-
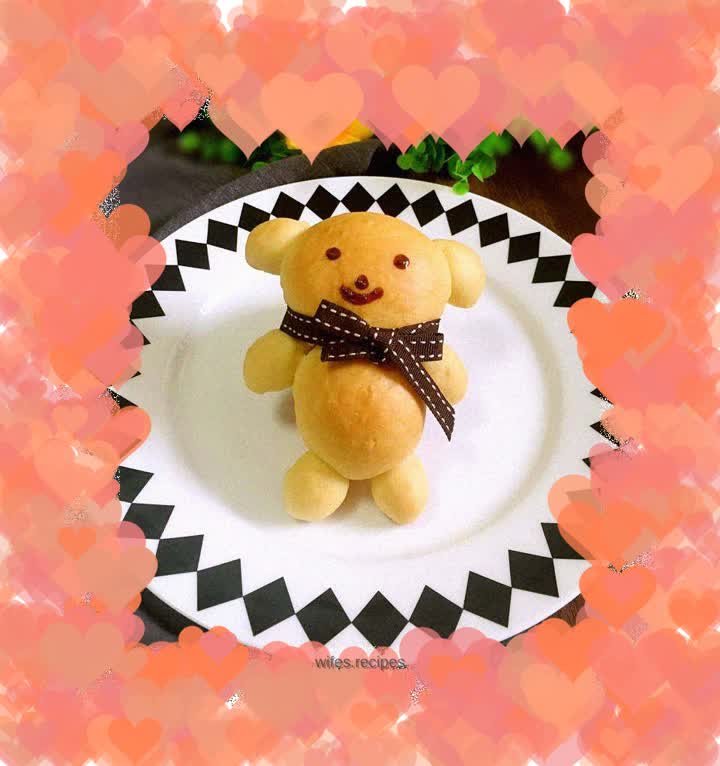
Melt the chocolate over water, and use the melted chocolate to draw the eyes and nose of the bear and decorate it (because there is no chocolate pen, I just use chopsticks to draw it. It is not exquisite enough, please ignore it)

-
Soft and fragrant...

-
Finished product pictures
