Red Velvet Cake Roll
Overview
How to cook Red Velvet Cake Roll at home
Tags
Ingredients
Steps
-
Weigh out all ingredients.

-
Separate the egg whites from the egg whites and place 5 egg yolks in a bowl.

-
Add 20 grams of sugar and beat with a whisk.

-
Beat until thick, milky white and swollen in volume.

-
Pour the egg whites into a water-free and oil-free basin.

-
First beat with a whisk until the mixture is frothy.

-
Add 70g of soft sugar at one time.

-
Beat until smooth and the egg whites are white and have a watery texture.

-
Pour the previously mixed egg yolk paste into the egg whites.

-
Use a spatula to scoop up the batter and egg whites and mix evenly.

-
Mix low-gluten flour and red yeast rice powder and sift.

-
Pour into the mixed batter.

-
Continue to mix with a rubber spatula.

-
Pour corn oil onto spatula and drizzle into batter.

-
Use a spatula to quickly fold the batter evenly. (You can compare the batter at this time with the batter in step 13. Is it shiny?)

-
Pour the mixed batter into a baking tray lined with baking paper, scrape it slightly, then pick up the baking tray and smash it twice on a flat surface to pop out any big air bubbles inside. Place in the middle and lower racks of the preheated oven and bake at 190 degrees for about 15 minutes.

-
Immediately after taking out the oven, remove the baking paper from the baking pan, place on a wire rack to cool completely, then remove the baking paper. Choose the flatter side as the surface.

-
Take 250g of whipping cream from the refrigerator, pour it into a basin, and add 15g of fine sugar.

-
Whip until the cream is solid.

-
Place a piece of oil paper under the cake slice, use the outer rolling method, and apply the filling to the inside of the cake slice. The cream will be slightly thicker at the beginning, slightly thinner at the end, and no cream will be applied at the last 3cm or so.

-
Then use the baking paper at the bottom to roll up the cake piece, wrap it in oil paper, refrigerate for 30 minutes, then take it out and serve.

-
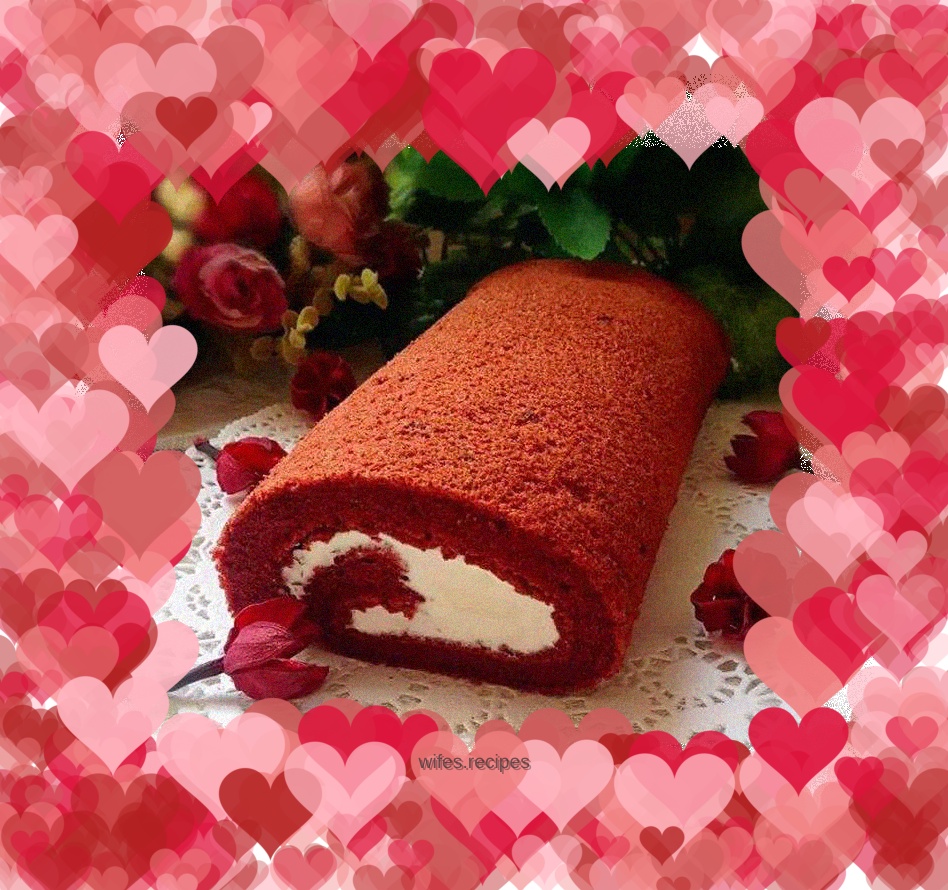
Finished product picture 1.

-
Finished product picture 2.

-
Finished product picture 3.
