Cute piggy buns
Overview
Just because yesterday morning I saw a friend in the WeChat circle of friends posted a picture of piggy bun breakfast, and then I got interested and decided to make it myself at noon. Haha, then prepare the ingredients, make dough, roll dough, seasonings and other ingredients. Ahem! It would be great if I had the passion to do this while writing my graduation thesis...I can still drop my thesis and make pig buns even when the deadline is over! ! But I was really happy when I saw the finished product. Everyone says it’s cute, right*^_^*
Tags
Ingredients
Steps
-
After melting the yeast in warm water, stir evenly and pour it into the flour. Add some salty cheese (optional to suit your taste), and then start kneading the dough into a smooth ball.

-
The kneaded dough needs to be fermented. I seal it in a plastic bag and ferment it. It usually takes 1 to 2 hours, about 3 hours in winter. If you want to shorten the fermentation time, you can put it in the oven or a place with a higher temperature.

-
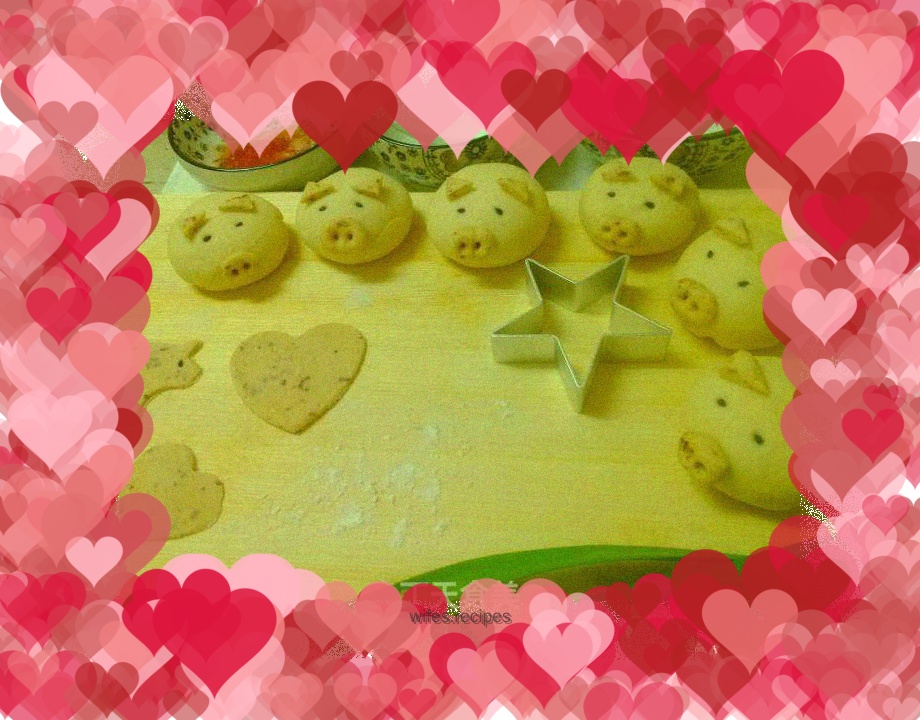
Take a small piece of dough, add minced red dates and knead it, then roll it flat with a rolling pin. Use a knife to cut out small triangles to make pig ears. After pinching an oblong shape with your hands, poke two holes with the thin end of a chopstick to make the pig's nose. You can use black sesame seeds to make the eyes.

-
What I make is white sugar and sesame filling. This can be added according to everyone’s taste. For example, if you add minced meat, it will really become a pork bun~

-
Look! The pig buns are ready! The remaining fabric can also be made into heart-shaped cookies! Oh, and a whole pig.

-
Here’s a close-up O(∩_∩)O

-
It’s ready to be put into the pot~Aren’t you looking forward to it

-
A pot of pigs comes out of the oven~
