Bear Sushi
Overview
There are many kinds of sushi nowadays, and you can put a lot of things on it, but it must be something that can be eaten in one bite. In order to attract children more, I improved the appearance and made bear sushi. Children will like to eat more when they see the appearance. In addition to improving the appearance, I specially added meat floss to make the bear sushi more nutritious.
Tags
Ingredients
Steps
-
Prepare materials.

-
After the rice is cooked, let it cool to 40 degrees and set aside.

-
Sauce: 1 tablespoon seafood soy sauce; 1 tablespoon oyster sauce; a little sugar; a little water. Cook in a pot and set aside.

-
Add 2 tablespoons of meat floss to two-thirds of the rice.

-
Add the prepared soy sauce to the rice with pork floss. (Colorful but not too salty)

-
Add 1 tablespoon sushi vinegar to one-third of the rice and mix thoroughly.

-
Spread out a third of the toasted nori, and place the brown rice on one side of the nori, pinching it into finger-sized pieces.

-
Roll up the sushi curtain as tightly as possible to form a cylindrical sushi. Make two pieces in sequence, these are the little bear’s ears.

-
Spread the sushi curtain, put half a piece of roasted seaweed, spread the brown rice on the seaweed, and place the ham sausage in the middle.

-
Roll it up as tightly as possible to make a thicker cylindrical sushi. This is the bear's face.

-
Take a whole sheet of seaweed and spread the white rice on top.

-
Then place two thin cylindrical sushi in the middle, spaced one finger wide apart, and fill the middle with rice.

-
Then put the thicker cylindrical sushi that is going to be made into the bear face on top and roll it up as tightly as possible.

-
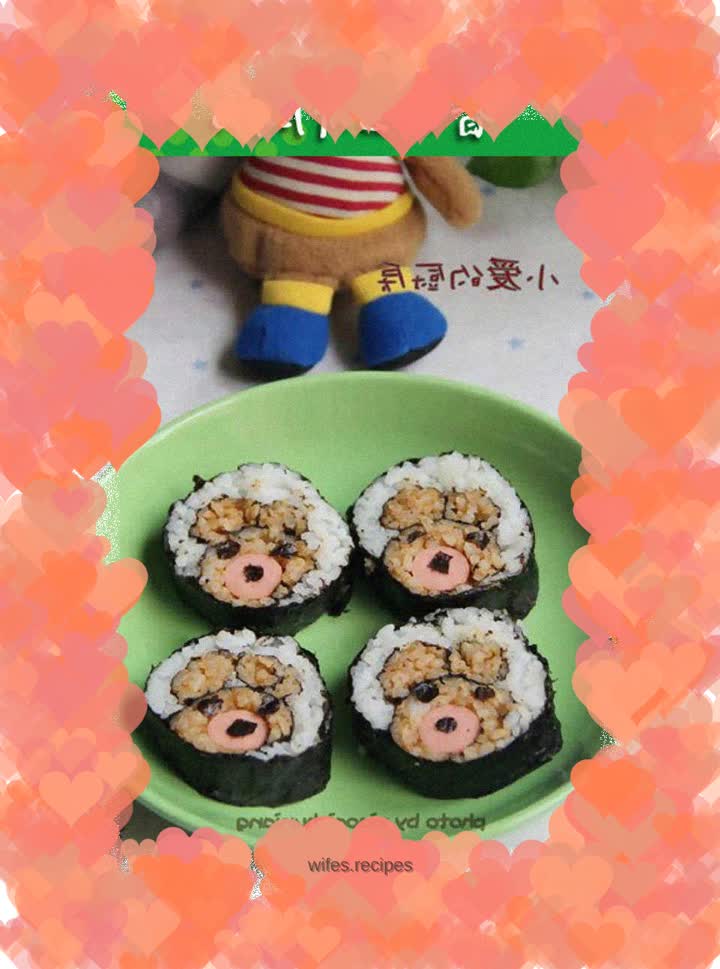
Cut the prepared sushi into a section with a knife, arrange the shape of each sushi, and cut into small circles with seaweed to make the eyes and nose of the bear, and serve with vegetables.
