Food knows no boundaries - snowskin mooncake chess battle
Overview
Although the Mid-Autumn Festival is still far away, I am so anxious to eat moon cakes. My children like to eat them, and my husband likes to eat them, which makes me, a mother, very amused. Well, since you want to eat it, let’s start making it! This year’s creativity is chess patterns and flower patterns (two days ago I saw a diaosi chess piece on someone else’s car. It looks cool, it has horses, and it doesn’t matter if it has a car. Let’s make a mooncake version).
Tags
Ingredients
Steps
-
Mix all the flour and sift it (this step can remove the small lumps in each dough), put it in a large bowl, add sugar and mix well

-
Add the milk in batches and stir with a hand whisk until there are no lumps at all, then pour in the last milk and mix well.

-
Pour in the salad oil and mix well. Salad oil should be weighed in advance before pouring, so as to prevent it from being irreversibly poured over at once.

-
Pour the batter into another bowl and prepare it for steaming.

-
When making the batter, you can put water in the steamer to boil. After the steam comes on, wrap the large bowl of batter with plastic wrap and put it in the pot to steam for 25 minutes.

-
The surface of the fully steamed snowskin dough is very flat without any depression in the middle. When you check it out, the color inside and around it will be the same, milky white and slightly transparent. If you find that the middle part is whiter than the edge of the bowl, it means it is not steamed through, and you need to add more time. If the recipe is doubled, the steaming time should be extended by more than 10 minutes.

-
The steamed dough will be very soft and elastic. You can use a scraper as an auxiliary material to take out the dough

-
Because oil sometimes splashes out when squeezed, it is best to wear an apron and use gentle hands. Wait until there is no more sticky oil, then increase the speed and intensity.

-
The hot dough will be very sticky, but it can still be kneaded into a large dough.

-
Take 25 grams of mooncake skin and 15 grams of bean paste filling and make small dough balls as shown in the picture

-
Take 25 grams of mooncake skin and 15 grams of bean paste filling and make small dough balls as shown in the picture

-
The next step is to wrap the stuffing into the skin. Please read the following steps carefully: 1

-
The next step is to wrap the stuffing into the skin. Please read the following steps carefully: 2

-
The next step is to wrap the stuffing into the skin. Please read the following steps carefully: 3

-
The next step is to wrap the stuffing into the skin. Please read the following steps carefully: 4

-
The next step is to wrap the stuffing into the skin. Please read the following steps carefully: 5

-
Now let's make a colorful pattern. If you want to eat traditional white mooncakes, you can mold them directly with mooncakes now and eat them when they are done. Colored ice skin raw materials: You can use pudding powder or pigment.

-
Take a piece of snow dough (any size) and sprinkle some strawberry pudding powder on it.

-
Use your hands to press back and forth to knead the flour into a dough. First roll it into strips, then fold it and then knead it. In this way, it will not stick to your hands and the color can be kneaded evenly.

-
Use the same method to knead other colored dough.

-
Make the colored dough in advance, take it off and knead it into a ball about the size of a fingernail, then press it into small slices, cover the flower parts of the mold, and then clean up the overflowing parts.

-
Make the colored dough in advance, take it off and knead it into a ball about the size of a fingernail, then press it into small slices, cover the flower parts of the mold, and then clean up the overflowing parts.

-
Then put the flower piece back into the mold

-
Wrap a snowskin mooncake as usual, lightly stick the dough on it, put it into the mold, and add some more dough on the bottom to prevent it from sticking.

-
Use your hands to press the place where the die opening fits the table

-
Then push the handle of the mold down as hard as you can to release it from the mold.

-
You can use the same method to use different flower pieces to make different looks.

-
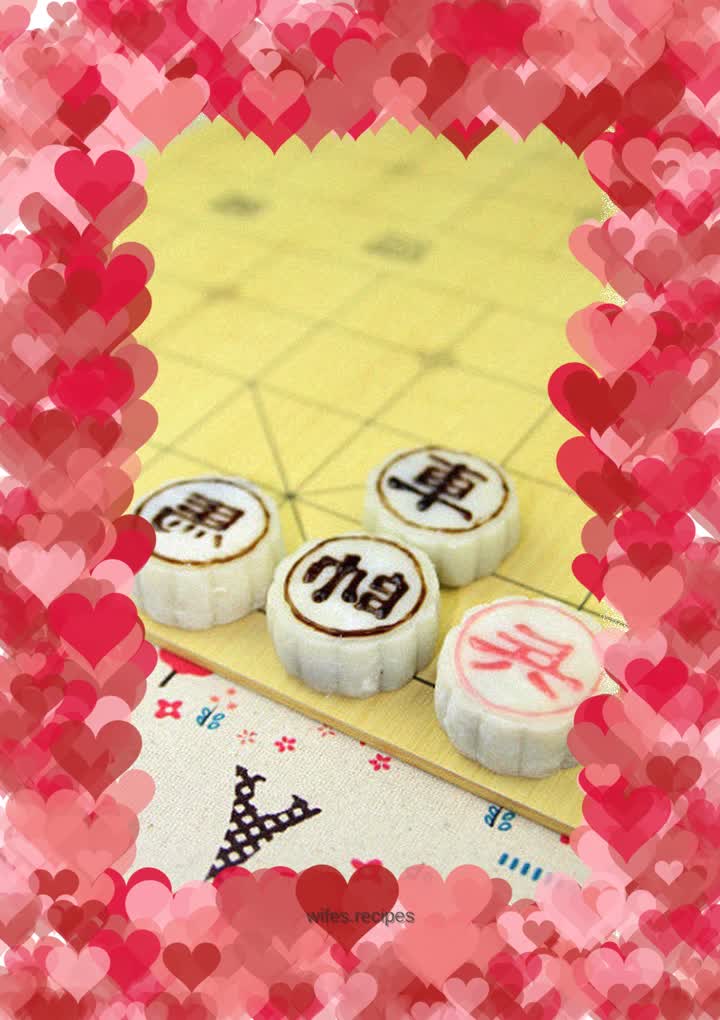
Finished product

-
Finished product
