Oil-free and water-free rice cooker cake
Overview
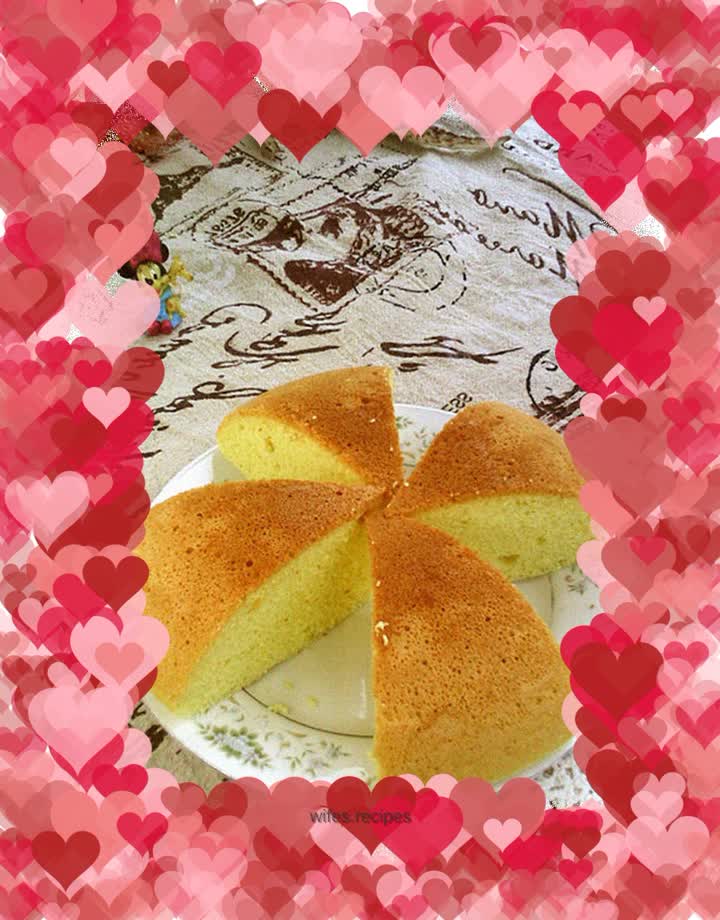
The second pot of Jiuyang Iron Cauldron - Rice Cooker Cake. I once made a rice cooker cake, and it seemed that I used that old antique rice cooker. You need to control the heat and keep warm time yourself. Nowadays, many rice cookers have a cake function. As soon as I got this Jiuyang iron kettle, I immediately noticed this function. Now, after spending the whole day tinkering with the oven, I suddenly got a rice cooker that can bake cakes. I have to see what the cake tastes like when baked. What recipe should be used? It would be nice if there were random recipes, just search online. The first rice cooker cake that pops up is a rice cooker with a cake function. Taking a closer look, this recipe doesn't use much sugar. It doesn't use any liquid except eggs. The oil, which has no clear amount, is just used to wipe the bottom of the pot. It won my heart, so that’s it. There are three eggs, and there are only two in the six-inch chiffon. Do you want to lose one egg? Suddenly it occurred to me that the caliber of this iron cauldron is much larger than a 6-inch cake mold. If I reduce the size rashly, will it turn into an egg cake? It would be safer for the original party to do the same. It's not difficult to beat the egg batter. Although the bottom of the pan is non-stick, you still need to grease the pan with a little oil according to the square. It takes a lot of effort to lift such a thick pot and flatten the surface of the batter, and I worry about whether it will damage the tabletop. Select the cake key. Start. The time is displayed as 50 minutes. Isn’t this a bit long? The countdown is about to end, so don't leave it. Once the time is up, immediately turn off the phone and unplug it, take out the inner pot, and flip it upside down. However, I’m really not used to turning such a heavy iron pot quickly; the cake comes out easily due to the non-stick bottom, and if you’re not careful, the edge of the cake will fall onto the rack first. As a result, the cake is no longer a perfect circle. A small mistake. But the color of the cake base is really just right. In contrast to the pale surface that cannot withstand fire, I still prefer the base color. . . .
Tags
Ingredients
Steps
-
Materials

-
Separate egg whites from egg yolks

-
Mix the egg yolks evenly

-
Beat the egg whites into rough peaks, add sugar in three batches and beat

-
It forms a dry foaming state with small sharp corners

-
Take one-third of the egg white and add it to the egg yolk

-
Mix well

-
Pour back into egg whites

-
Mix well

-
Sift in low-gluten flour

-
Mix well

-
Pour a little oil into the rice cooker pot and spread evenly

-
Pour in the batter

-
Smooth the surface and remove big bubbles

-
Put into rice cooker

-
Close the lid, turn on the power, and select the cake button

-
Start, countdown begins

-
The countdown is over,

-
Turn off the power and remove the cover

-
Take out the inner pot and turn it upside down

-
Take out the cake and let cool

-
Cut into pieces and eat
