Dream Castle Gingerbread House
Overview
A Christmas gift for little kids. Little girls love fantasy, Cinderella, Snow White, and Prince Charming! ~~~I want to have my own dream castle. Alas, every girl likes it
Tags
Ingredients
Steps
-
Ingredients: 500g low-gluten flour, 100g butter, 60g water, 50g brown sugar powder, 100g powdered sugar, 70g honey, 50g eggs, 10g cocoa powder, 2g baking soda. Surface brushing liquid: 10g eggs, 20g water. Meringue: 40g egg white, 300g powdered sugar, 1 lemon juice. 0g~30g (mix the amount of meringue half at a time, for gluing first) Decoration: Chocolate Bean Chocolate Star Hard Candy I used green 180 degree preheated middle layer, upper and lower heat to 180 degrees, about 12-18 minutes gingerbread recipe: Mix brown sugar and butter together, heat over water until the brown sugar dissolves and there are no particles.

-
Add powdered sugar and stir until completely combined and becomes a paste

-
Add the egg liquid and mix well, add water and mix well

-
Add the egg liquid and mix well, add water and mix well

-
Add honey and mix well

-
Mix low-gluten flour, cocoa powder, and baking soda, sift into the batter and knead into a dough. Knead the dough until the surface is smooth, then place it in the refrigerator to rest for 1 hour

-
Roll out the dough into a uniform thickness of about 0.3cm (use two rulers with the same thickness on both sides so that you can roll out beautiful dough). If there is a window pattern, it is recommended to use a wallpaper knife to slice it directly on the baking sheet. It is difficult to handle on the cutting board and the shape will be ruined

-
This pattern is the pattern of another gingerbread house I made. I didn’t take a picture of this one because I was too lazy to do it. That’s the general idea.

-
Hard candies needed

-
Meringue: Mix the egg whites and powdered sugar, mix well and then add lemon juice (the thickness of the frosting depends on the amount of lemon juice). The sticking parts need to be thicker, and the decoration needs to be thinner (if it sticks, it is better to pull up the egg beater to prevent it from dripping. If it is too thin, it will take a long time to dry, and you have to press it with your hands). Put it in a piping bag and it is ready to use

-
Glue each part with meringue to make a piece for No. 1, No. 2, and No. 3. This needs to be cut a little thicker 0.5CM. No. 1 digs out the shape of the door, but the door cannot be made of glass, so the princess will not be able to get out. Dig out the window between No. 2 and No. 3. Remember that only No. 1, 2, and 3 need to be 0.5CM thick. All other parts are 0.3CM

-
Make a slice on No. 4

-
Make one piece each for No. 5 and No. 6

-
Make a slice on the 7th

-
For No. 8, make 2 pieces and dig a hole in the middle so that it can be made into glass. One piece for the front and back of the house. For No. 9, make 4 pieces and dig out a hole in the middle so that it can be made into a glass window

-
Separate No. 10 and No. 11, make 2 pieces of No. 10, 4 pieces of No. 11 for the small side house, and make the roof of the small side house

-
For the roof of the small side house No. 12, you need to make 4 pieces. You can glue the small house together first and set aside. There are windows. Break the hard candies where the glass needs to be made. Oven at 150 degrees, fill the hard candies into the places where the glass needs to be made and smooth them out. Where there are doors and windows, apply meringue shapes first and let them dry for later use

-
Make 2 pieces on the 13th, which are the small houses at the top of the castle (you can glue them together to dry and set aside, just stick them on the top of the castle when you use them

-
Make 2 pieces on the 14th, which are the small houses at the top of the castle (you can glue them together first and dry them for later use. Just stick them on the top of the castle when you use them

-
I made a scene on the 15th, which is the cloister in front of the castle house

-
The one on the 16th is the wall behind the castle

-
On the 17th, two pieces were made to form the walls on both sides of the castle

-
Needless to say, just make three Christmas trees on the 18th!

-
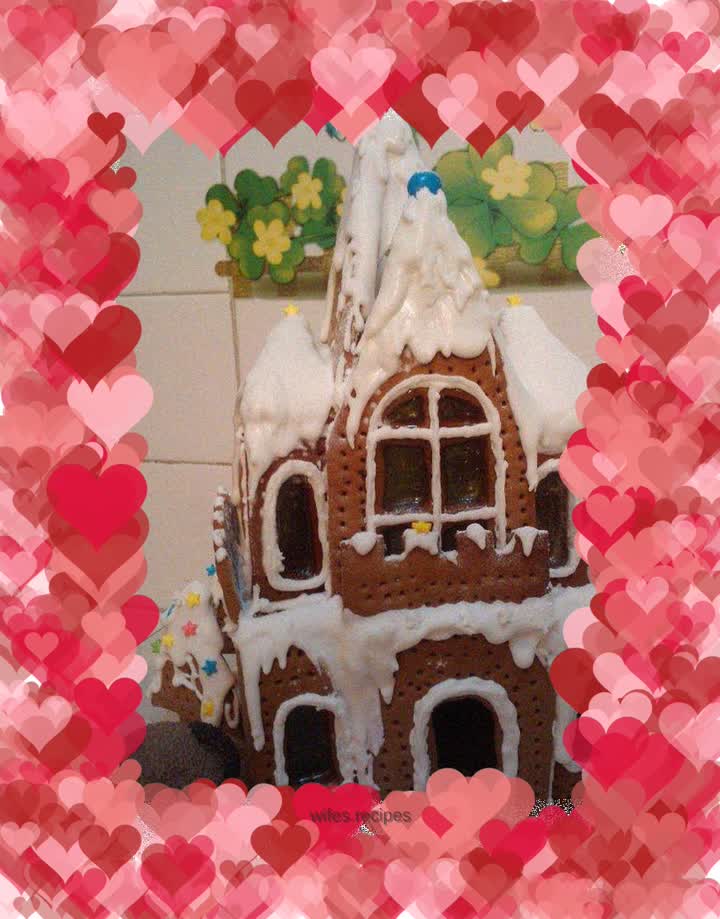
The last step is the base. Cut the remaining biscuit ingredients as you like. Poke all the cut biscuits with a fork, spread with egg wash for 20 minutes, preheat the oven to 180 degrees, turn the heat up and down, and bake for 12-18 minutes. If the meringue is not hard, you need to push it slightly with something. It will dry in a while, and it will be successful after decorating it. This dream castle does not need too many decorations, otherwise it will lose its mysterious flavor. Oops, this is tiring, and it is already midnight. I wish everyone a Merry Christmas in advance!

-
The last step is the base. Cut the remaining biscuit ingredients as you like. Poke all the cut biscuits with a fork, spread with egg wash for 20 minutes, preheat the oven to 180 degrees, turn the heat up and down, and bake for 12-18 minutes.
