Pattern Cookies
Overview
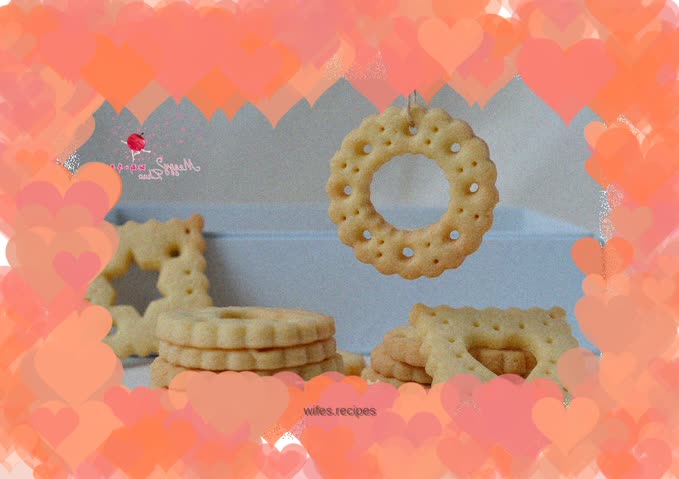
Take some time to make some small decorations on the cookies, and the baked cookies will be so cute that you won’t want to eat them. In fact, it is also a thoughtful gift to give to relatives and friends. Use a simple biscuit mold and use some existing gadgets, such as decorating tips and toothpicks, and beautiful patterned biscuits will appear in front of you. In fact, creativity is in your own heart. Small changes bring endless surprises!
Tags
Ingredients
Steps
-
All ingredients are ready. Let the butter soften at room temperature in advance

-
Add the powdered sugar to the butter and mix the two with a whisk first to prevent the powdered sugar from splattering when whipping later

-
Use an electric whisk to beat the butter until the volume expands slightly, then add the egg liquid in two batches

-
Beat butter until feathery and light in color

-
Sift in flour

-
Use a spatula to mix the flour and butter paste evenly without dry powder

-
Scoop the dough onto the plastic wrap, put a layer of plastic wrap on top and bottom, roll it into a thick sheet, and refrigerate it for an hour until the dough becomes hard

-
Take out the hardened dough from the refrigerator and roll it into a dough about 5 mm thick

-
Use a round cookie cutter and a square cookie cutter to cut out the outline of the cookie

-
The hollow pattern in the middle can be completed with the help of small tools such as sandwich cookie cutters, decorating tips, and toothpicks

-
Put the biscuit dough into the middle rack of the preheated oven, 150 degrees, heat up and down, about 15 minutes

-
After taking out the biscuits, gently take them out, let them cool on a rack, and then store them in a jar

-
Appreciation of the finished product

-
Appreciation of the finished product

-
Appreciation of the finished product

-
Appreciation of the finished product

-
Appreciation of the finished product

-
Appreciation of the finished product
