Taro Pie
Overview
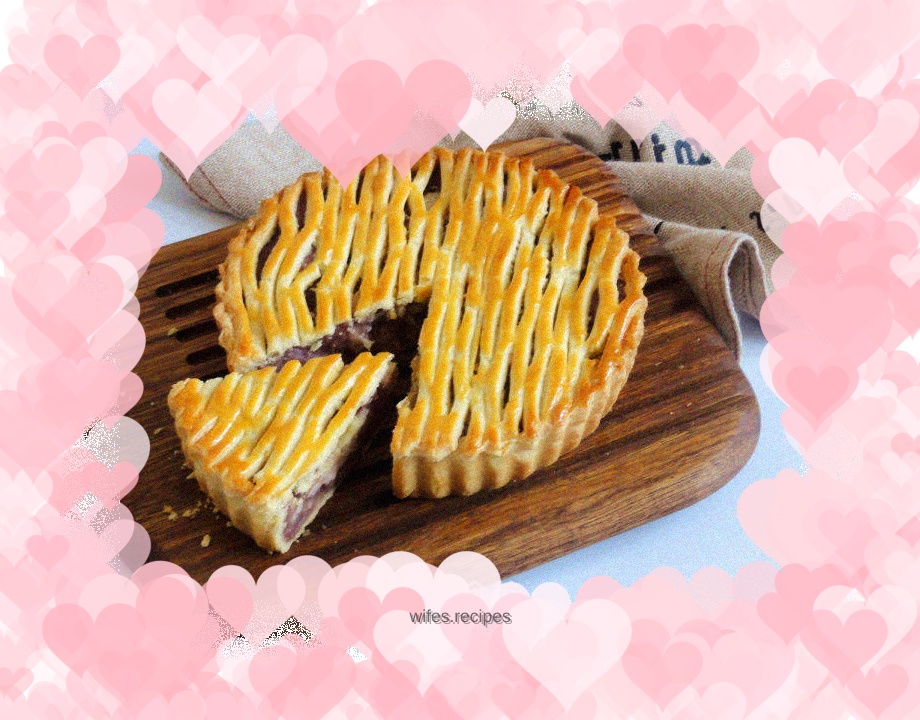
I have been thinking about this taro pie from last year until this year, and I finally overcame procrastination and made it. It is obviously very simple. I still use my favorite texture for the pie crust, which is crispy and delicious. The Lipu taro is really delicious and the whole family likes it. I added a little purple potato starch to increase the color. If you don’t have it, ignore it and it will not affect the taste
Tags
Ingredients
Steps
-
Cut the refrigerated butter into small pieces and put it in a container

-
Add salt and sugar and sift in the flour

-
Wear gloves and quickly knead into crispy pieces

-
Weigh the egg yolks and milk, pour in the egg yolks

-
Add milk

-
Mix well with a spatula

-
Start quickly kneading into a ball

-
Wrap in plastic wrap and refrigerate for at least 30 minutes

-
Cut the steamed taro into small cubes and put it into the milk pot

-
Add milk and caster sugar

-
Add a little water to the purple sweet potato starch and starch, mix thoroughly, and add together

-
Turn on medium to low heat and heat

-
Cook until thickened, remove from heat and cool until set aside

-
Take out the refrigerated pie crust and divide it into two pieces

-
Roll out 1/2 of it, making it one circle larger than the diameter of the pie plate

-
Lift the dough and place it on the mold, arrange it slightly to fit the edges

-
Use a rolling pin to roll over the mold to remove excess corners

-
Press your fingers against the side wall of the mold to pinch the flat dough so that it fits the mold tightly, and make small holes in the bottom of the cake

-
Pour in the cooled taro filling

-
Roll out the other half of the pie crust as above,

-
Use a mesh knife to cut out the texture, no need to cut through~

-
Cover the pie plate and use a rolling pin to roll over the mold to remove excess corners

-
Brush the surface with egg yolk liquid

-
Place in the middle rack of the preheated oven, set the upper and lower tubes to 180 degrees for 15 minutes, then turn to 160 degrees and bake for about 20 minutes

-
Out of the oven
