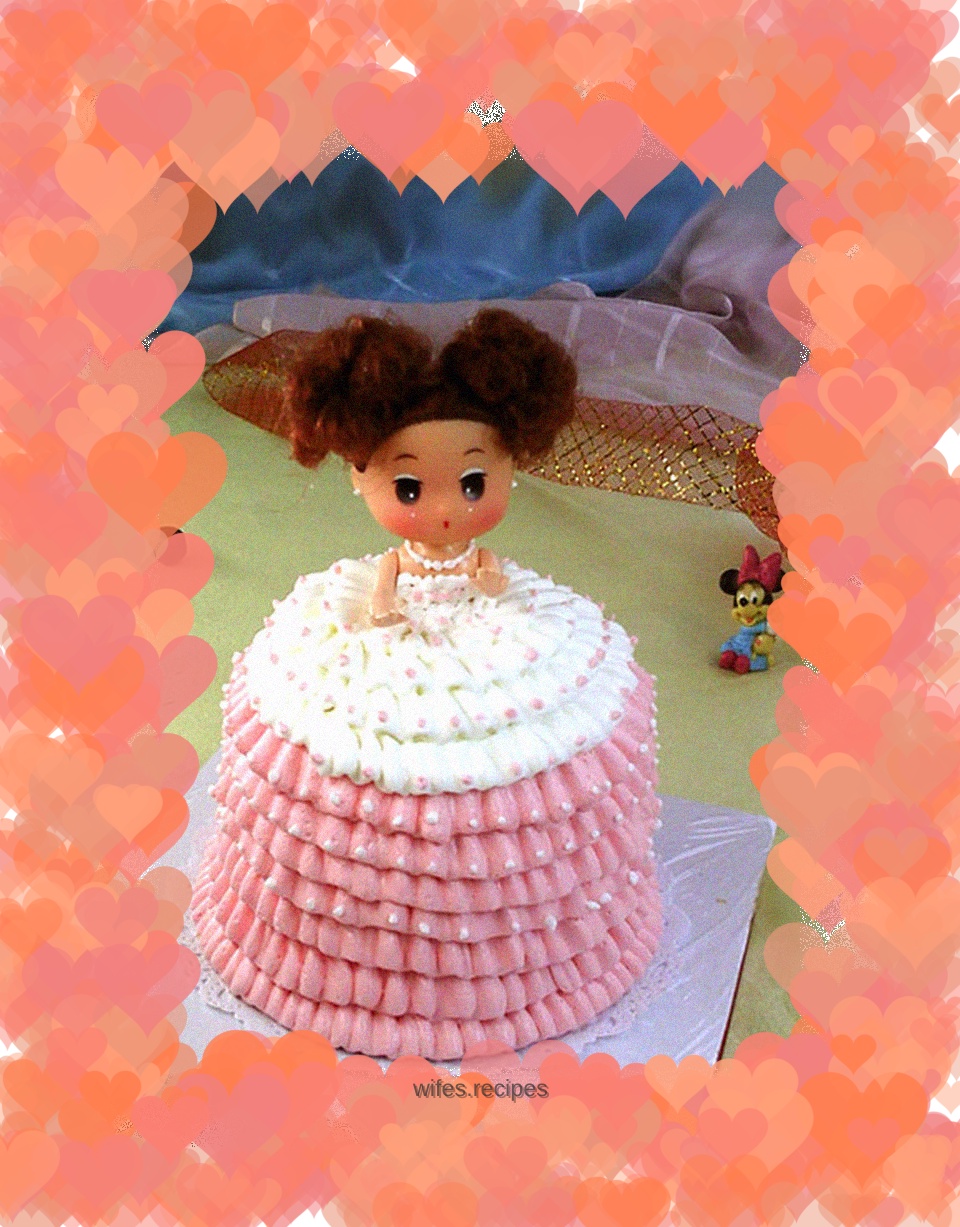
Decorated Cake: Little Lace Princess
Overview
God knows why so many people are so obsessed with Barbie. If it weren't for the cake, Barbie would never have come into sight. However, when his eyes fell on her, he felt infinitely at a loss - oh, skirt, skirt. There are ever-changing skirts, and skirts with all kinds of charms. I searched through the mess in my mind, but I couldn't find a clear look of the skirt. It is a cone, and the hem can be neat or irregular, but this is absolutely true. From then on, whenever I encountered something about the production of Barbie dolls, I would pay attention immediately. Because the pile of Barbies and princesses at home must be used. I'm too lazy to make Barbie because the cake is quite large. Who would eat a three-layer cake with cream? Suddenly one day, my eyes lit up. This little princess is worth a try. A six-inch cake is not difficult to consume. Let the leaders see it, whoever likes it will eat it, and no one will eat it, so it is not difficult to solve it yourself. There will always be some surprises about things you have never experienced before. I thought that the chiffon cake was hard to handle, so a sponge cake would be stronger and more durable. Unexpectedly, it got broken while rolling it up to make a bustle. Fortunately, the cake can be put together, and no one can see it hidden in the cream skirt. The surface is shiny, who cares if the bottom of the skirt is in pieces?
Tags
Ingredients
Steps
-
Cake and doll

-
Cut a 4-inch cake out of the 6-inch cake and remove the burnt skin

-
Wipe the doll clean and wrap it tightly from the armpits with plastic wrap

-
Decorating materials

-
Beat the butter and sugar until it maintains a texture

-
Spread buttercream on the inside of the cut cake edge

-
Roll up,

-
Spread buttercream on the cut 4-inch cake

-
Place rolled cake edges

-
Spread the cream all over the surface of the cake and spread it as evenly as possible

-
Insert the doll, exposing the waist and above

-
Use butter to fill the gap between the doll and the cake

-
Mix red cream and pipe a circle around the bottom with a rosette

-
Continue to add pleats to the hem of the skirt

-
Shake out the pleats in circles. until the edge of the arc

-
Change to white cream and continue to fold out the skirt until it reaches the waist

-
Change to a thin piping bag, use white butter to squeeze out spiral patterns, and fill the gaps between the doll and the folds

-
Continue to use spiral patterns to wrap around the doll's body to the height of the armpits

-
Use small dots around your neck to create a pearl necklace

-
Put pearl earrings on the ears

-
Dot the highest point of each fold with white,

-
Change the red cream and add pearl decoration on the white folds

-
Complete
