A toast that never fails
Overview
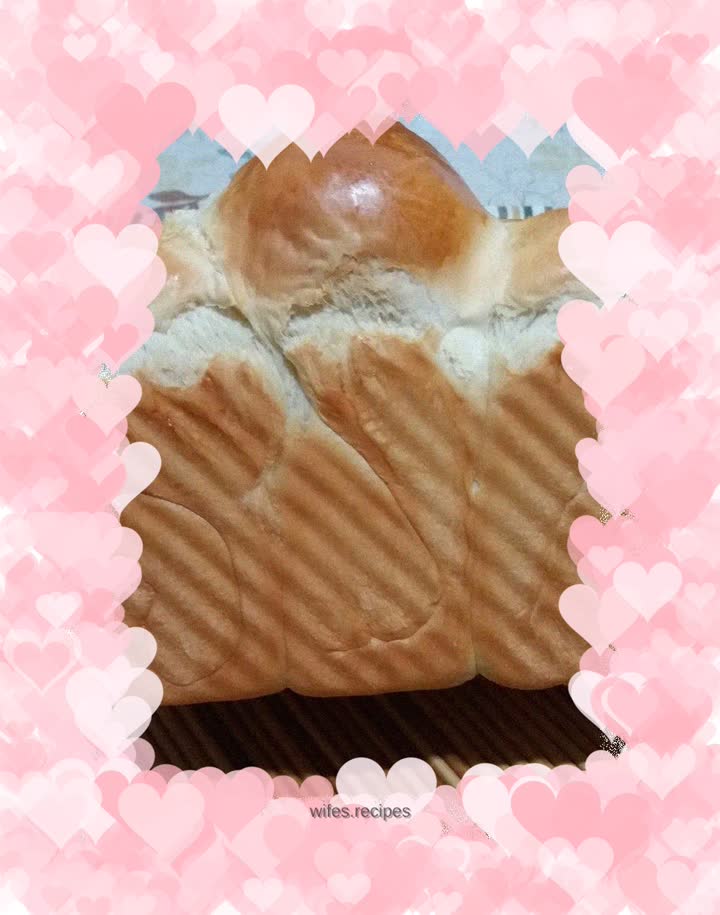
Making toast at home is very time-consuming. This one-shot toast can save the time of primary fermentation and shorten the production process. The baked toast has the same delicate texture, soft texture, moderate taste, and various ways to eat it. Production points: 1. The recipe is very mature. Do not change the amount of water in the recipe at will, but you can add nuts and dried fruits to increase the flavor. 2. If there is no milk powder, the liquid can be replaced with milk of the same weight, or the milk powder can be omitted. 3. Add the liquid first and then the flour. 4. After the toast box is 8 minutes full, preheat the oven and bake.
Tags
Ingredients
Steps
-
Add a medium-sized egg (about 60g with the skin) into the bread barrel, and add 110g of water (it is best to reserve ten grams of water, because the moisture content of flour is different, and the dough may be too soft if added at one time), in one sentence: "Add the eggs and water, the total liquid weight will be between 165g and 170g." Then add 25g of white sugar, 3g of salt, 10g of milk powder, and finally add flour, dig a hole on top of the flour, and bury 3 grams of yeast.

-
The bread machine will take about 10 minutes to form a dough. When the dough becomes slightly smooth, you can add 25 grams of butter cut into small pieces and slightly softened at room temperature.

-
It is very important to knead the dough to the complete stage. The dough must be kneaded in place, which is related to whether the toast structure is delicate or not.

-
The film comes out as shown below, that is, cut a small piece of dough and pull it left and right with both hands. You can easily pull out a large transparent film. Because home is like a glove, it is also called a glove membrane.

-
The hole in the membrane is shown in the picture. After the film is broken, the edge shows a smooth notch instead of a jagged notch.

-
Once the dough is well mixed, it can be divided into three equal parts if it has the same height and shape. If you like staggered camelback toast, you can divide it into two portions of the same size, and the third portion is slightly larger.

-
Roll it into a round shape, cover it with plastic wrap and let it rest for 15 minutes. Roll out the air bubbles in the dough. This step is very important because it will determine whether there will be holes in the toast.

-
Toast with black currants. I made two toasts in total, one with dried fruits and one without anything.

-
Don't roll it too tightly, but there should be no gaps or air in the middle. Just roll it loosely. If it is too tight, it will break easily after fermentation.

-
Arrange neatly and put into toast box. Close the lid to maintain humidity and wait for fermentation.

-
Let it rise until it is 80% full, and lightly apply a layer of egg white with a brush.

-
Bake at 180 degrees with upper and lower heat until the skin is slightly browned, cover with aluminum foil, and bake for 35 to 40 minutes.

-
Out of the oven

-
Be meticulously organized! I have a little tip on how to cut good-looking toast slices: you can put the cooled toast in the refrigerator for half an hour and then quickly slice it, so that the slices will not fall off and the cut surface will be smooth.
