Shaqima
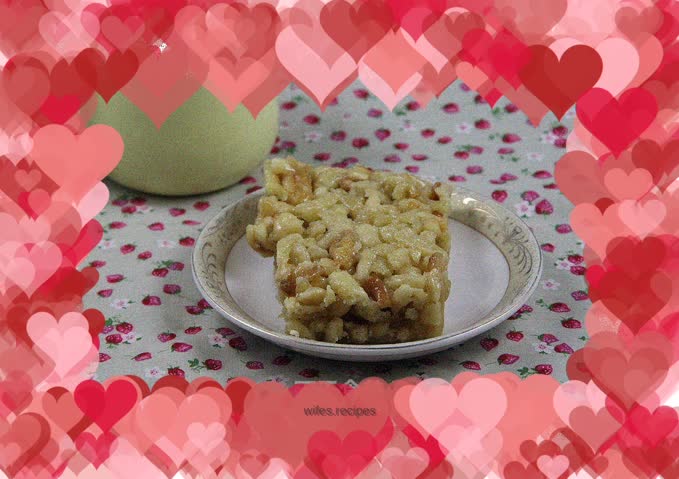
Overview
How to cook Shaqima at home
Tags
Ingredients
Steps
-
Have the required materials ready and weighed.

-
Add the eggs to the high-gluten flour, knead evenly into a dough, and add a little water according to the actual situation.

-
Spread a little cornstarch on the surface of the dough to make it non-sticky. Let the dough rest for 15 minutes.

-
Sprinkle a little cornstarch on the work surface and roll the rested dough into a large sheet about 0.2cm thick.

-
Use a knife to cut the dough into thin strips (commonly known as dough strips) as shown in the picture. When cutting, be sure to sprinkle some cornstarch to prevent the cut strips from sticking together.

-
All cut embryo strips are as shown in the picture.

-
Put the germ strips into the sieve and sieve out excess cornstarch.

-
Pour peanut oil into the pot and bring to a boil, put the strips into the oil pan one at a time and fry until light golden brown. When frying, use a spatula to turn it several times to make the fried strips more even in color.

-
The embryonic strips will expand when fried. Set aside the fried embryonic strips.

-
Start cooking the syrup. Pour the fine sugar and water into the honey and heat over low heat until the fine sugar dissolves and thick foam appears in the syrup. Boil the syrup until it becomes thick.

-
After the syrup is boiled, turn off the heat, put the fried embryonic strips into the syrup, mix well quickly while it is hot, and try to make every embryonic strip dipped in the syrup.

-
Grease a square pan with oil, mix well, and pour it into a square baking pan mold while it's still warm. Grease your hands and use your palms to compact the dough strips (you need to do this while it's warm, as it will harden after it cools).

-
Wait for the Shaqima to cool completely and stick together, then unmold and cut into small pieces.
