Mini Chocolate Cake
Overview
Because friends were coming to the house soon, and the friends specially emphasized that they would bring their children over and wanted me to make some snacks. So since I am not good at baking, I decided to make a super simple dessert that will never fail to entertain the upcoming little guests. I believe this recipe will be no problem!
Tags
Ingredients
Steps
-
The main ingredients are ready, and the tools are organized. You need lollipop molds, spatulas, egg beaters, stainless steel bowls, etc.;

-
After the butter is softened at room temperature, add powdered sugar and beat smoothly. Add the egg liquid in batches and stir thoroughly. Then add cocoa powder, white vinegar, salt, and baking soda in turn. Beat evenly and then add buttermilk in batches. Finally, sift in low-gluten flour and mix well with a spatula. The cake part is complete;

-
Put the batter into the piping bag and squeeze it into the mold. Because I want a higher effect, the mold is full, so that the copied effect will be much higher;

-
Then cover it with another lollipop mold;

-
Then preheat the oven to 180 degrees, put the mold into the middle rack of the oven, and bake for 25 minutes on top and bottom heat;

-
After baking, take it out and let it rest. After cooling, use a serrated knife to trim off the excess in the middle edge;

-
Then melt the white chocolate over water and set aside;

-
Then melt the dark chocolate over water and set aside;

-
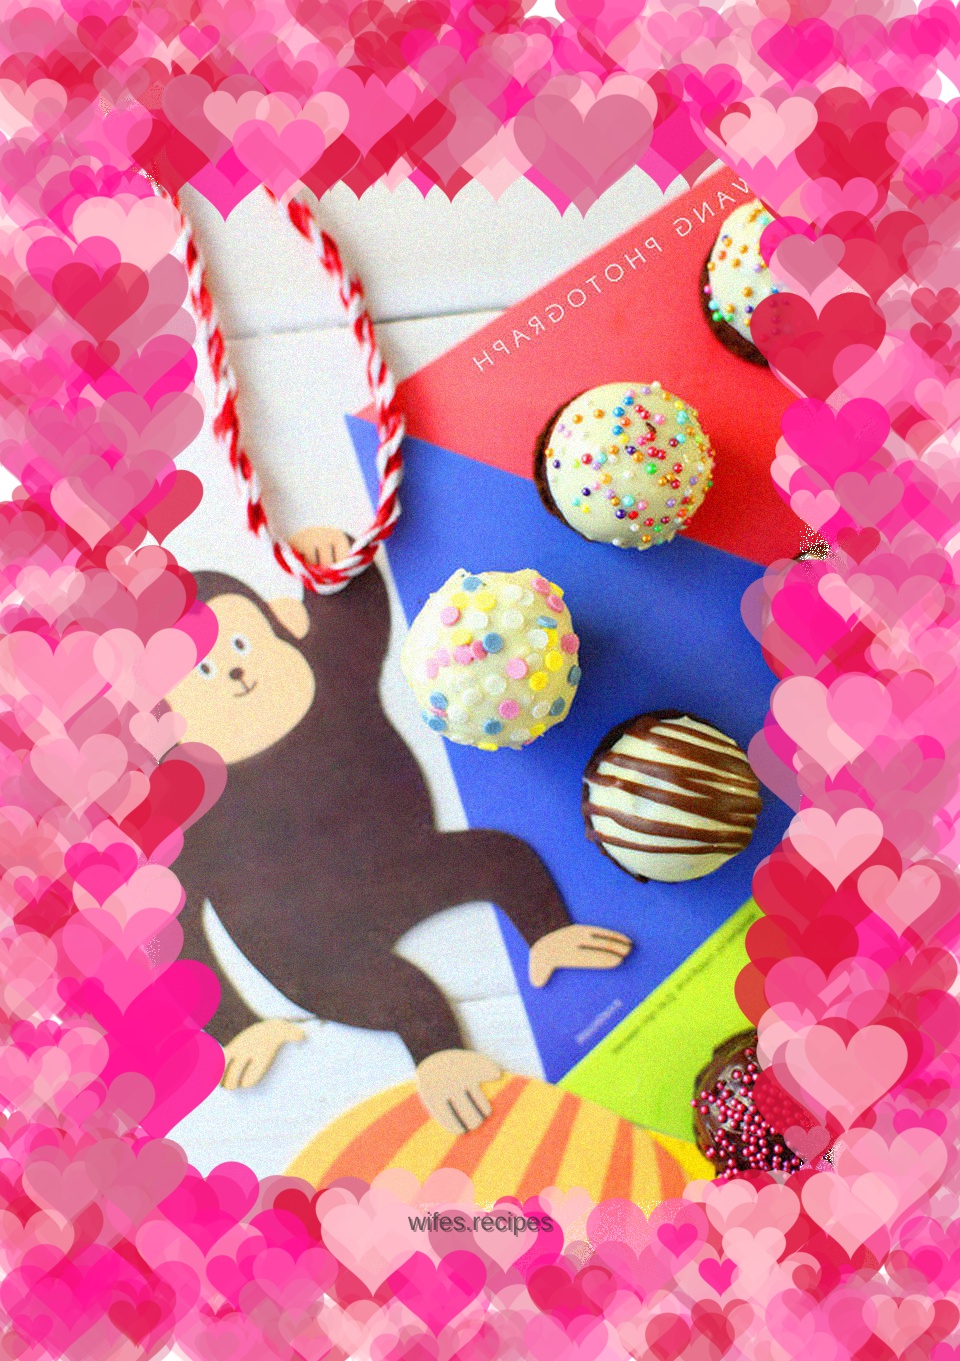
Cut off a little bit of one end of the cake so that it can lie flat, then grab that end and turn it around in the melted chocolate to evenly coat the chocolate;

-
Sprinkle with various decorative sugar granules;

-
In order to make it more interesting to look at, you can make more shapes according to the different fillings of candy pieces. When it's finally done, put in a small piece of paper wrap and refrigerate until the chocolate solidifies.
