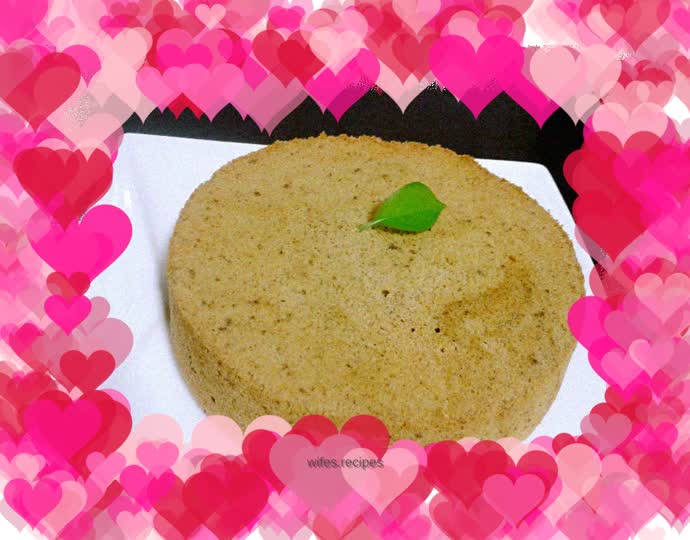
6-inch matcha chiffon cake
Overview
How to cook 6-inch matcha chiffon cake at home
Tags
Ingredients
Steps
-
Have all materials ready.

-
The egg yolks are separated from the egg whites. I separated the eggshells directly with my bare hands. Unskilled friends should use an egg white separator first to avoid getting the egg yolk into the egg white. Then stir in the egg yolks evenly.

-
Stir one-third of the sugar and cooking oil evenly, add it to the egg yolks and continue to stir evenly, then add the milk and stir well to form an egg yolk liquid.

-
Sift the low-gluten flour and matcha powder into the egg yolk liquid, and use a spatula to mix evenly. Remember not to stir in circles, as this will produce a lot of bubbles and gluten, which will affect the taste of the finished product. This process does not take long, as long as the flour is not powdery. Call it batter.

-
Add the remaining sugar to the egg whites in three batches, beating as you go, until the egg whites become dry and foamy, with a small triangular tip as shown in the picture.

-
Another way to test dry foaming is to turn the container upside down so that the egg white does not fall, then it is fine. Don’t worry, if it is really dry foaming, it will never fall off, it will be done properly, as shown in the picture.

-
Add the beaten egg whites to the batter in three batches, still mixing evenly. Add it in three batches to make the mixture more even. If you add it all at once, you may not be able to mix it very evenly.

-
After mixing, pour into the container and slam it twice to shake out excess air bubbles.

-
Middle level, 160 degrees, 35 minutes. Immediately turn it upside down after taking it out to prevent the cake from shrinking. (Some friends will apply a layer of oil in the container to make the cake non-stick. This must not be done because the cake needs friction to expand)

-
Remove the cake after cooling. (My method is to gently use your hands to slowly buckle the edge of the cake to separate it from the container wall, and then press the bottom of the pan hard, and the cake will come out. It will be slightly deformed at first. It doesn't matter, just tap it a few times.)

-
Cut into pieces and plate. Not bad, right? The taste is also very soft and delicate.
