Decorated birthday cake
Overview
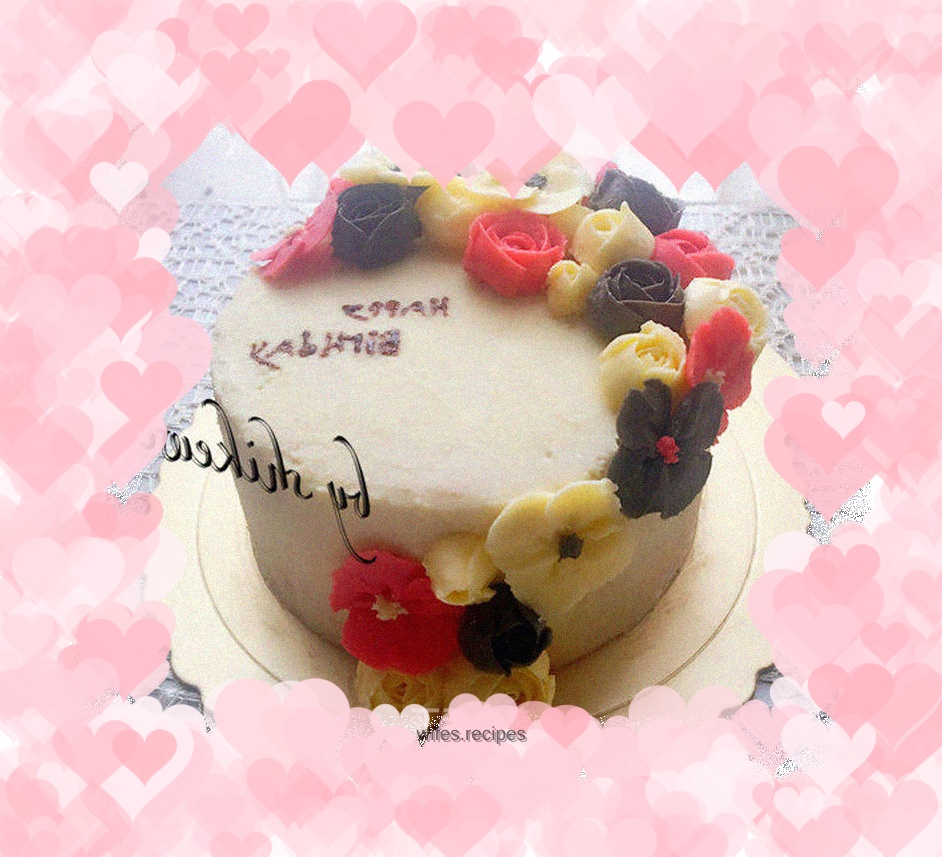
This is my first decorated birthday cake. Regardless of whether it is good or not, I like it very much... On a special day, it is a special gift to give to myself. The birthday cake made by myself feels so beautiful...
Tags
Ingredients
Steps
-
Prepare the body of a six-inch sponge cake. (Sponge cake, I mentioned it in my previous recipe. I won’t explain it here. If you need the making method, please check my previous recipe.)

-
Next we are going to whip up the cream needed for the cake topping. I chose blue windmill whipping cream. .

-
Use a basin or pot, put cold water in it, and add an ice pack.

-
Prepare a clean basin, pour 200 grams of whipping cream and 20 grams of fine sugar into it, place the cream basin on top of the water basin with ice packs we just prepared, beat the cream at low temperature and low speed. (Because I don’t like cream very much, I use a little less cream for the body of the cake, and it’s a very thin layer. If you like cream, you can choose to whip it more)

-
It is OK to whip the cream until it has obvious texture and is firm and does not fall when you turn the bowl upside down. Let's set it aside for later use.

-
Next, let’s prepare the Italian buttercream for decorating flowers and prepare all the materials....

-
Cut the unsalted butter into small pieces and soften it at room temperature until it is soft enough to make a small pit when pressed with one finger. Then beat the butter until it is smooth. .

-
Beat 50 grams of egg whites with 10 grams of sugar.

-
Beat until seven or eight and distribute, just lift up and there will be a small curved hook.

-
Add 15 grams of cold boiled water, add 20 grams of white sugar, and simmer over low heat. When the temperature is about 120 degrees, a lot of small bubbles will appear. (I don’t have a probe thermometer, so I just observe it with the naked eye. If you have a thermometer, use a thermometer to measure it. 118 degrees is OK.)

-
Quickly pour the boiled sugar water into the pot with your left hand and the egg beater in your right hand. Pour the beaten egg whites into it and beat it evenly with the egg beater to cool it down.

-
Add the cooled whipped egg whites to the butter that was just whipped, and start beating with a whisk.

-
When you start whipping, the cream will look like tofu. Don’t worry if you see this. This is normal. Keep beating. . .

-
After beating for a few more minutes, we will see that the tofu dregs just now no longer exist, and the smooth Italian buttercream is ready

-
Prepare the tools you need and put the buttercream into a piping bag. We are going to use a small rose piping tip and a leaf piping tip. Decorating nail holder, pigment, oil paper cut into small sheets, prepare a few more pots, because they will be used when mixing colors later.

-
Cut the cake body from the middle of the waist...and spread the whipped cream on the bottom layer...

-
You can put some fruits on top... I didn’t have any suitable fruits at home, so I put some honey beans on them...

-
Spread whipped cream on the other cut cake....

-
Then buckle it up and try to make it as straight as possible....

-
Use various spatulas and spatulas to smooth the surface of the cake... (I spread it thinly. There is less whipped cream, so it is not very smooth. Dear friends, you can whip more whipped cream later)

-
Now let's start decorating. Apply a little bit of buttercream on the decorating nail and stick the oil paper on it.

-
Use a piping tip to make a small flower center. . .

-
Then go around in a circle and surround the flower heart.

-
On the first layer we add three petals. .

-
Then continue this method to complete the flowers. (I suggest you find some videos to watch and practice more.)

-
After mounting the flowers, we move them to the refrigerator to refrigerate and keep them in shape. (Some of the flowers that were mounted...because the temperature here is very low, only two or three degrees, so I didn't put it in the refrigerator. Dear friends, please remember to put it in the refrigerator to refrigerate and set.)

-
After all the flowers are mounted, we can start assembling...

-
The assembled finished product...

-
The assembled finished product...

-
The assembled finished product...

-
The assembled finished product...
