Hand-kneaded old-fashioned bread
Overview
Old-fashioned bread has been popular for a long time, and I have made it many, many times. After I graduated and started working, I spent less and less time tinkering with the oven. Last week, when my mother went grocery shopping, she actually bought a big bag of old-fashioned bread. Why don't you buy it? I'll cook it for you. It's fine today. It's Sunday. The weather is not hot either. The breeze is blowing. I spread my arms and knead some dough. I smell the aroma coming out of the oven and feel so satisfied. Is this what Sanmao said: "Who wants to wander around the world?" If she owns her own farm and holds the wheat she grows in her hands. Self-sufficiency, days are slow and warm, and happiness comes from here!
Tags
Ingredients
Steps
-
The original starter is 210g high flour and 90g low flour. However, the flour I used is not Jinxiang high-gluten flour, and its gluten content is slightly less than Jinxiang, so the 300g here are all high-gluten flour. 240g water, 24g sugar, 6g high sugar resistant yeast. Stir well and let it fall back. You can make the starter in the evening and put it in the refrigerator to ferment at low temperature overnight.

-
Add 300g high flour to the fermented starter (if you use flour with strong gluten like Jinxiang, replace 90g with low flour), 90g eggs, 96g sugar, 7.5g salt, 24g milk powder, and 42g water. The water here is used to adjust the softness and hardness of the dough, add it as appropriate.

-
Form a group. The kneading time is not long, I think it took about five or six minutes, and the film can be pulled out a little.

-
Add 72g of butter and continue kneading until expanded.

-
That's it.

-
Place in a basin to ferment.

-
Ferment until doubled in size. There was water vapor on the plastic wrap I used, and the water droplets dripped a little, making the surface a little rough.

-
Divide dough into six portions. The dough is very soft, so be careful with the amount of hand flour~

-
Take one portion and roll it long.

-
Twist it~ Insert the end of your right hand into the circle on the left~

-
All done. Ah! Forgive the plastic surgery star! Place into a greased baking pan and let rise.

-
It’s ready! Twice as big! Send to the oven preheated to 180°, middle and lower racks, and it will be ready for 30 minutes.

-
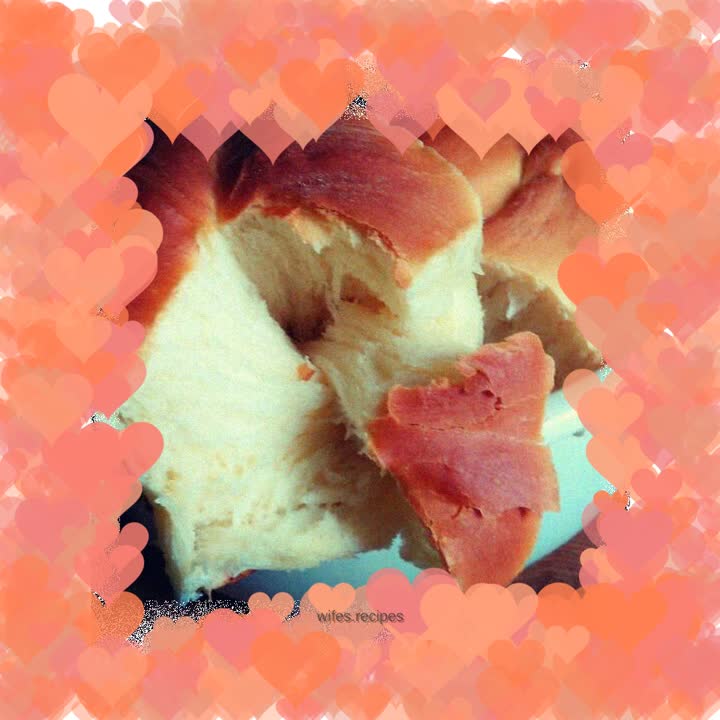
It’s out! You can brush melted butter on the surface while it's hot to make it look better. But I didn’t wash it and ate it by myself. Isn’t it healthier to be vegetarian~

-
Take a look ~
