Wave Decorated Cake
Overview
The sun is blazing. In such weather, making three-dimensional patterns seems depressing just thinking about it. Even if you want to frame a flower, people can't help but hesitate. Wandering, hesitating, and finally deciding to take action. Forget about tall flowers, keep them flat. I don’t know why, but this idea just came up. However, its failure coefficient seems to be smaller, and it is relatively more time-saving. However, I still underestimated how quickly the butter melted. It was frustrating from the beginning to the end. Watching it slowly turn into liquid, busy, busy, still busy. All the details were not used, everything was just to cover up the unexpected failure. In the end, it was done hastily and felt a little perfunctory.
Tags
Ingredients
Steps
-
Materials

-
Smooth the top of the cake and cut it into two pieces

-
Whip light cream with sugar

-
In a state where the pattern can be maintained

-
Take a piece of cake and spread the filling cream

-
Cover it with another piece and apply an appropriate amount of cream on the surface

-
Smooth the top and sides

-
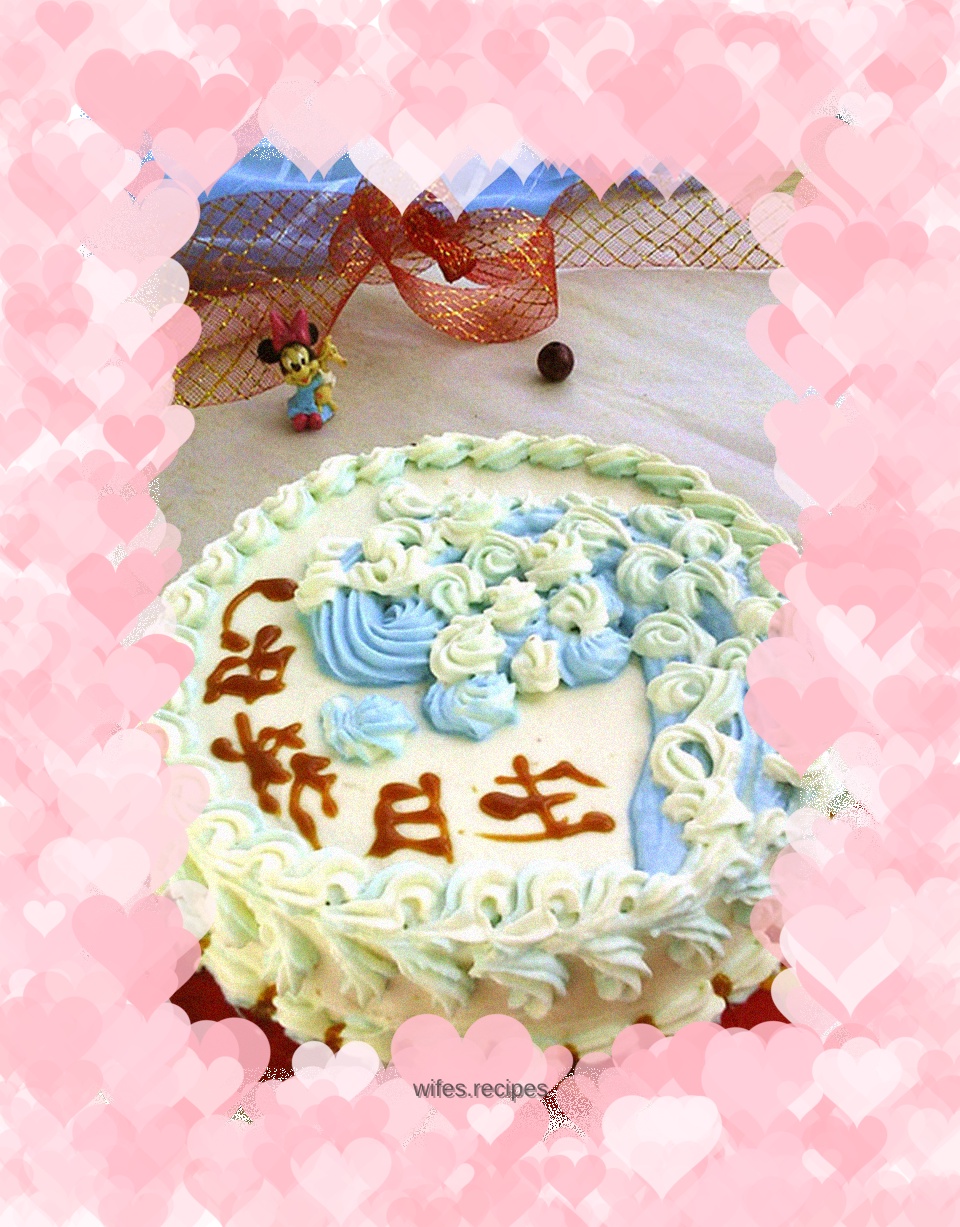
Tone blue and squeeze out waves on the top

-
Change to light cream and squeeze out a shell pattern on the bottom edge

-
Add small waves to the top edge

-
The top of the side squeezes downward waves

-
Finally, use light-colored cream to fill the big waves with small waves

-
Topped with creamy honey caramel sauce

-
The junction of the bottom shells is also decorated with caramel sauce
