Portuguese egg tart
Overview
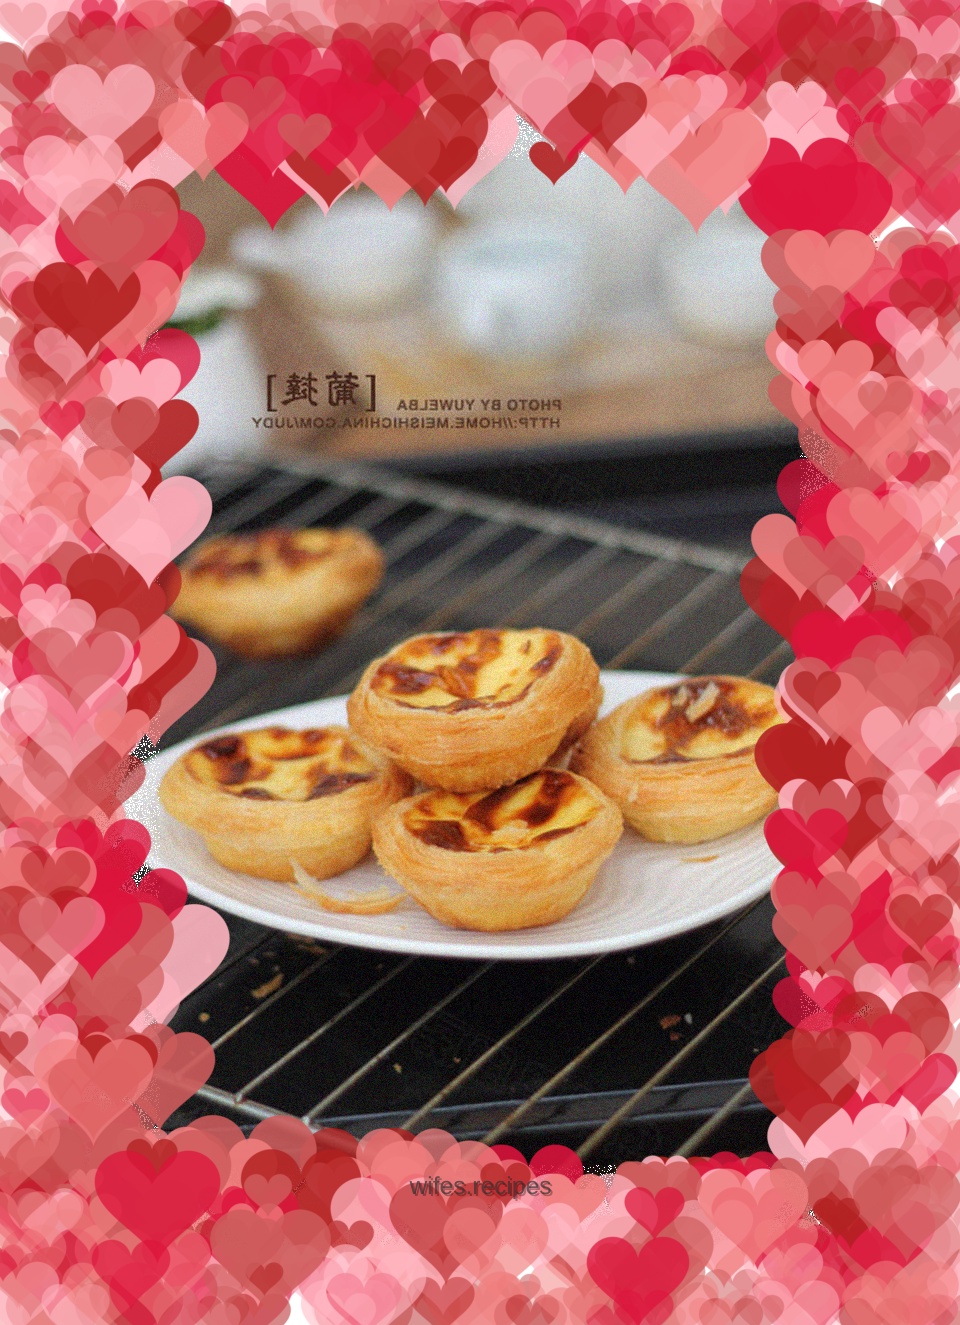
Portuguese tarts, my daughter’s favorite snack. Since his daughters went to school, Yu always likes to bring some snacks when he picks them up from school. Firstly, it can make the little ones happy, and secondly, it can fill their stomachs, because the Yu family's dinner time is relatively late, so they don't have to wait hungry for dinner. Fish is relatively lazy, so he uses flying cake skin for the tart crust. Fish rolls the flying cake skin into thin sheets and rolls it into several layers. The effect of making the tart skin is very good, with clear layers and a very crispy texture.
Tags
Ingredients
Steps
-
Have all materials ready.

-
Make the tart water first, pour the milk into a small pot and add the sugar.

-
Add the whipped cream and stir gently to combine.

-
Add condensed milk and mix well.

-
Heat over medium-low heat, stirring while heating, until the sugar dissolves and then turn off the heat.

-
After cooling until not hot, add the egg yolk and stir evenly.

-
Strain twice more through a fine mesh strainer.

-
Set aside.

-
Take out the flying cake crust and defrost it in advance.

-
Sprinkle some flour on the cutting board, overlap the two pieces of defrosted flying cake skin, and use a rolling pin to roll the flying cake skin into a rectangular shape.

-
Roll up from top to bottom.

-
Wrap in plastic wrap and refrigerate for 10 minutes.

-
Take out the dough and divide it into 12 equal parts. Press the dough lightly with your hands and overlap them.

-
Then use a rolling pin to roll the overlapping dough into a round piece.

-
Place it into the mold, gently press the bottom with your thumb (the bottom needs to be thin to make it crispy) and then pinch around the edge of the mold.

-
After kneading, let the tart shell rest for 20 minutes, then add 70% of the tart water.

-
Place in the lower shelf of the preheated oven at 200 degrees for 20 minutes, and bake until focus appears on the surface of the egg tart water.

-
When putting the tart shell into the mold, be sure to press the bottom with your thumb finger, because the bottom needs to be thin to be crispy.
