DIY snow skin mooncake skin
Overview
Have you ever eaten snowskin mooncakes? Legend has it that this was done by Sister Chang'e in Guanghan Palace. Let's learn it together.
Tags
Ingredients
Steps
-
Get all the materials ready

-
Pour all the ingredients into a large bowl one by one and mix evenly with a hand mixer.

-
Then pour it into a ceramic bowl and wrap it with plastic wrap (to prevent too much hot water from flowing into the batter during the steaming process. If the batter has too much water, the ice skin will be very sticky)

-
Boil a pot of water, put the ice skin batter into the steamer, use the stir-fry function on the induction cooker to steam at 270 degrees for 30 minutes, until the batter is cooked and can no longer be seen.

-
After the ice cream batter comes out of the pan, use a spatula to spread it out so that it can dissipate heat evenly, and set it aside to cool. (Be sure to wear anti-scalding gloves when taking out the batter)

-
As long as your hands are not too hot, you can knead the dough until the surface is smooth and elastic. (Be sure to wear gloves to prevent sticking)

-
Next, let’s fry the cake powder. The cake powder is actually fried glutinous rice flour. Fry it over low heat until the flour turns a little yellow.

-
Divide the ice skin into small doses of 25g each, which can be divided into 12 pieces.

-
Divide the mooncake filling into small portions of 25g each, divide out 12 pieces, and roll into balls. (To make 50g mooncakes, the ratio of skin to filling is 1:1)

-
Pour the cake mix onto the silicone mat.

-
Take a piece of ice skin and press it into a round dough with the palm of your hand.

-
Place the mooncake filling on the dough, place the mooncake filling inside the dough, push the dough upwards with the tiger's mouth, and use the flesh of your palms to push upwards slowly until the filling is completely covered by the dough.

-
Take out the mooncake balls and knead them in your hands. While shaping, spread the cake powder evenly over the mooncake balls.

-
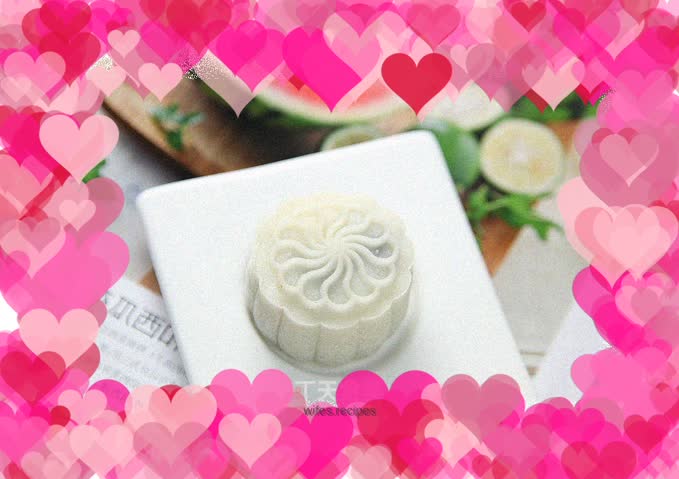
Put the mooncake ball into the mooncake mold, then place the mooncake mold on the silicone pad and press hard to print a beautiful pattern.
