Button Cookies
Overview
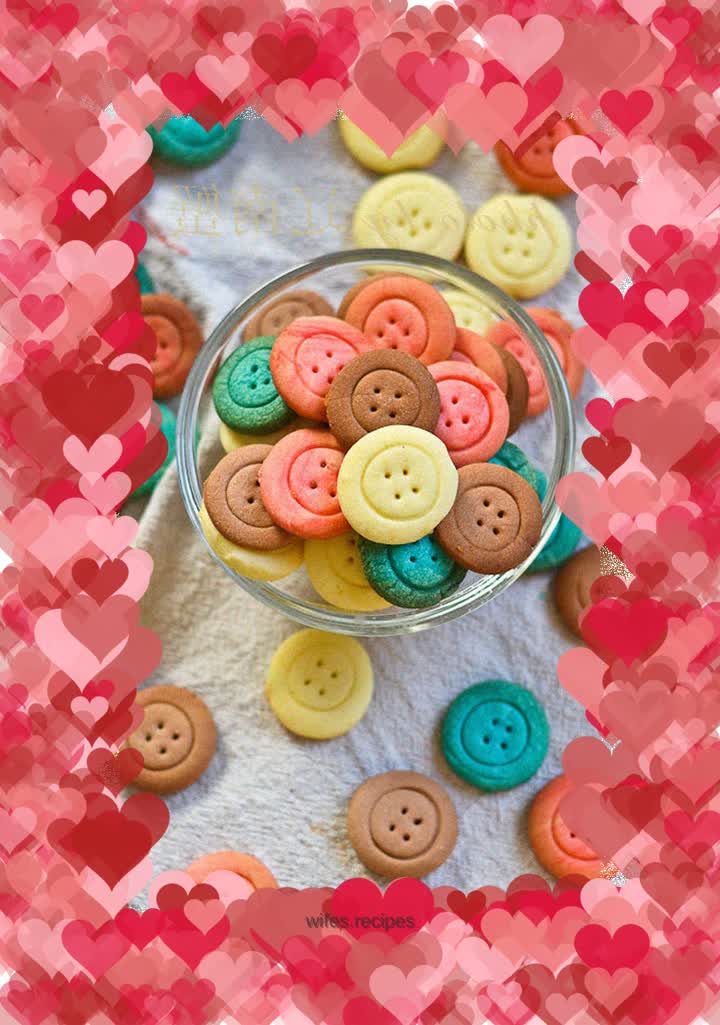
The colorful buttons seem to bring me back to my childhood. At that time, a button could be a toy. At that time, you could never eat such delicious cookies. When I showed the finished cookies to my daughter, the little girl screamed in surprise, "Mom, how did you think of doing this? It's so beautiful." In fact, this is not the first thing I made. People who love doing things will probably think of this look! But there is a first and a last. Ingredients: 310g of cake flour, 150g of butter, 120g of powdered sugar, 120g of egg, 2g of salt. Ingredients: a small spoonful of cocoa powder, appropriate amounts of red and blue pigments. Method:
Tags
Ingredients
Steps
-
Material diagram.

-
After the butter has softened, add powdered sugar and beat until fluffy.

-
Add the egg liquid in portions, stirring well each time before adding the second time.

-
Beat into a smooth custard paste.

-
Sift the flour and salt into the custard.

-
Use a spatula to mix evenly.

-
Then use your hands to form a uniform dough. Divide into four equal portions.

-
One is plain, one is with cocoa powder, one is with red coloring, and one is with blue coloring.

-
The pigmented dough does not need to be kneaded evenly to allow it to show natural patterns.

-
Place each portion of dough into a plastic bag and refrigerate for 1 hour.

-
Take out the dough and roll it out. When rolling out, add plastic wrap or oil paper for easier operation.

-
Use two piping tips with larger and smaller diameters to cut out button shapes. Preheat the oven to 180 degrees.

-
Use toothpicks to make buttonholes. Place evenly on the baking pan. Grease paper is required for ordinary baking pans, but it is not necessary for non-stick pans.

-
Put in the oven at 180 degrees for about 12 minutes. (The time required is related to the actual size and thickness of the biscuits) Observe the oven conditions. If the biscuits are too heavily colored, they need to be covered with tin foil.

-
Make other cookies in sequence. Just bake them one after another.
