Pictogram Pumpkin Chestnut Bun
Overview
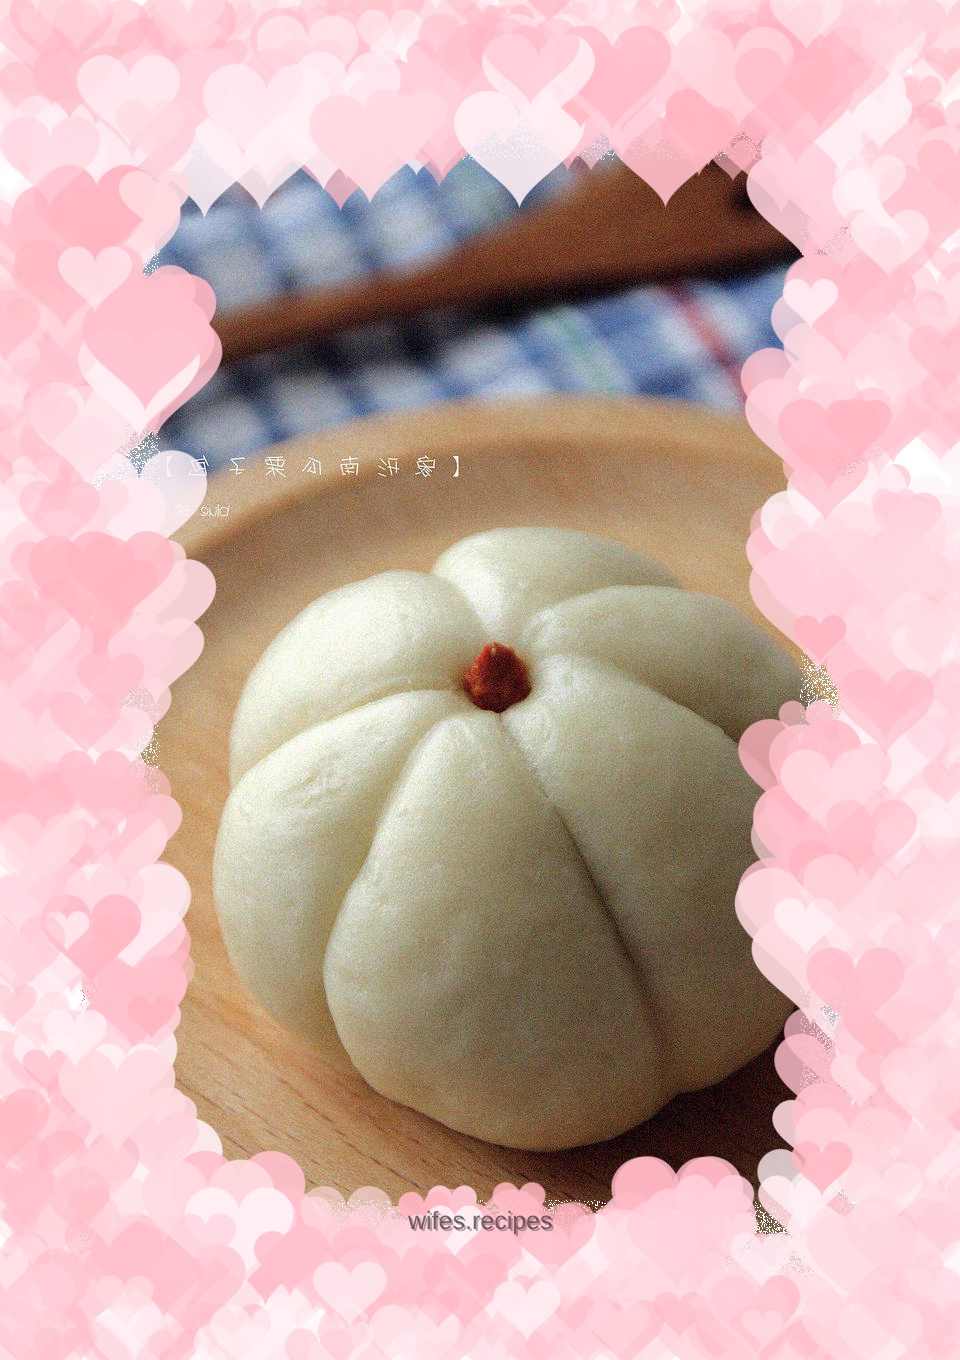
Chestnuts and pumpkin are the representatives of autumn flavors in my mind. So, today I made a combination of these two friends. In the shape of a pumpkin, with chestnut filling and a bright red wolfberry, the lifelike pumpkin chestnut buns will appear before your eyes. Unfortunately, preparations were insufficient. If you add some pumpkin puree to the bun skin to make it golden, the finished product will be amazing. . The bun skin still uses the method introduced last time. It’s a good method worth trying again!
Tags
Ingredients
Steps
-
Dissolve the yeast in 150g of water in advance, stir and melt, then let it sit for a few minutes;

-
Put flour (A) and fine sugar (A) into a container and mix evenly;

-
Slowly add the yeast water to the flour and sugar mixture, and stir evenly until there is no dry powder;

-
Cover with a lid or plastic wrap, place in a warm and humid place, and ferment for 30 minutes (room temperature is about 20 degrees);

-
The fermented dough smells sour and has many small bubbles on the surface;

-
When you tear open the surface, you can see the fine and uniform honeycomb tissue, and the fermented dough is ready;

-
Add the flour (B) in the main dough to the fermented dough, mix with a spatula until there is almost no dry flour, and knead it into a smooth dough;

-
Cover with plastic wrap and let it rest for 5 to 10 minutes (room temperature is about 20 degrees);

-
After the time is up, divide the dough into small doughs of even size, each weighing about 40g;

-
Take a small piece of dough, flatten it with the palm of your hand, and use a rolling pin to roll it into a round dough with a thick middle and thin edges;

-
Divide the filling into small balls of 20g each in advance. Put the filling in the middle of the dough;

-
Wrap the filling with dough;

-
Pinch the seam tightly, place the seam downward, place it on the countertop, and round it slightly. Use the arc surface of the scraper to press out two lines on the bun embryo, as shown in the picture;

-
Continue to press out two lines on one side;

-
Continue to emboss the lines on the other side. As shown in the picture;

-
Garnish with a wolfberry, and the pumpkin shape will basically come out;

-
Place the steamed bun embryo on a steaming grid that has been lined with gauze or oil paper;

-
Cover the lid and let it rest for 15 minutes;

-
Turn on high heat, continue to steam for 15 minutes after turning on the steam, turn off the heat without opening the lid, steam for 3 minutes, and then slowly open the lid of the pot. Transfer the buns to a drying rack and allow to cool slightly before serving.
