Pickled Candied Garlic
Overview
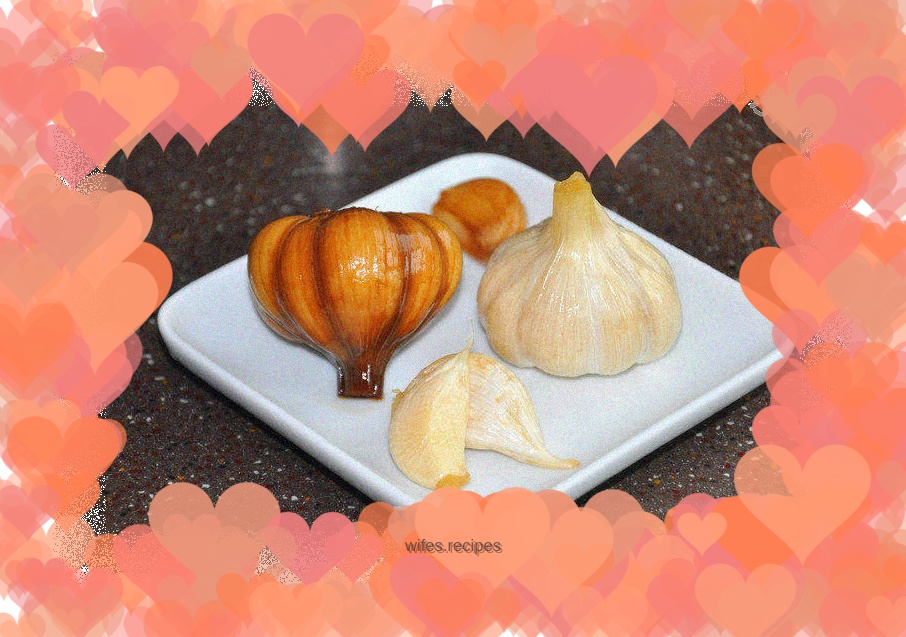
Although it’s a little out of season, I can’t help but share the pickled candied garlic I made in spring. Eat hot pot in winter, with a few pieces of candied garlic, it's crispy and refreshing. What's more, the nutritional value and health care value of garlic are well known to everyone.
Tags
Ingredients
Steps
-
Choose purple-skinned garlic that is relatively tender. White-skinned garlic is also acceptable, but purple-skinned garlic is best;

-
Peel off the outer layer of old skin, cut off a section of garlic, cut off the dirty section at the base, and clean it;

-
Soak in light salt water for more than 24 hours, changing the water two to three times in between;

-
After soaking the garlic, dry it with the head down;

-
Put the whole code into a glass sealed bottle or earthen jar. There will be a lot of space in the bottle. Fill it with broken garlic cloves. The broken garlic cloves should also be peeled;

-
Add granulated sugar, I used brown sugar, the amount is about one head of garlic and one teaspoon of sugar;

-
Pour in the rice vinegar until the garlic is covered (you can also add a little salt or not, there is no big difference);

-
If you want to eat white, use white vinegar (of course brewed white vinegar);

-
Store in an airtight container without shaking, just let the sugar melt slowly on its own. It will be ready to eat in three to four weeks!
