Finger cake
Overview
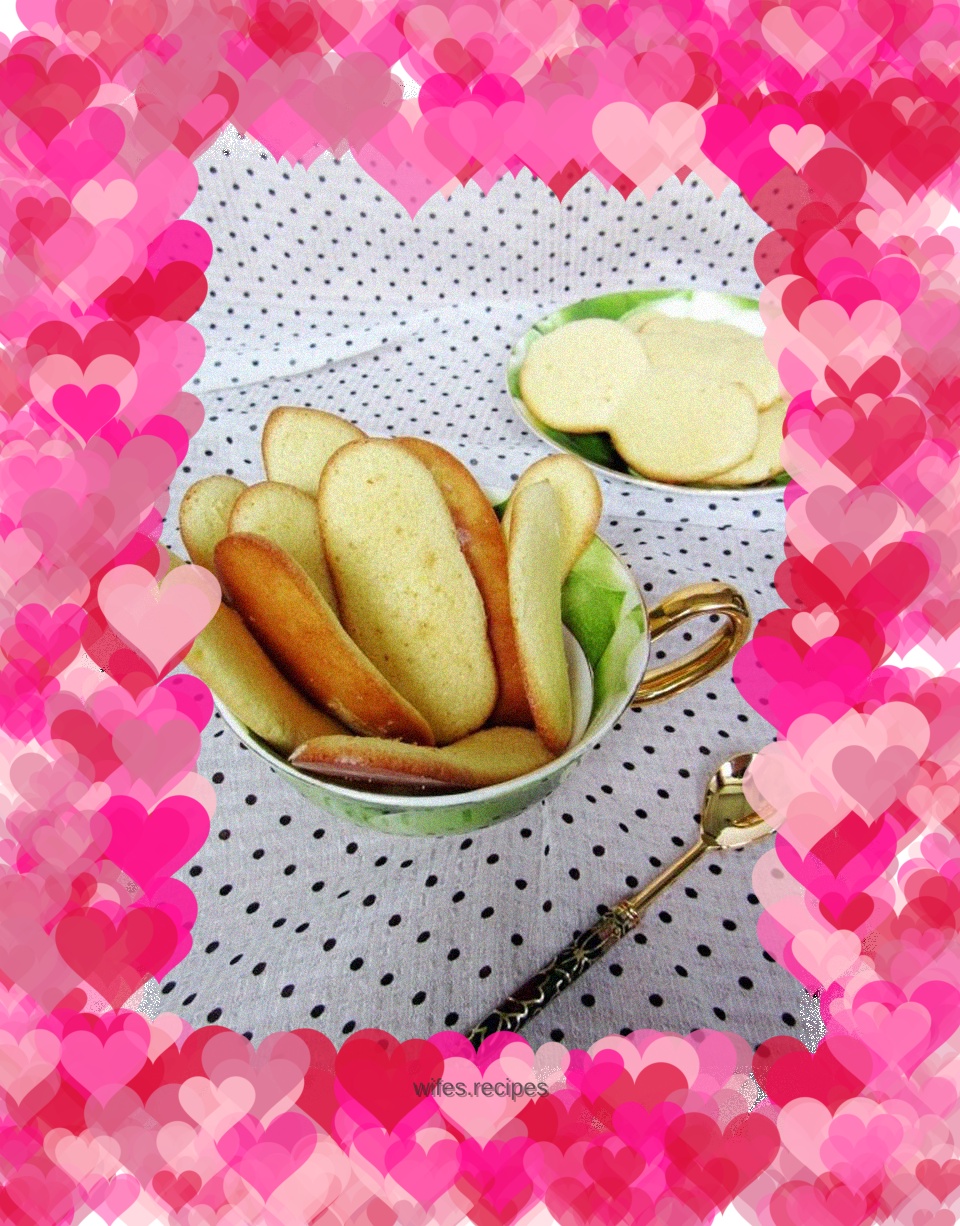
I rarely make cookies. This is my first time making finger biscuits. I originally prepared them for tiramisu. It happened that the neighbor's four-year-old grandson came to his grandma's house for a month. His grandma brought him to my house to play. So, I picked some decent ones and gave them to this little Hong Kong (he is a Hong Kong child) as gifts. The process of making finger cakes is a bit like making chiffon cakes. I actually made this finger biscuit quite ugly, but fortunately it tastes okay and everyone still likes it. This is their trust, encouragement and support for my baking.
Tags
Ingredients
Steps
-
Food preparation

-
Separate egg whites and yolks

-
Add 35 grams of sugar to the egg whites and beat with a desktop chef's machine at level 3-4 until 9 points

-
Sift low-gluten flour

-
Beat the egg yolks with 20 grams of sugar until slightly white, then add half of the sifted low-gluten flour and mix well

-
Add one-third of the egg white foam to the egg yolk batter and mix well

-
Then pour the mixed 6 egg yolk paste into two-thirds of the egg white bubbles and mix well

-
Pour the remaining half of the low-gluten flour into 7

-
Stir thoroughly from the bottom up and mix evenly, without making circles, put on the decorative tape, and squeeze it onto the baking sheet (well, I'm embarrassed - I can't control it well, it's all different.) Put the first pan into the preheated oven and bake for 15 minutes, then bake with the residual heat for another 10 minutes.

-
Put the decorated tape into the baking tray and squeeze it onto the baking sheet (well, I'm sorry - I can't control it well, there are all kinds of shapes.) Put the first tray into the preheated oven and bake for 15 minutes. When the time is up, use the residual heat to bake for another 10 minutes.

-
This is the second plate, I used the baking pan that comes with the oven,

-
The first pan comes out of the oven, (the second pan goes into the oven to bake)

-
Take a photo and fill in time after cooling to prevent moisture.
