Handmade cold skin making
Overview
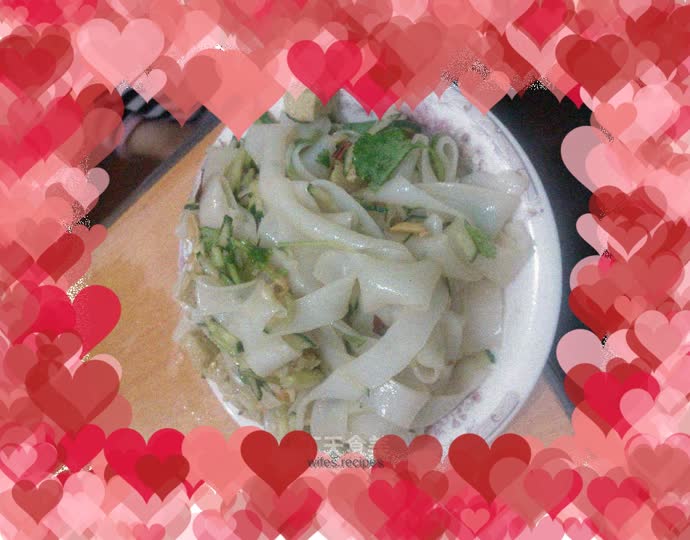
Yesterday I took my daughter to go grocery shopping, and I was so greedy when I saw the cold noodles selling them. It would be great to eat cold noodles in this hot weather. But it looks really dirty outside. Call my mom, she will actually do it. God saved my daughter and I, two foodies. Decided to go home and do it. Look at the handmade cold skin I made myself, which is both hygienic and delicious. It tastes so good and the whole family likes it. My mother-in-law also praised me. I felt really proud in my heart. Hehehe
Tags
Ingredients
Steps
-
I didn’t take pictures of the dough. After everyone made the dough, put it in a basin to wake up for 30 minutes, then prepare a basin of water to wash your face. The baby helps wash the face. I'm good at taking pictures. Haha

-
Wash your face until it becomes a sticky mess, as shown in the picture. Don't throw away the water you use to wash your face, it's the water used to make your skin. Haha. As shown in the picture, wash it several times with clean water. The water used these times is no longer useful and can be disposed of directly.

-
Set the water after washing the noodles aside to settle. After about 6 hours, the water and sediment will separate. Carefully pour out the water on top. Don’t pour all the white noodles, be careful

-
Steam the gluten in a steamer for about 30 minutes, take it out and set it aside. Cut it into cubes.

-
I was looking for a flat-bottomed pan at home (the pizza pan I used), but I already bought a gong for making cold dough on Taobao. Making a pizza pan is so slow. (The light in my kitchen is green, so the color of the picture in the kitchen is green. It’s not a strange incident... haha)

-
Apply some oil to the bottom of the pan to prevent it from sticking to the bottom.

-
Use a spoon to spread a thin layer over the bottom of the plate, put it into a steamer that is on, and watch the color of the skin change from white to black or from black to white. It's done. It turns white in the end because it has bubbles as it cooks, making it look white.

-
I forgot to mention that when making the skin, you should put a basin of cold water on the side to remove the mold and cool down. Just think of it this way. Just pick up the skin from one side of the mold.

-
Look at the leather I made, it looks pretty good. There is enough food for the whole family. I have a partner today so I made more. 4 adults and 1 4-year-old child, all solved.

-
The last step is to mix the cold skin. You can mix it according to your own taste. Anyway, that’s all the seasonings. I did my own research... It’s not that I’m not being kind enough to teach you. I really don’t know where to start with this. Take a look at my finished product.
