Chive soda cake
Overview
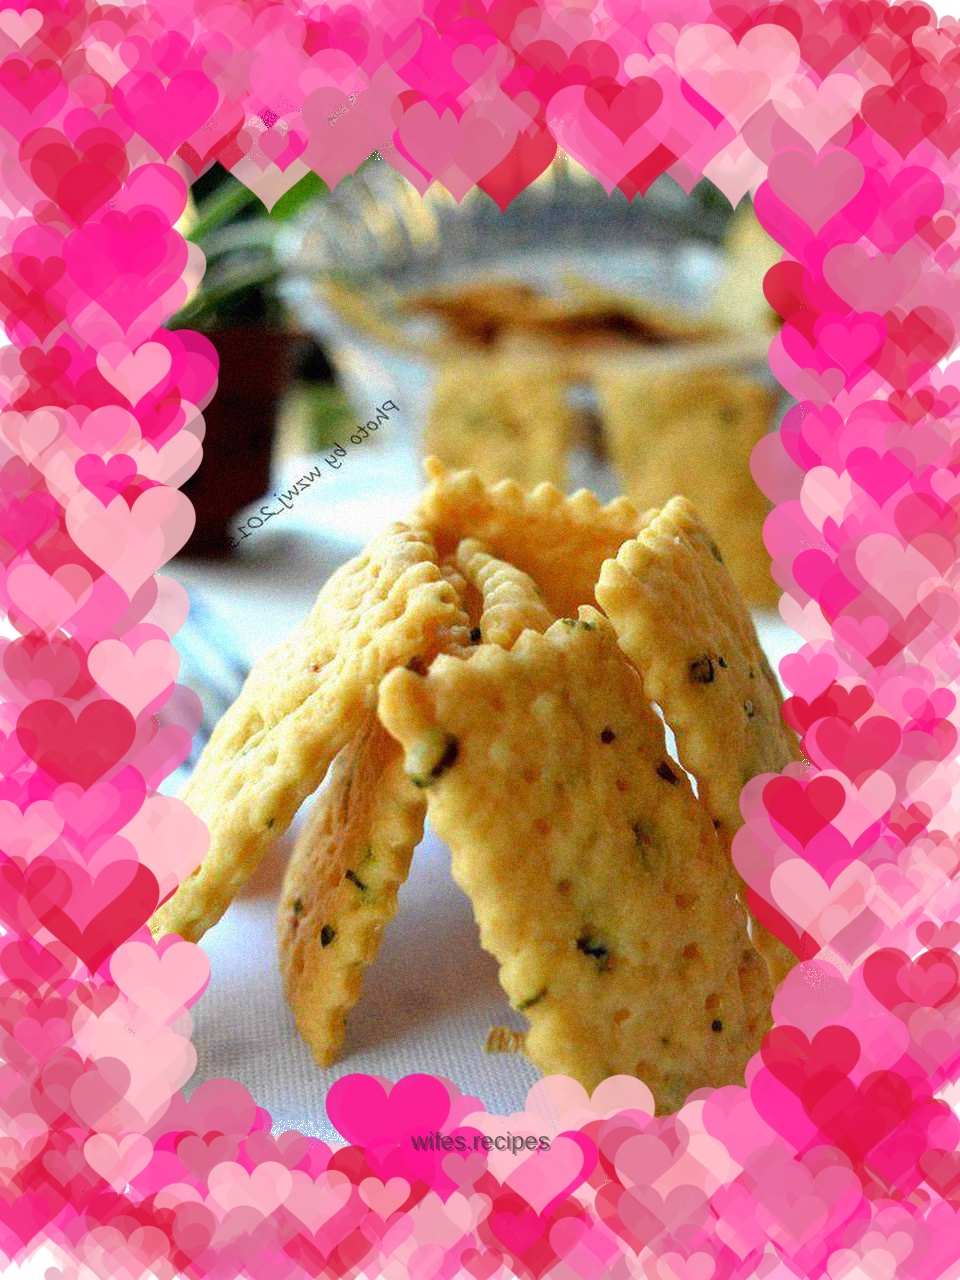
Since I personally don’t like sweets, I make this chive soda cake more often. Actually, I think it should be the fourth time to do it. I feel like I still need to practice this thing more, so I feel that I am making progress every time. The roasting was a success this time, but I regretted that I forgot to add sesame seeds. I must remember to do it next time, it will definitely be more tempting!
Tags
Ingredients
Steps
-
Prepare all the ingredients (dissolve the yeast and baking soda in the milk; wash and dry the scallions in advance and then chop them into fine pieces).

-
Put all the ingredients (except chives) in a container, shake well, and knead into dough

-
Spread the dough again and add chopped green onion

-
Then knead it into a smooth dough and let it ferment at room temperature for one hour (it’s faster in summer, but it’s better to lengthen the fermentation time in winter)

-
After the dough has fermented, knead out the bubbles and roll it into thin slices with a rolling pin

-
Use a tool to cut into small pieces (I think you can cut into larger pieces).

-
Then move the pieces piece by piece to the baking pan (coat the bottom of the baking pan with a layer of corn oil), then use a fork to make holes, cover with plastic wrap and continue to ferment for about ten minutes

-
Preheat the oven, move the baking sheet to the oven, heat up and down to 150 degrees for 10 minutes, then lower the heat and bake for 2-3 minutes
