Dorayaki
Overview
When I was a kid, I watched the cartoon Dorayaki and was surprised why it liked to eat Dorayaki so much. But seeing how happy he was eating, I thought this Dorayaki must be delicious. Later, I learned to cook, and I always wanted to try this snack. I looked at how to make it, and it turned out to be very simple. It is just like ordinary waffles. Just put your favorite filling between two waffles, and it is Dorayaki. After eating it, everyone in the family said it was very good, especially the children. The method is simple and convenient, and children can make it at any time when they want to eat it. However, I have made it several times before and it was not particularly ideal. Although it tastes good, the coloring of the cake is not that good-looking. It’s not beautiful enough, so the process of making Dorayaki has never been published. I just bought a non-stick pan and tried making waffles in the new pan. It worked really well and the color was exactly what I wanted. I quickly took a few photos so that friends who like waffles or dorayaki can follow suit.
Tags
Ingredients
Steps
-
Put two eggs in a small basin and beat them with a manual egg beater;

-
Add powdered sugar and beat. The powdered sugar I use is made by grinding white sugar into powder in a food processor;

-
Add milk and mix well;

-
After mixing the flour and baking powder, use a fine sieve to sift into the egg mixture;

-
Beat the eggs by hand and stir clockwise until evenly mixed;

-
Lift the egg beater and the batter will be smooth and fluid;

-
Pour the batter into a measuring cup or other convenient container. You don’t need to pour it, you can just scoop it out with a spoon. This is optional. I use the measuring cup mainly to make it easier to pour into the pot, so that it doesn’t drip everywhere;

-
Heat a non-stick pan over low heat;

-
Pour the mixed batter into the pan. It will automatically form a round shape after dripping. Just pour in the appropriate amount of batter. I made a total of six waffles;

-
After forming a beautiful round shape, don't move the pan yet. You will soon see the edges of the batter change color and small bubbles begin to form on the surface of the batter;

-
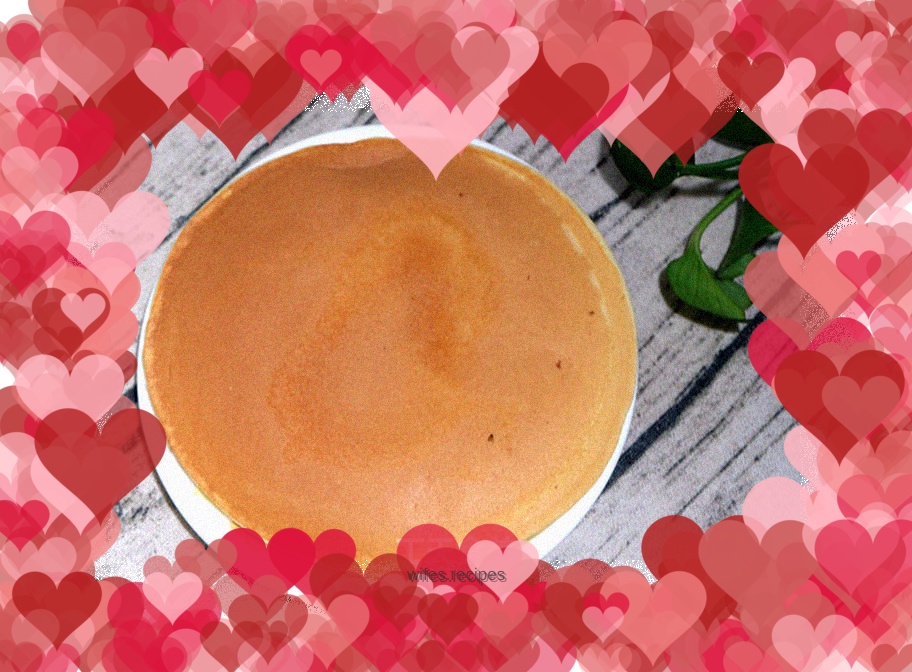
Turn over, you can see that the color is even and beautiful, but the other side cannot be fried to such a uniform color; when both sides are cooked, you can take it out of the pan and make the next one;

-
After making all the waffles in sequence, they can be eaten directly. If you want to make dorayaki, put one side of the dough that is not evenly colored, and spread it with homemade bean paste filling or other favorite fillings; just cover the other side;

-
A beautiful dorayaki is OK. I am a big person, so for breakfast, one is enough for each person. If you like something more delicate, just make it smaller.

-
If you also like this snack, or someone at home likes it, give it a try. This method is very simple, and there is no need to add any oil. I personally think the amount of powdered sugar is just right, and it is not particularly sweet. If you like it sweeter, you can add a little more sugar. If there is no powdered sugar, it is best to use fine sugar. Too coarse sugar will not melt easily and will affect the production effect.
